RAG chatbot example
Introduction
Section titled “Introduction”In this example, we will build a full-stack application that uses Retrieval Augmented Generation (RAG) to deliver accurate and contextually relevant responses in a chatbot.
RAG is a useful pattern that allows us to provide an LLM with context, such as data from Smart Search to give more relevant answers to queries from the consumer.
Context
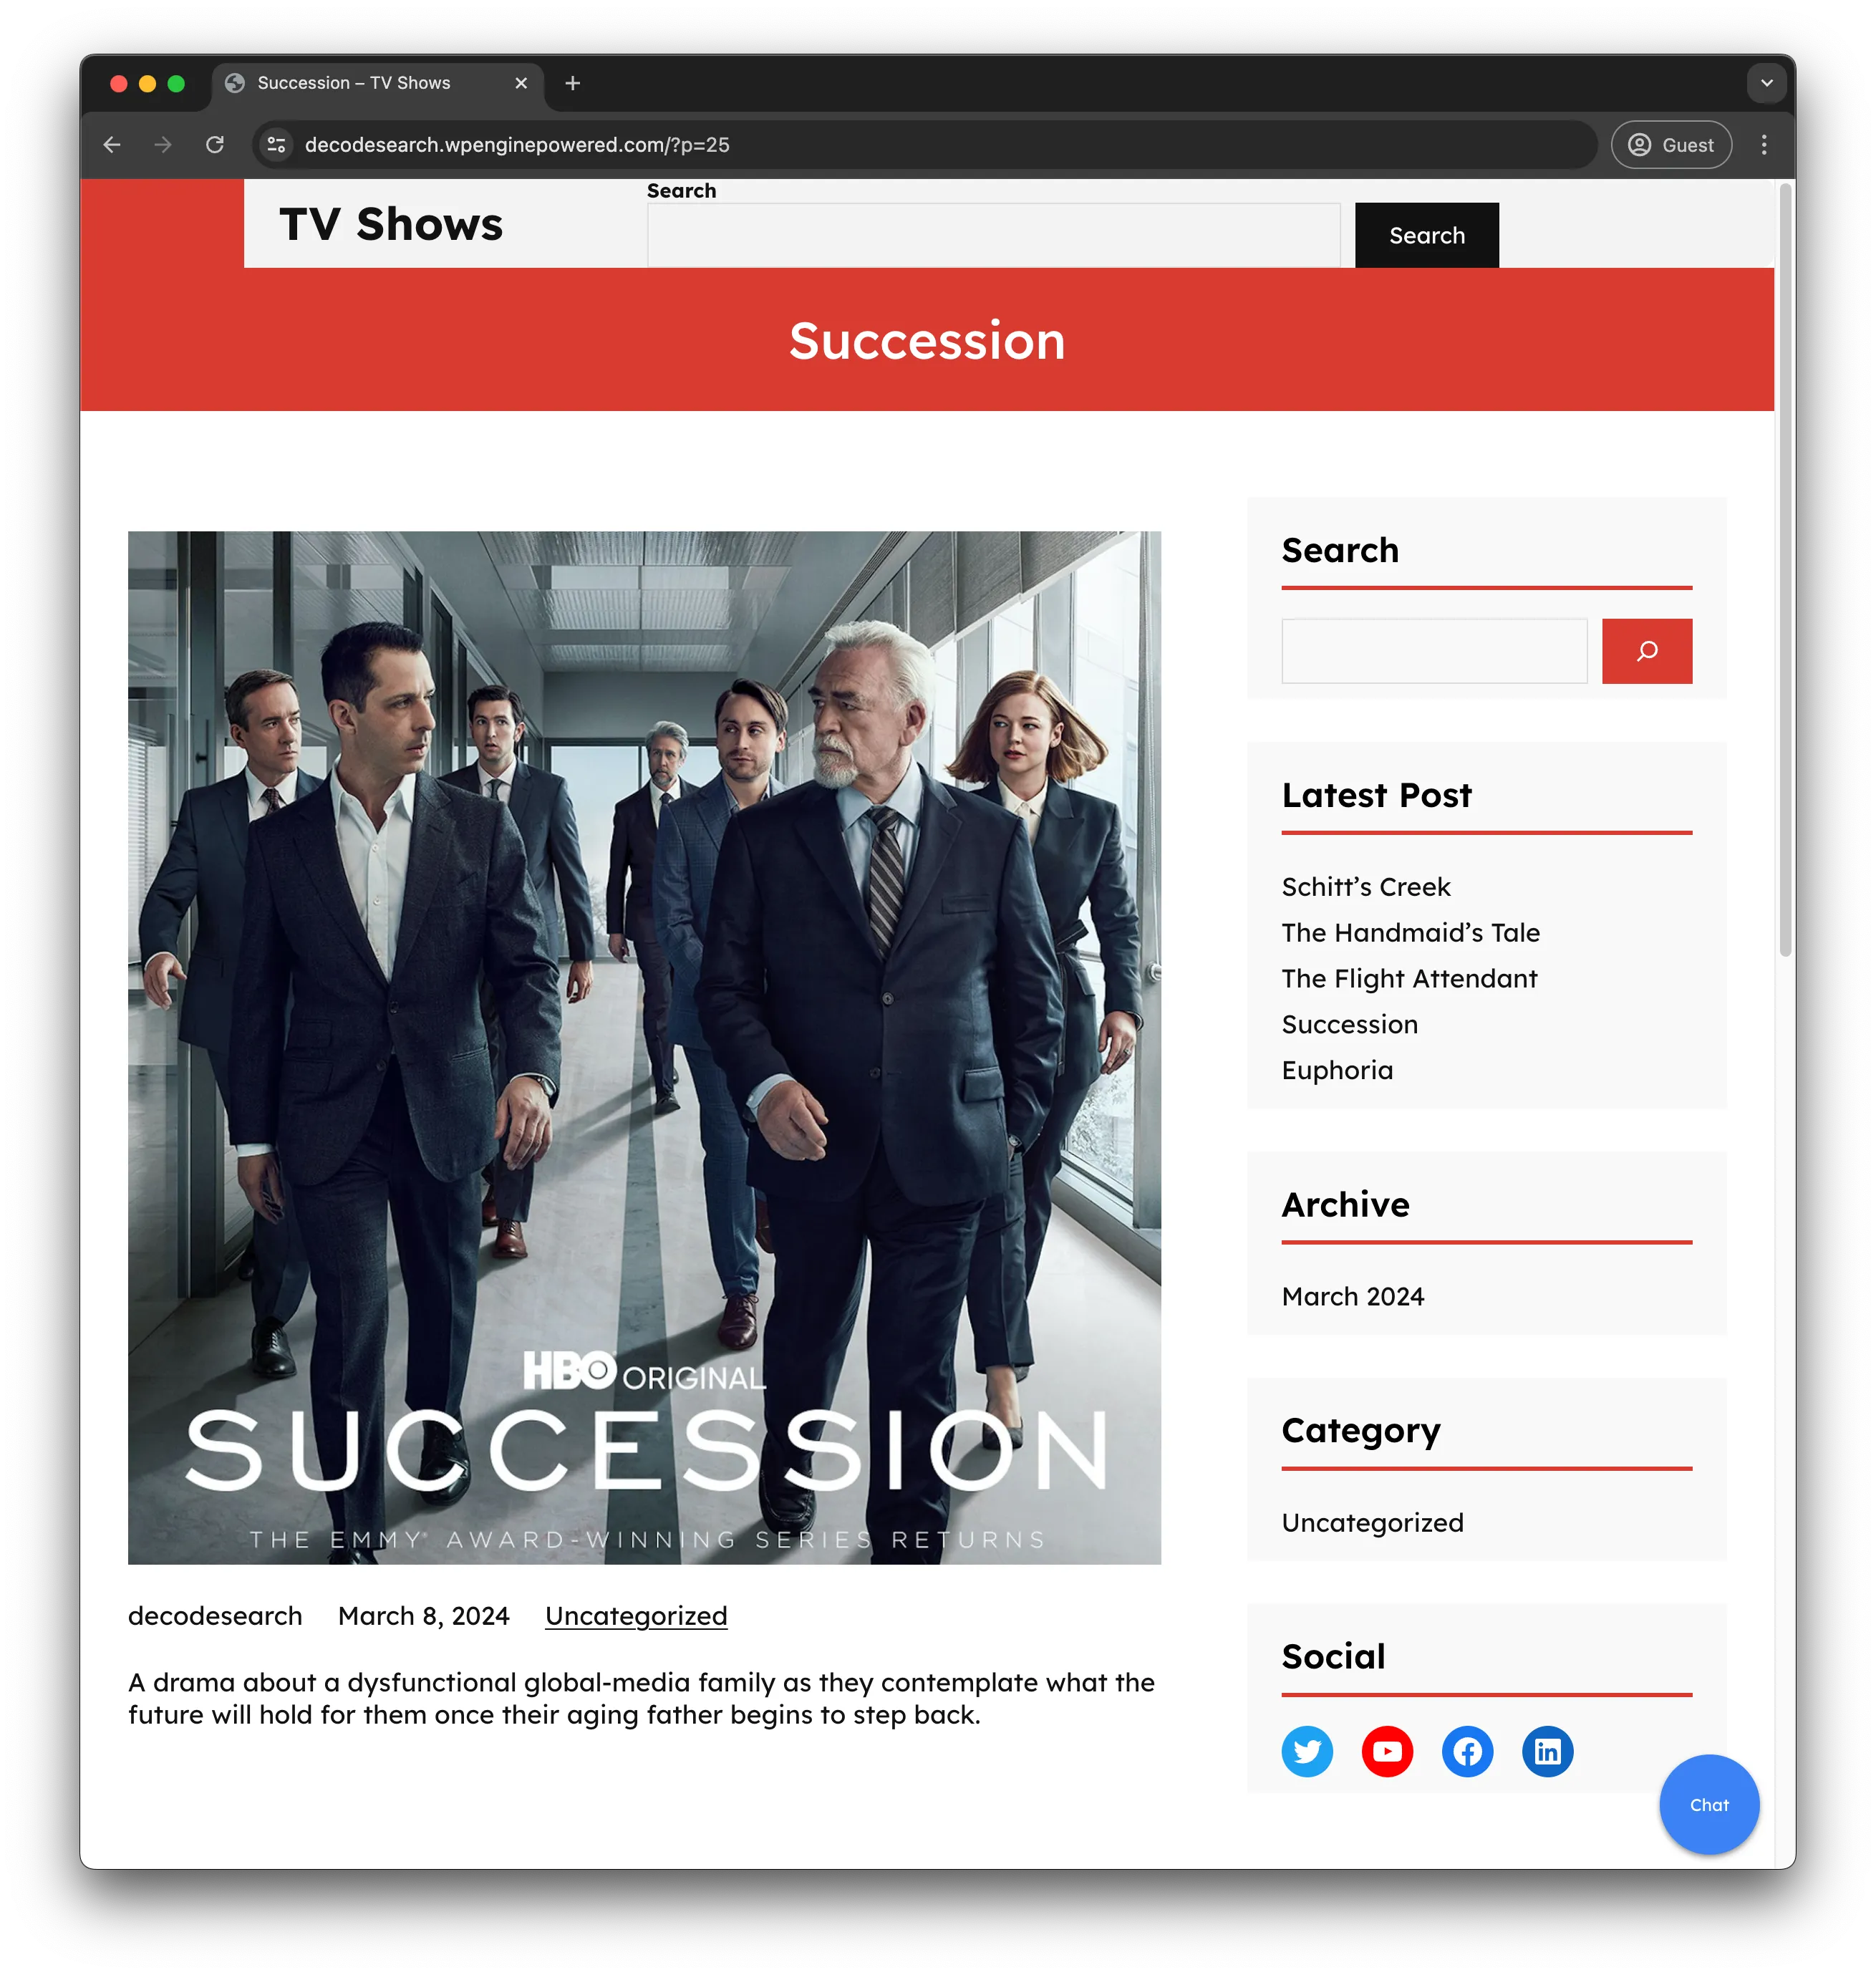
Section titled “Context”For the purposes of this example the WordPress environment hosts a collection of TV Show entries, each accompanied by a featured image and a concise summary of the show.
Objective
Section titled “Objective”Our objective is to showcase the integration of a bespoke chatbot application within a Next.js framework, hosted on WP Engine’s Node Engine. This will be achieved by leveraging the Smart Search Similarity API to enrich the chatbot’s responses with contextual data sourced from the specified WordPress site.
Here is a shortlist of tasks to complete:
- Enabling WP Engine Smart Search to use our natural language processing search feature
- This will be our WordPress data source
- A Next.js application utilizing Vercel’s AI Framework
- Use an OpenAI provider to integrate models such as (
gpt-3.5-turbo,gpt-4o) - Use the WP Engine Smart Search API to provide context to the LLM
- Use an OpenAI provider to integrate models such as (
- Embedding the Next.js chatbot on our WordPress site
Enable AI powered Search on WP Engine Smart Search
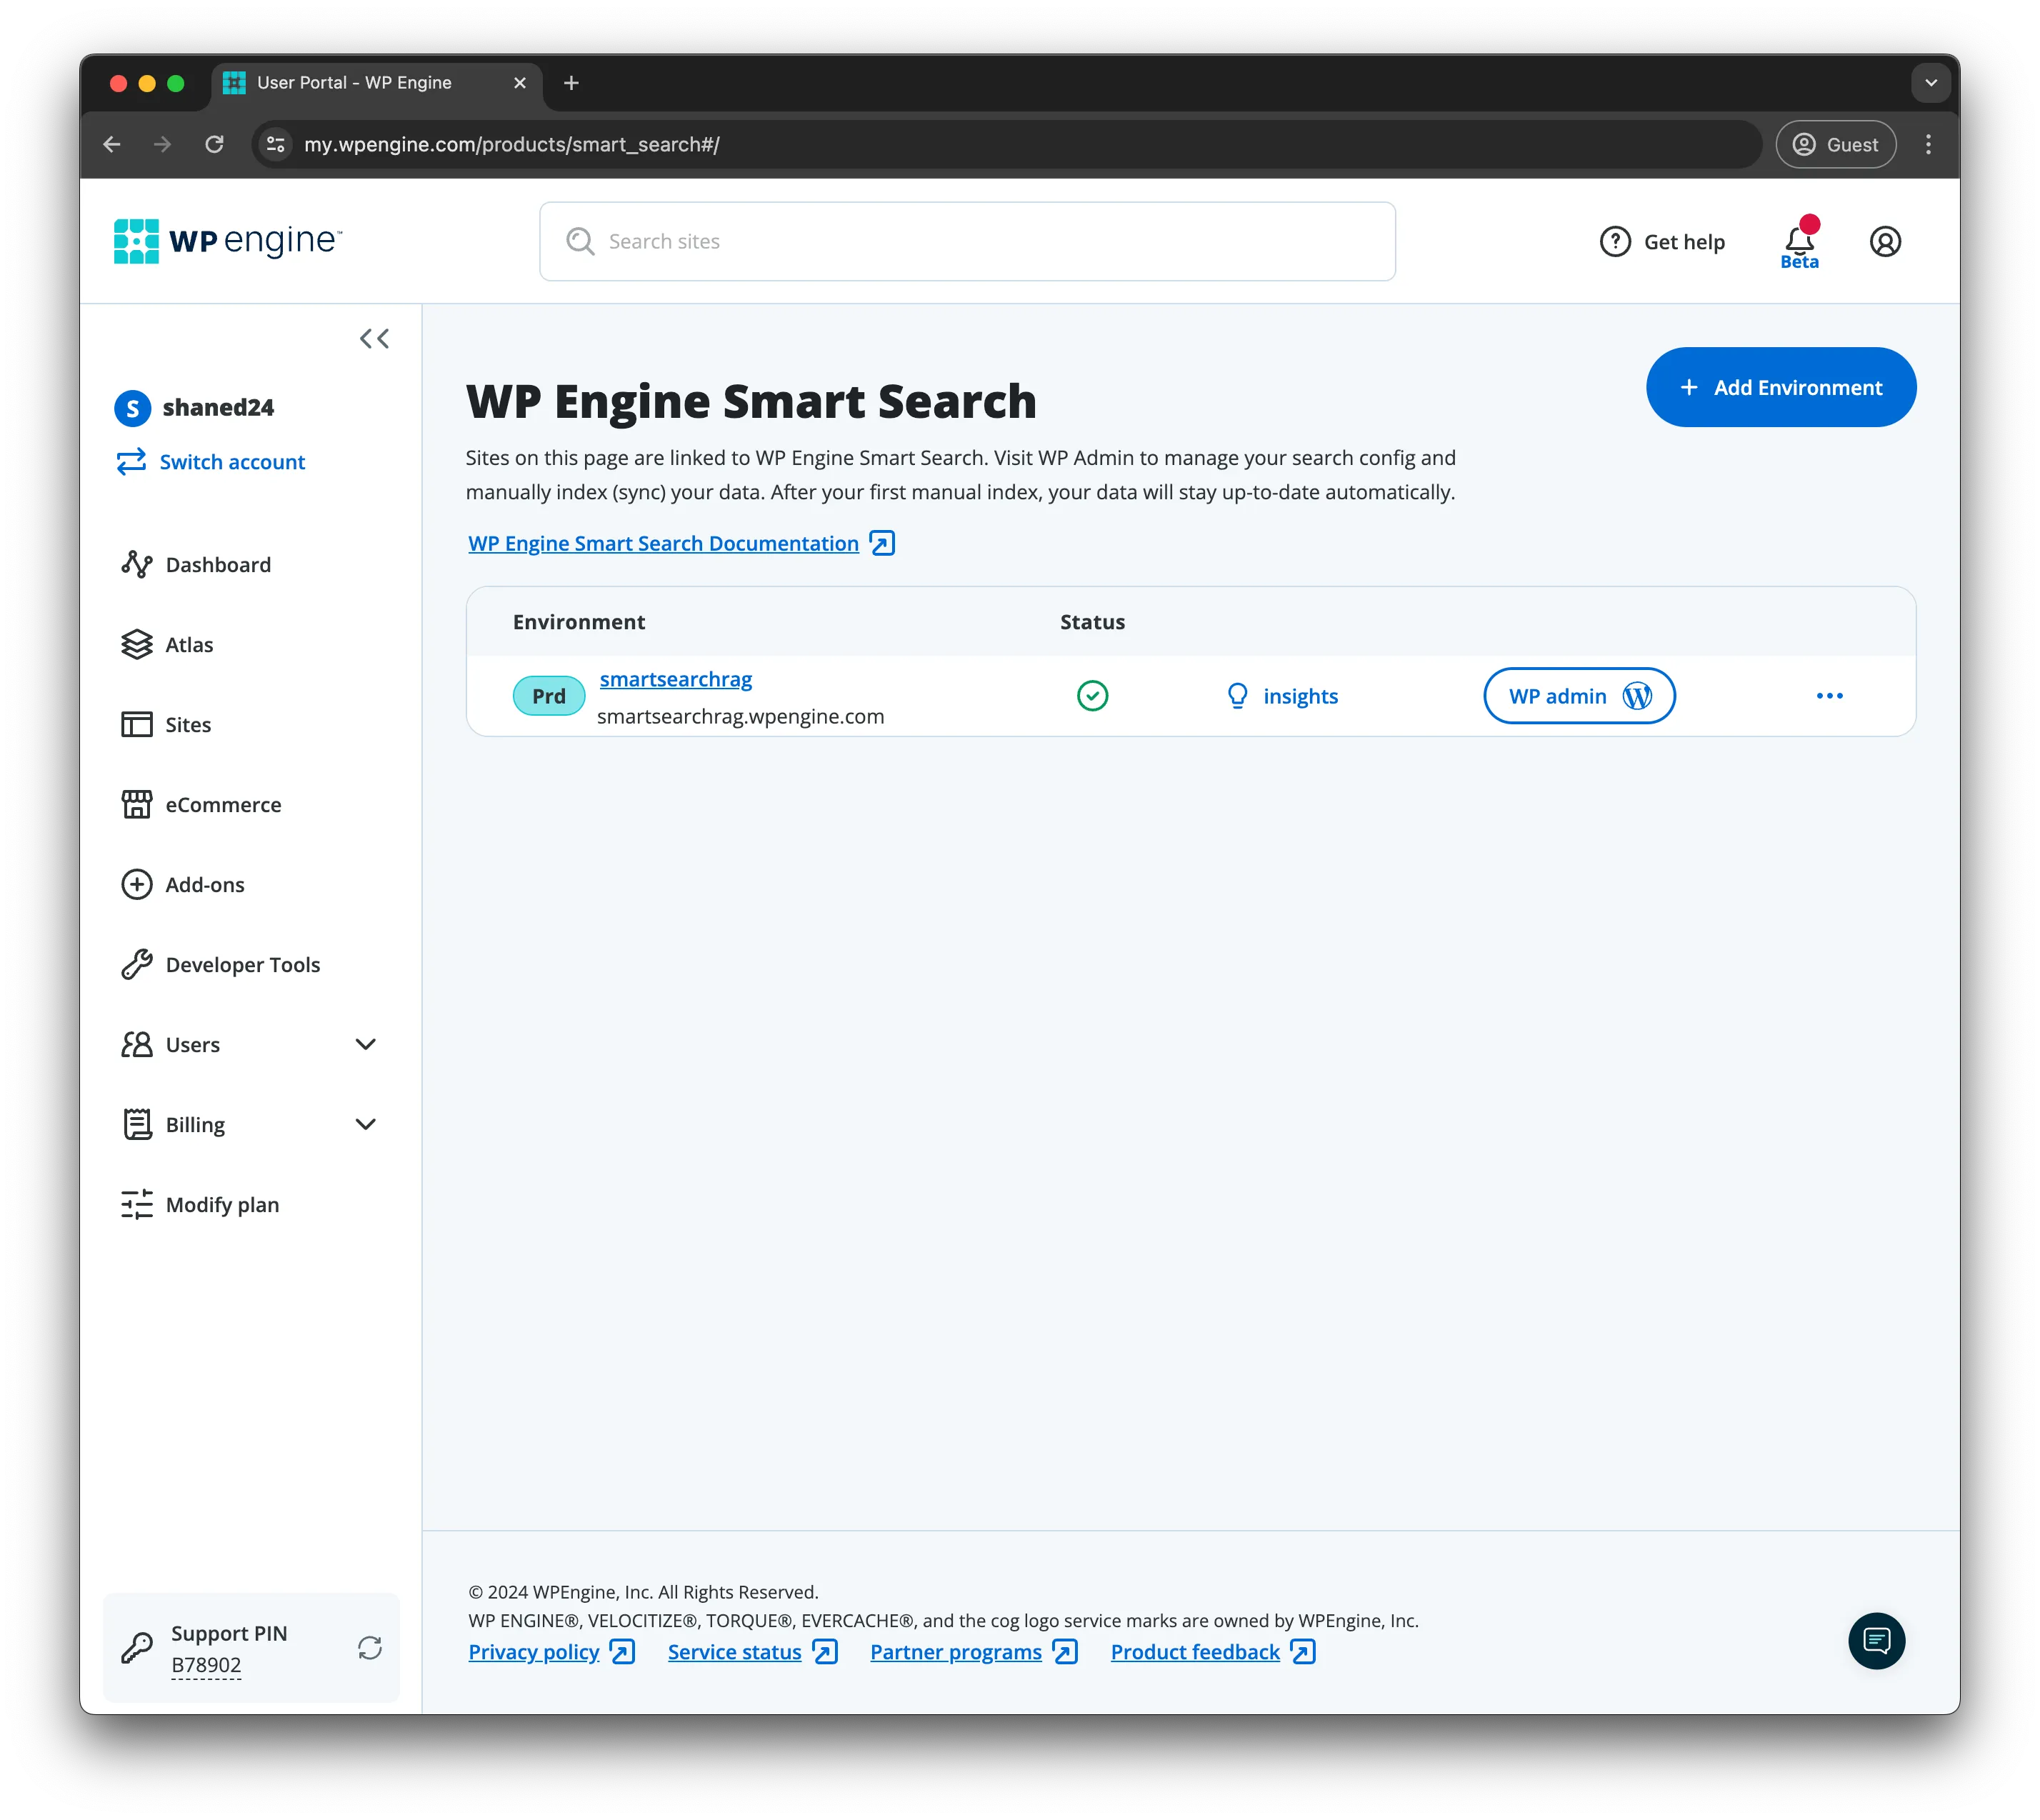
Section titled “Enable AI powered Search on WP Engine Smart Search”For this example lets assume you have created a site called smartsearchrag and have added a WP Engine Smart Search license to it.
Configuring Similarity Search
Section titled “Configuring Similarity Search”Navigate to WP Admin for the WordPress environment:
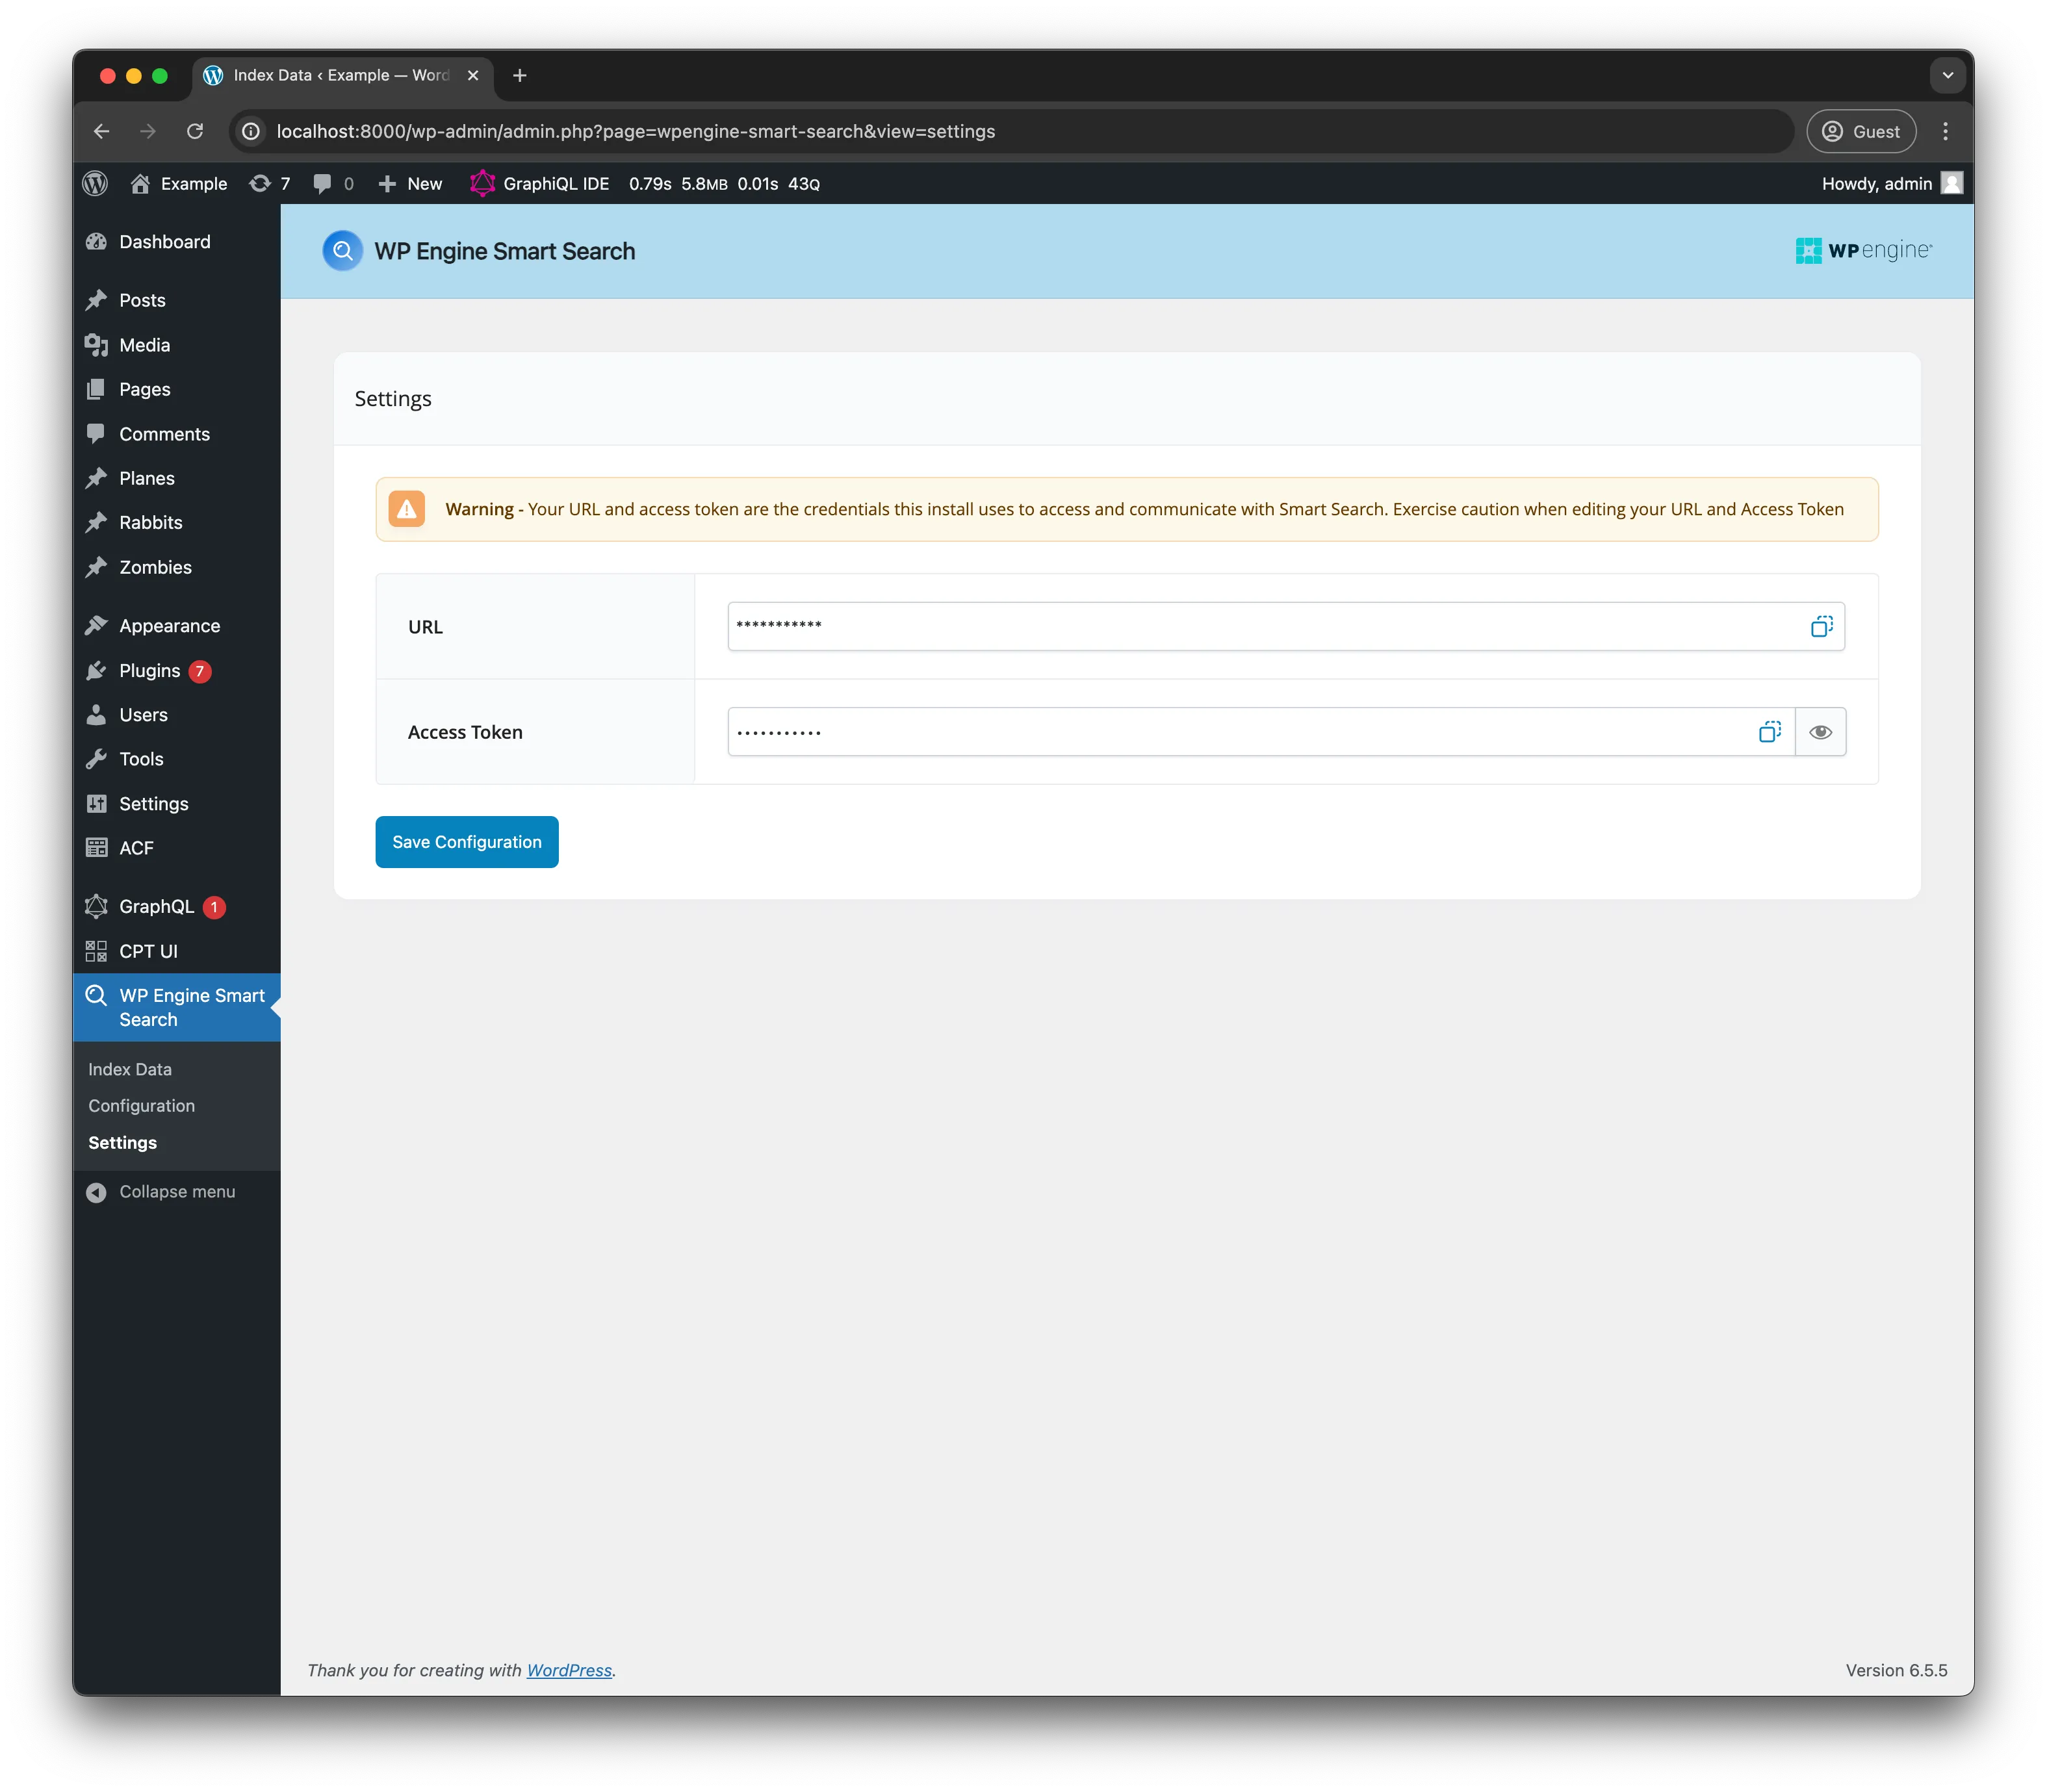
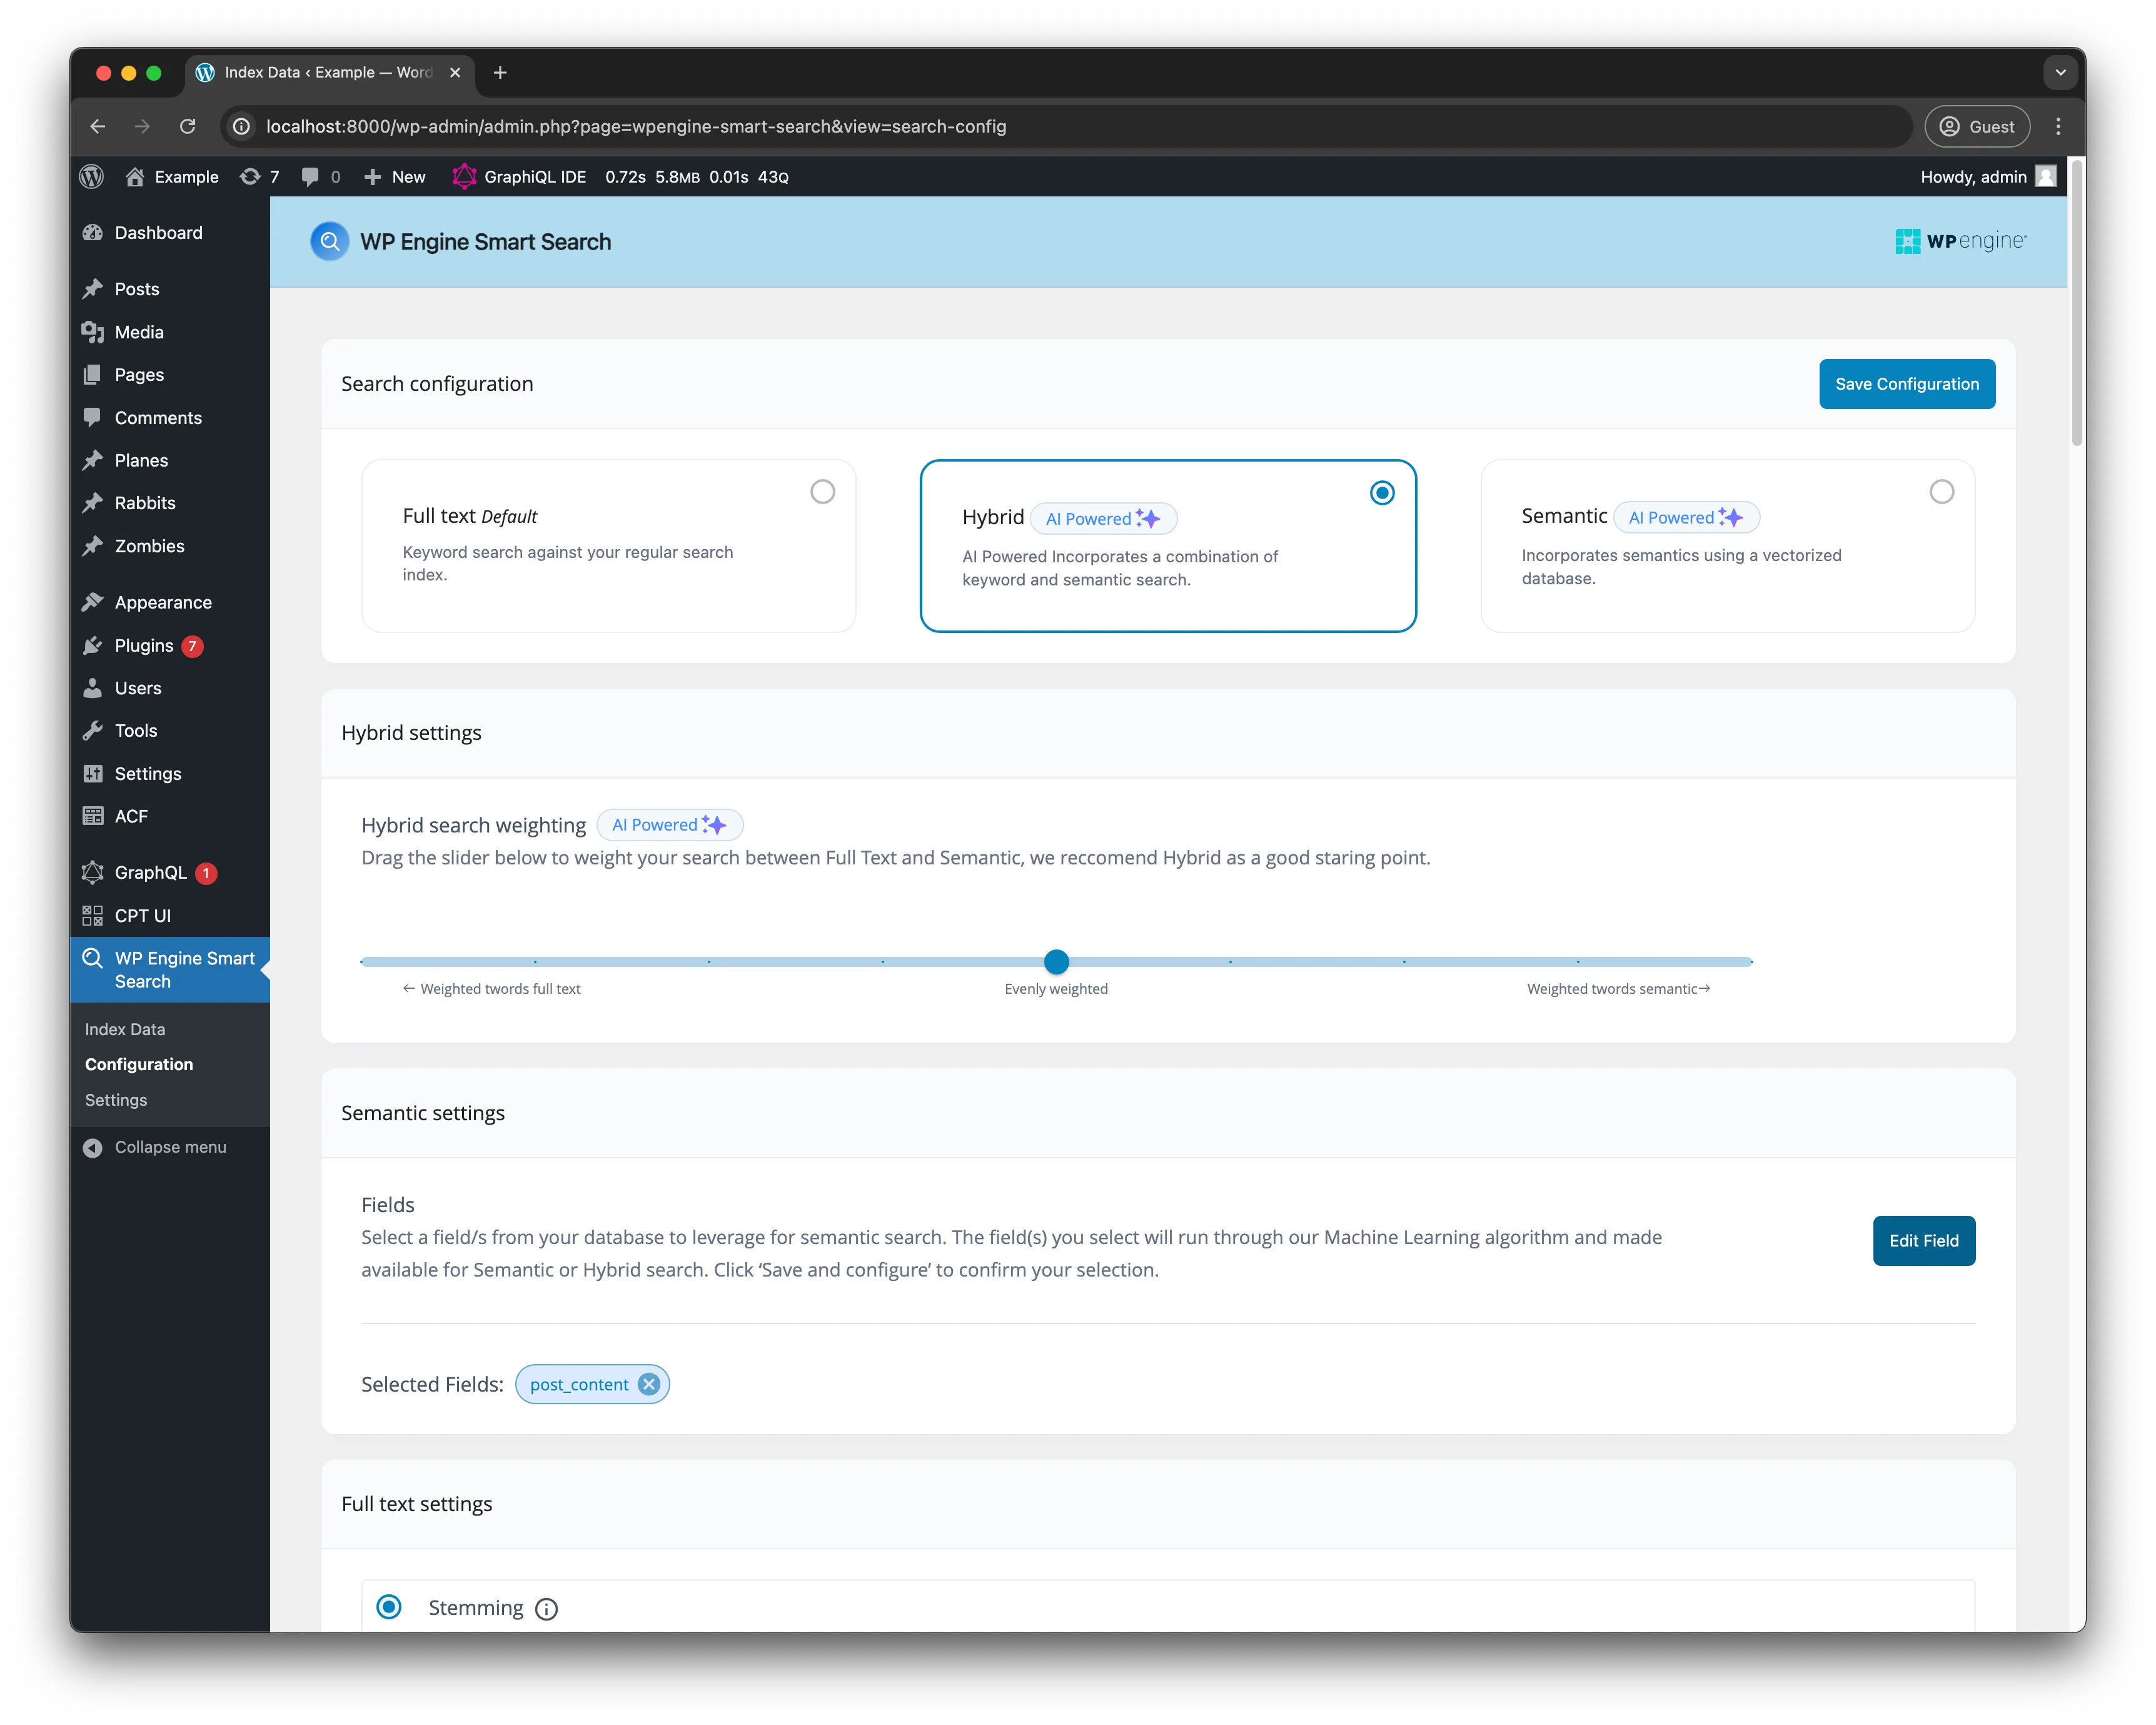
Then navigate to the Configuration, select the Hybrid card and then add the post_content field in the Semantic settings section, we are going to use this field as our AI Powered field for similarity searches. Make sure to Save Configuration after.
After saving the configuration and head on over to the Index data page then click Index Now
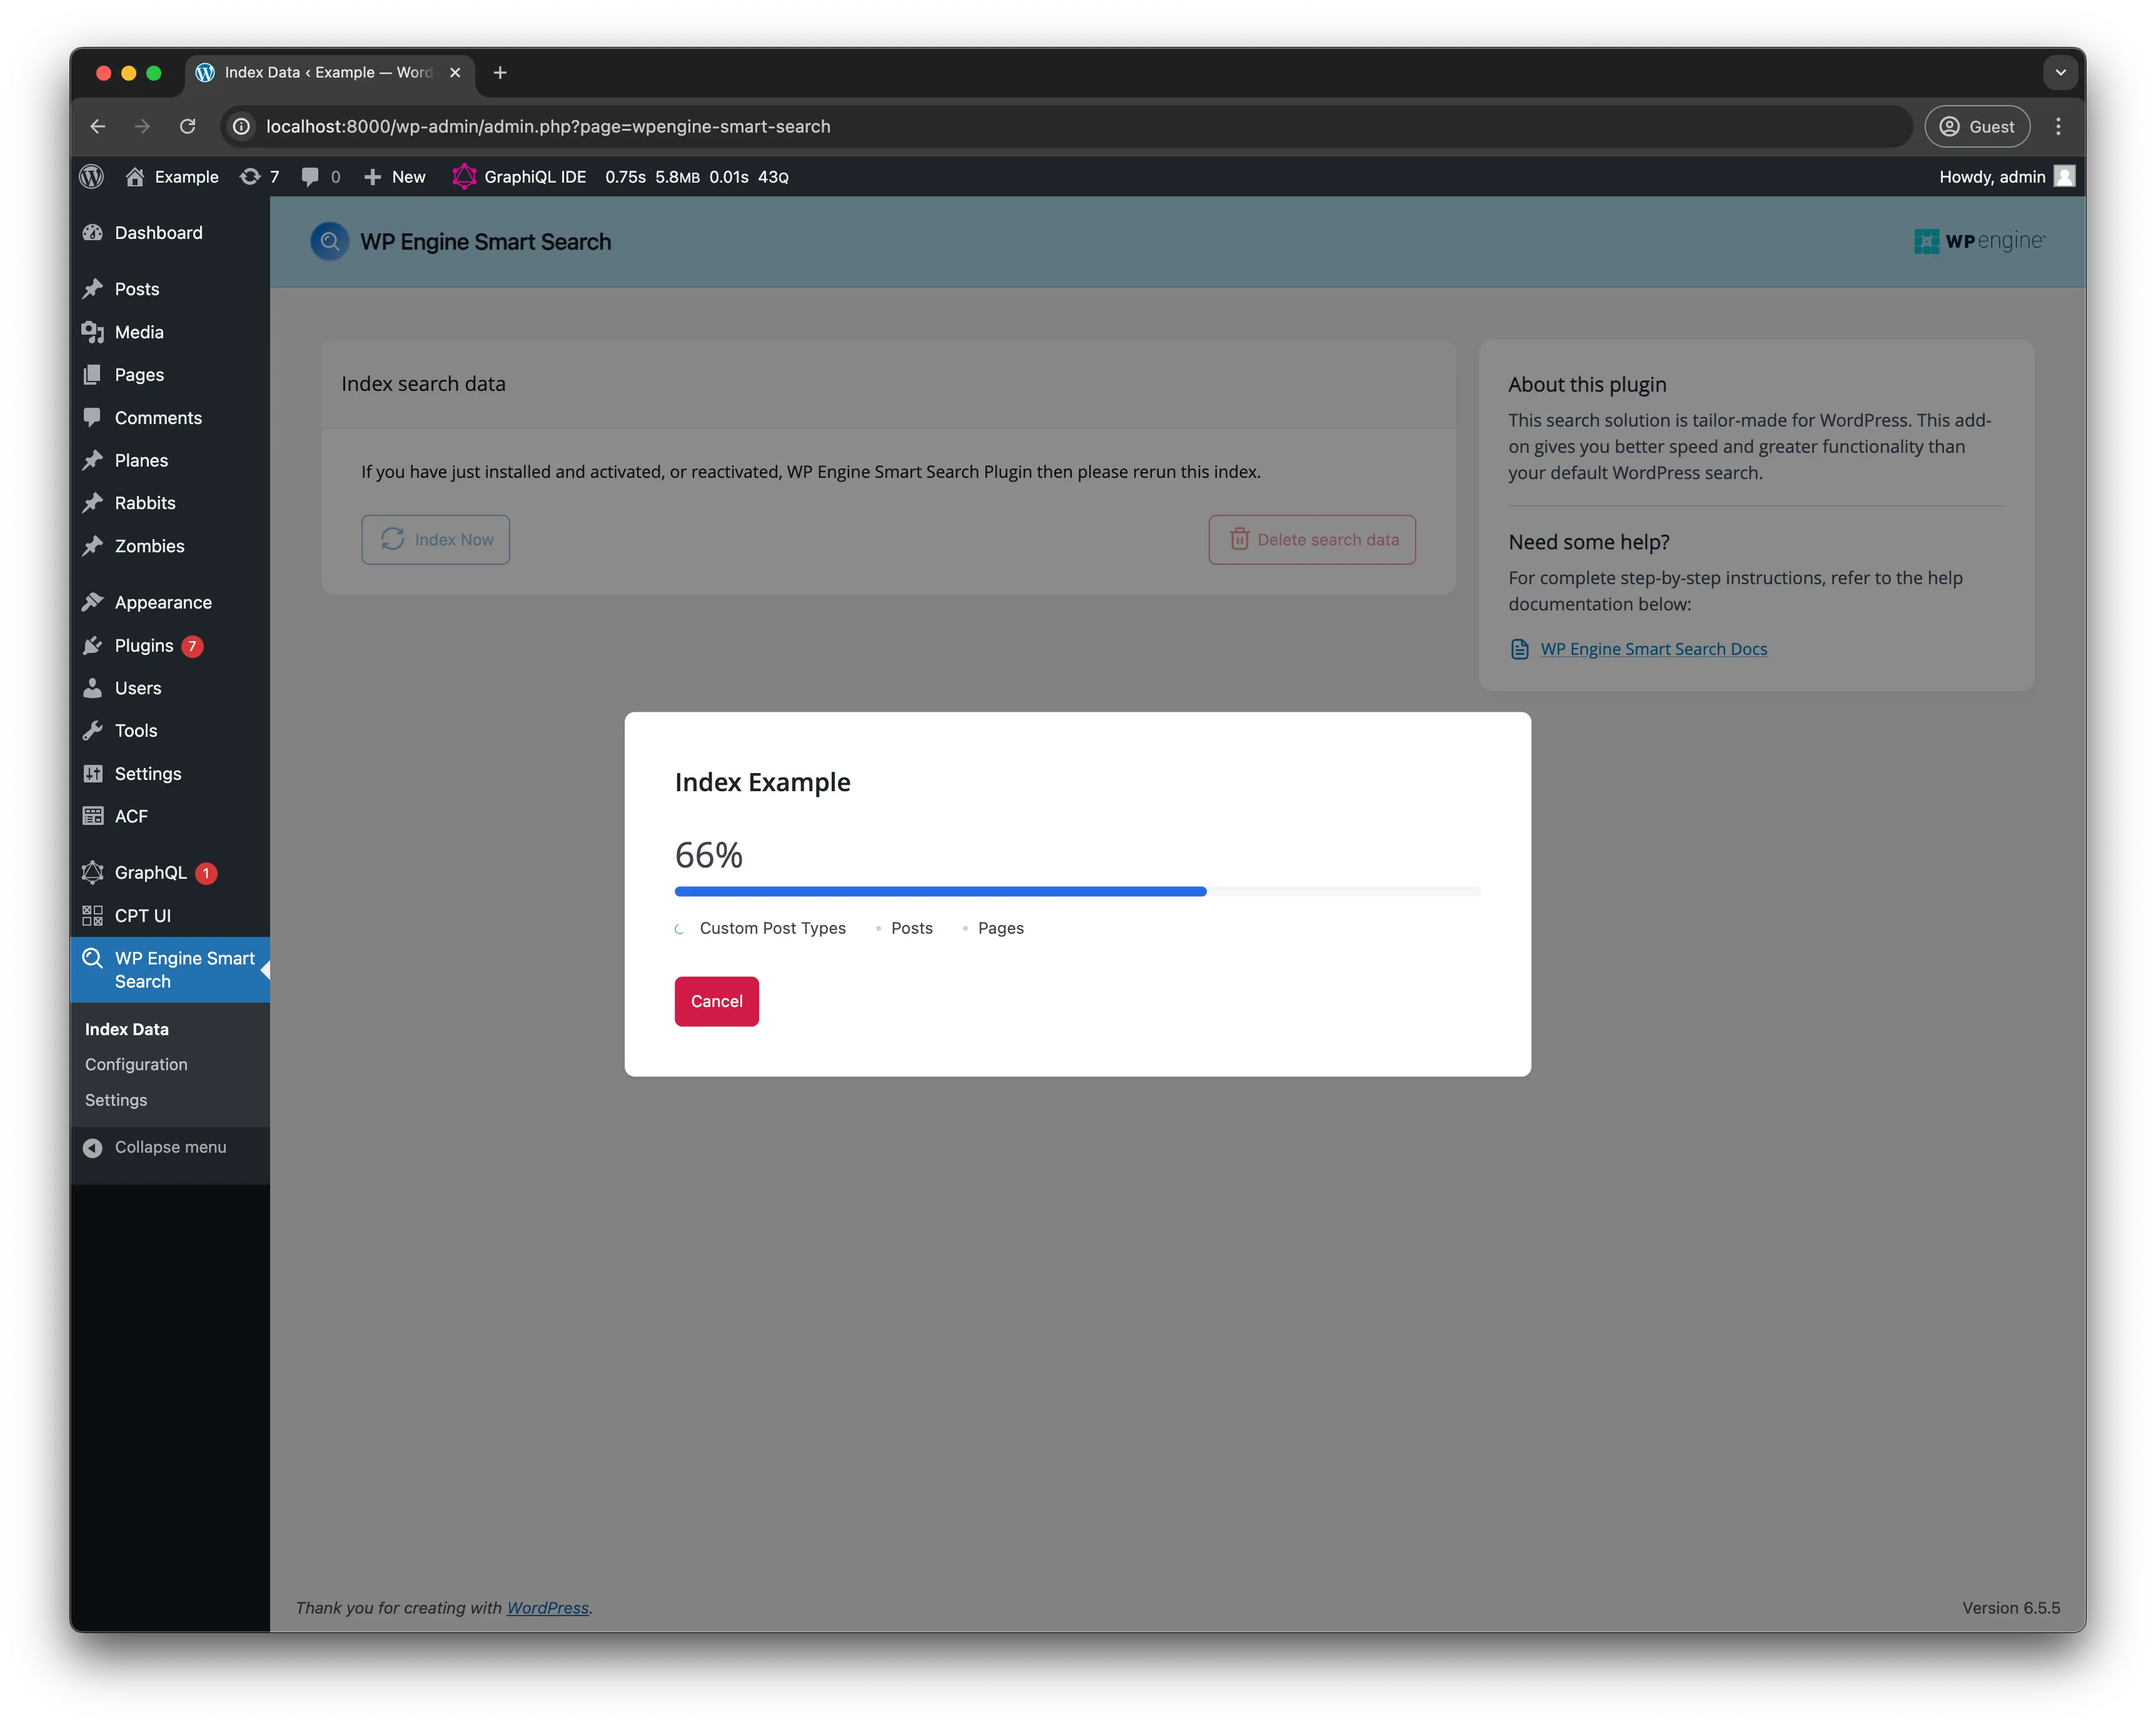
Allow the indexing operation complete and move onto the next step.
Building the chatbot
Section titled “Building the chatbot”In the next sections, we’ll enhance our Next.js application by implementing:
-
RAG Utility Function for Similarity Search: First, create a utility function to interact with WP Engine’s Smart Search. This function will leverage similarity search capabilities to fetch relevant data.
-
API Endpoint for Chat UI: Next, set up an API endpoint in Next.js to handle requests from the chatbot UI. This endpoint will use the utility function created in step 1.
-
UI Components for Chat Interface: Finally, build the UI components to display the chatbot interface. Create a chat input field, a message display area, handling user inputs and displaying the fetched context.
Initialize the app
Section titled “Initialize the app”Create a new Next.js application following the command below and answering the prompts as follows:
npx create-next-app next-chatbot-smart-search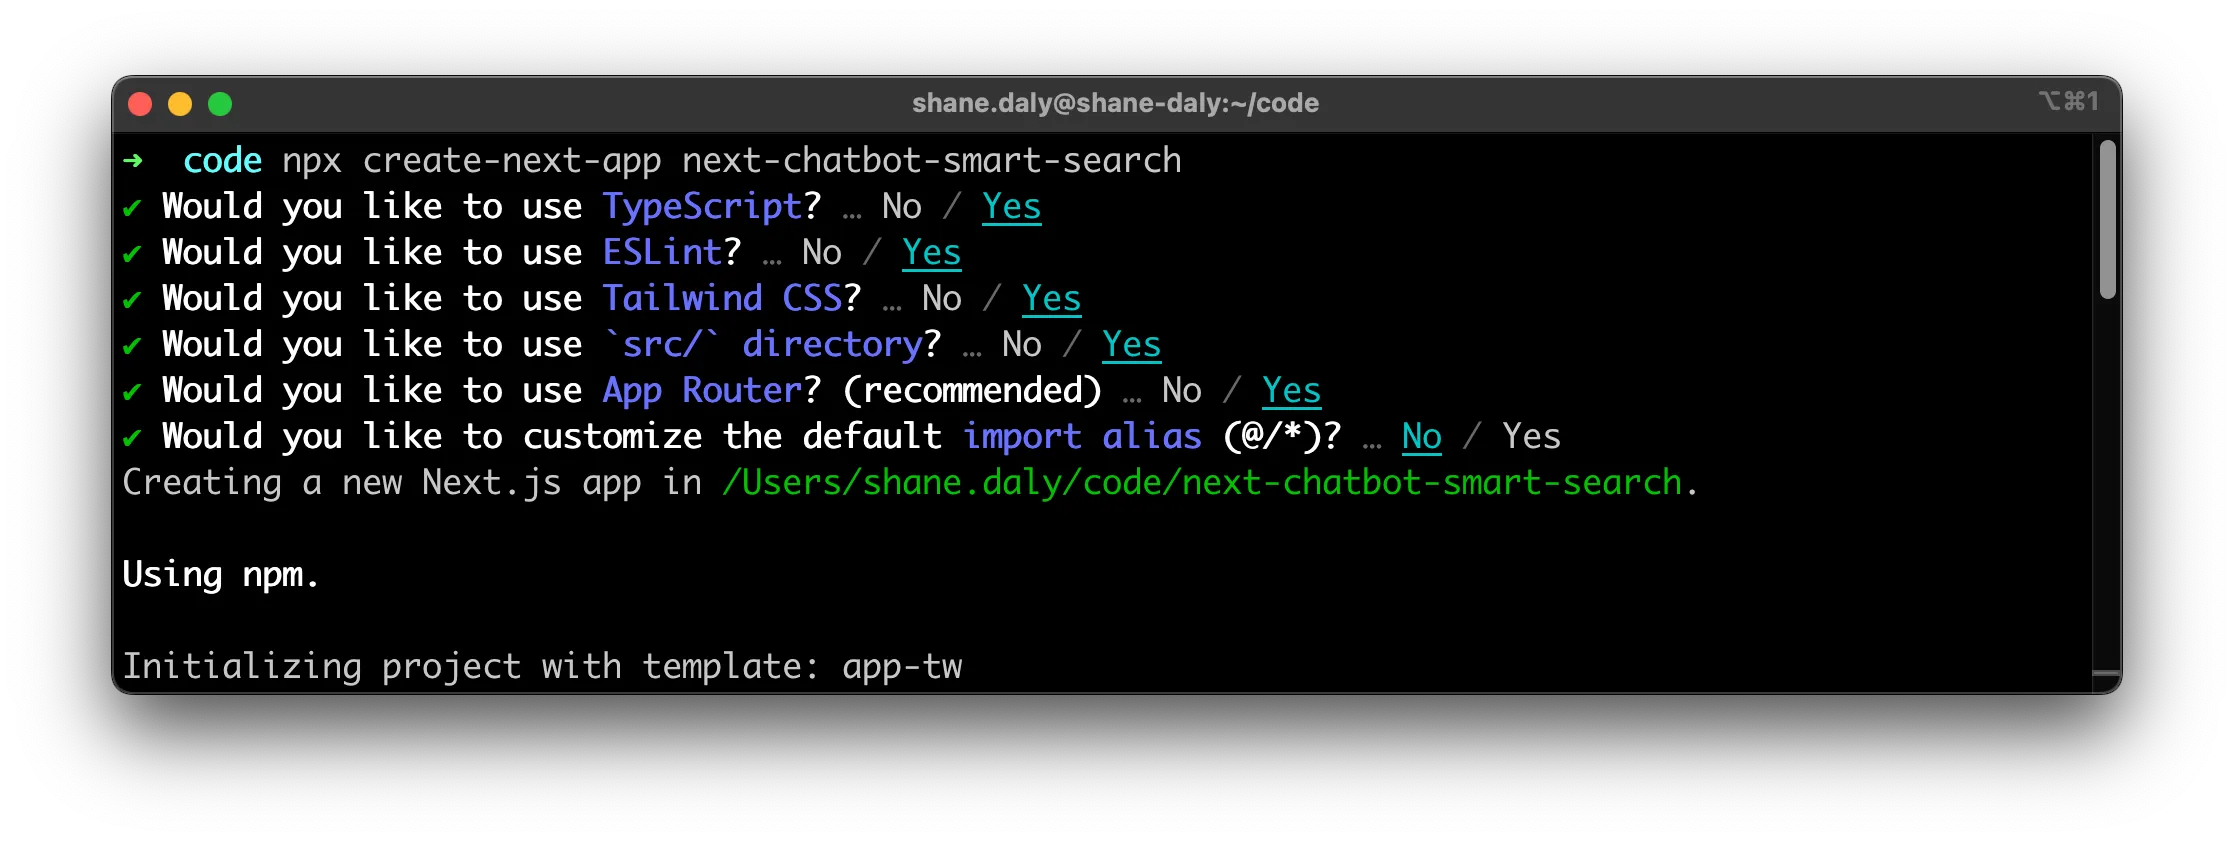
Lets navigate to the newly created application directory:
cd next-chatbot-smart-searchStructure
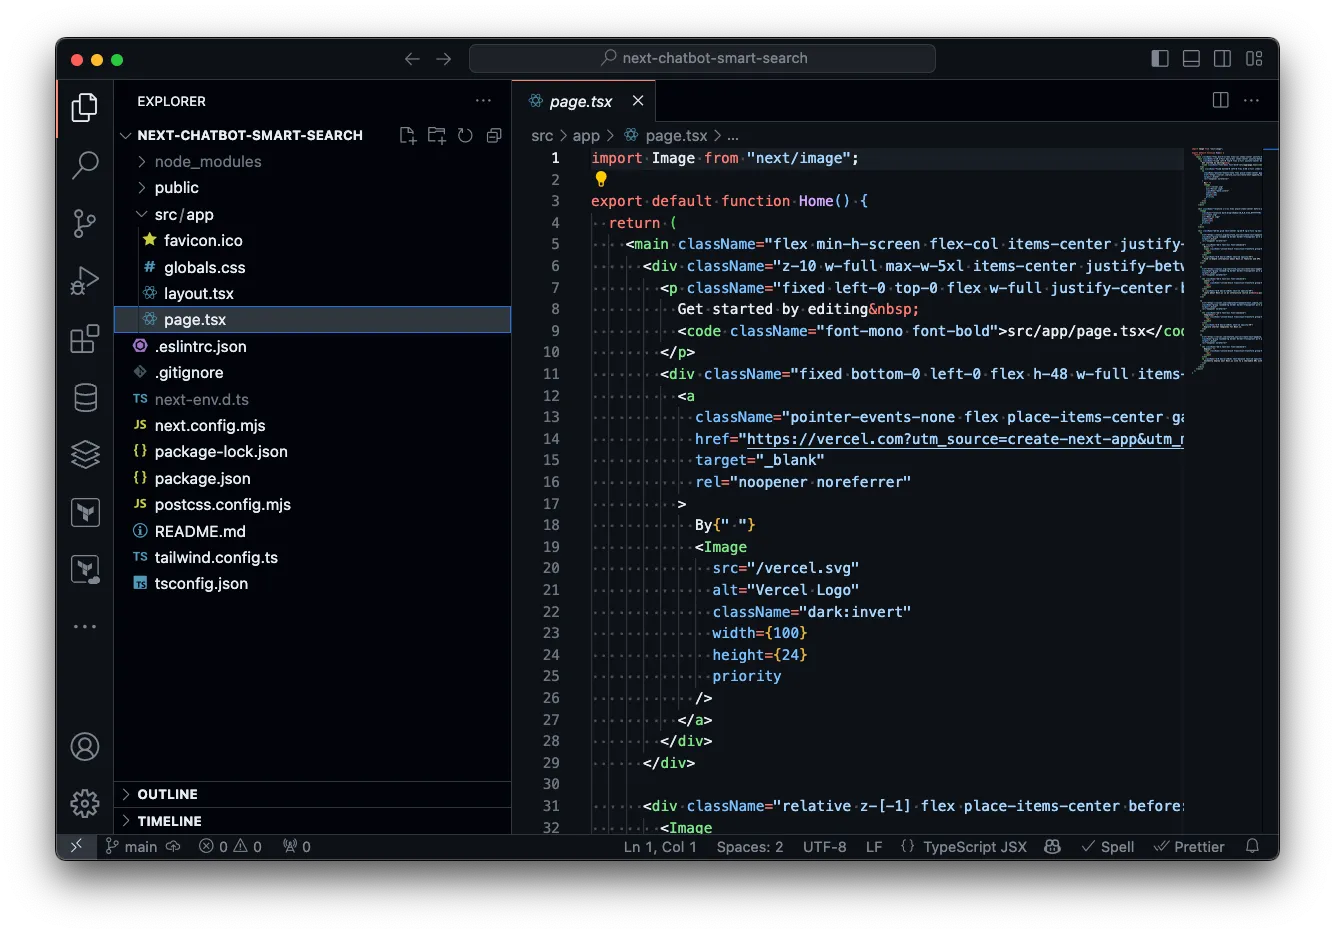
Section titled “Structure”This is what the barebones Next.js application structure should look like:
Run the app
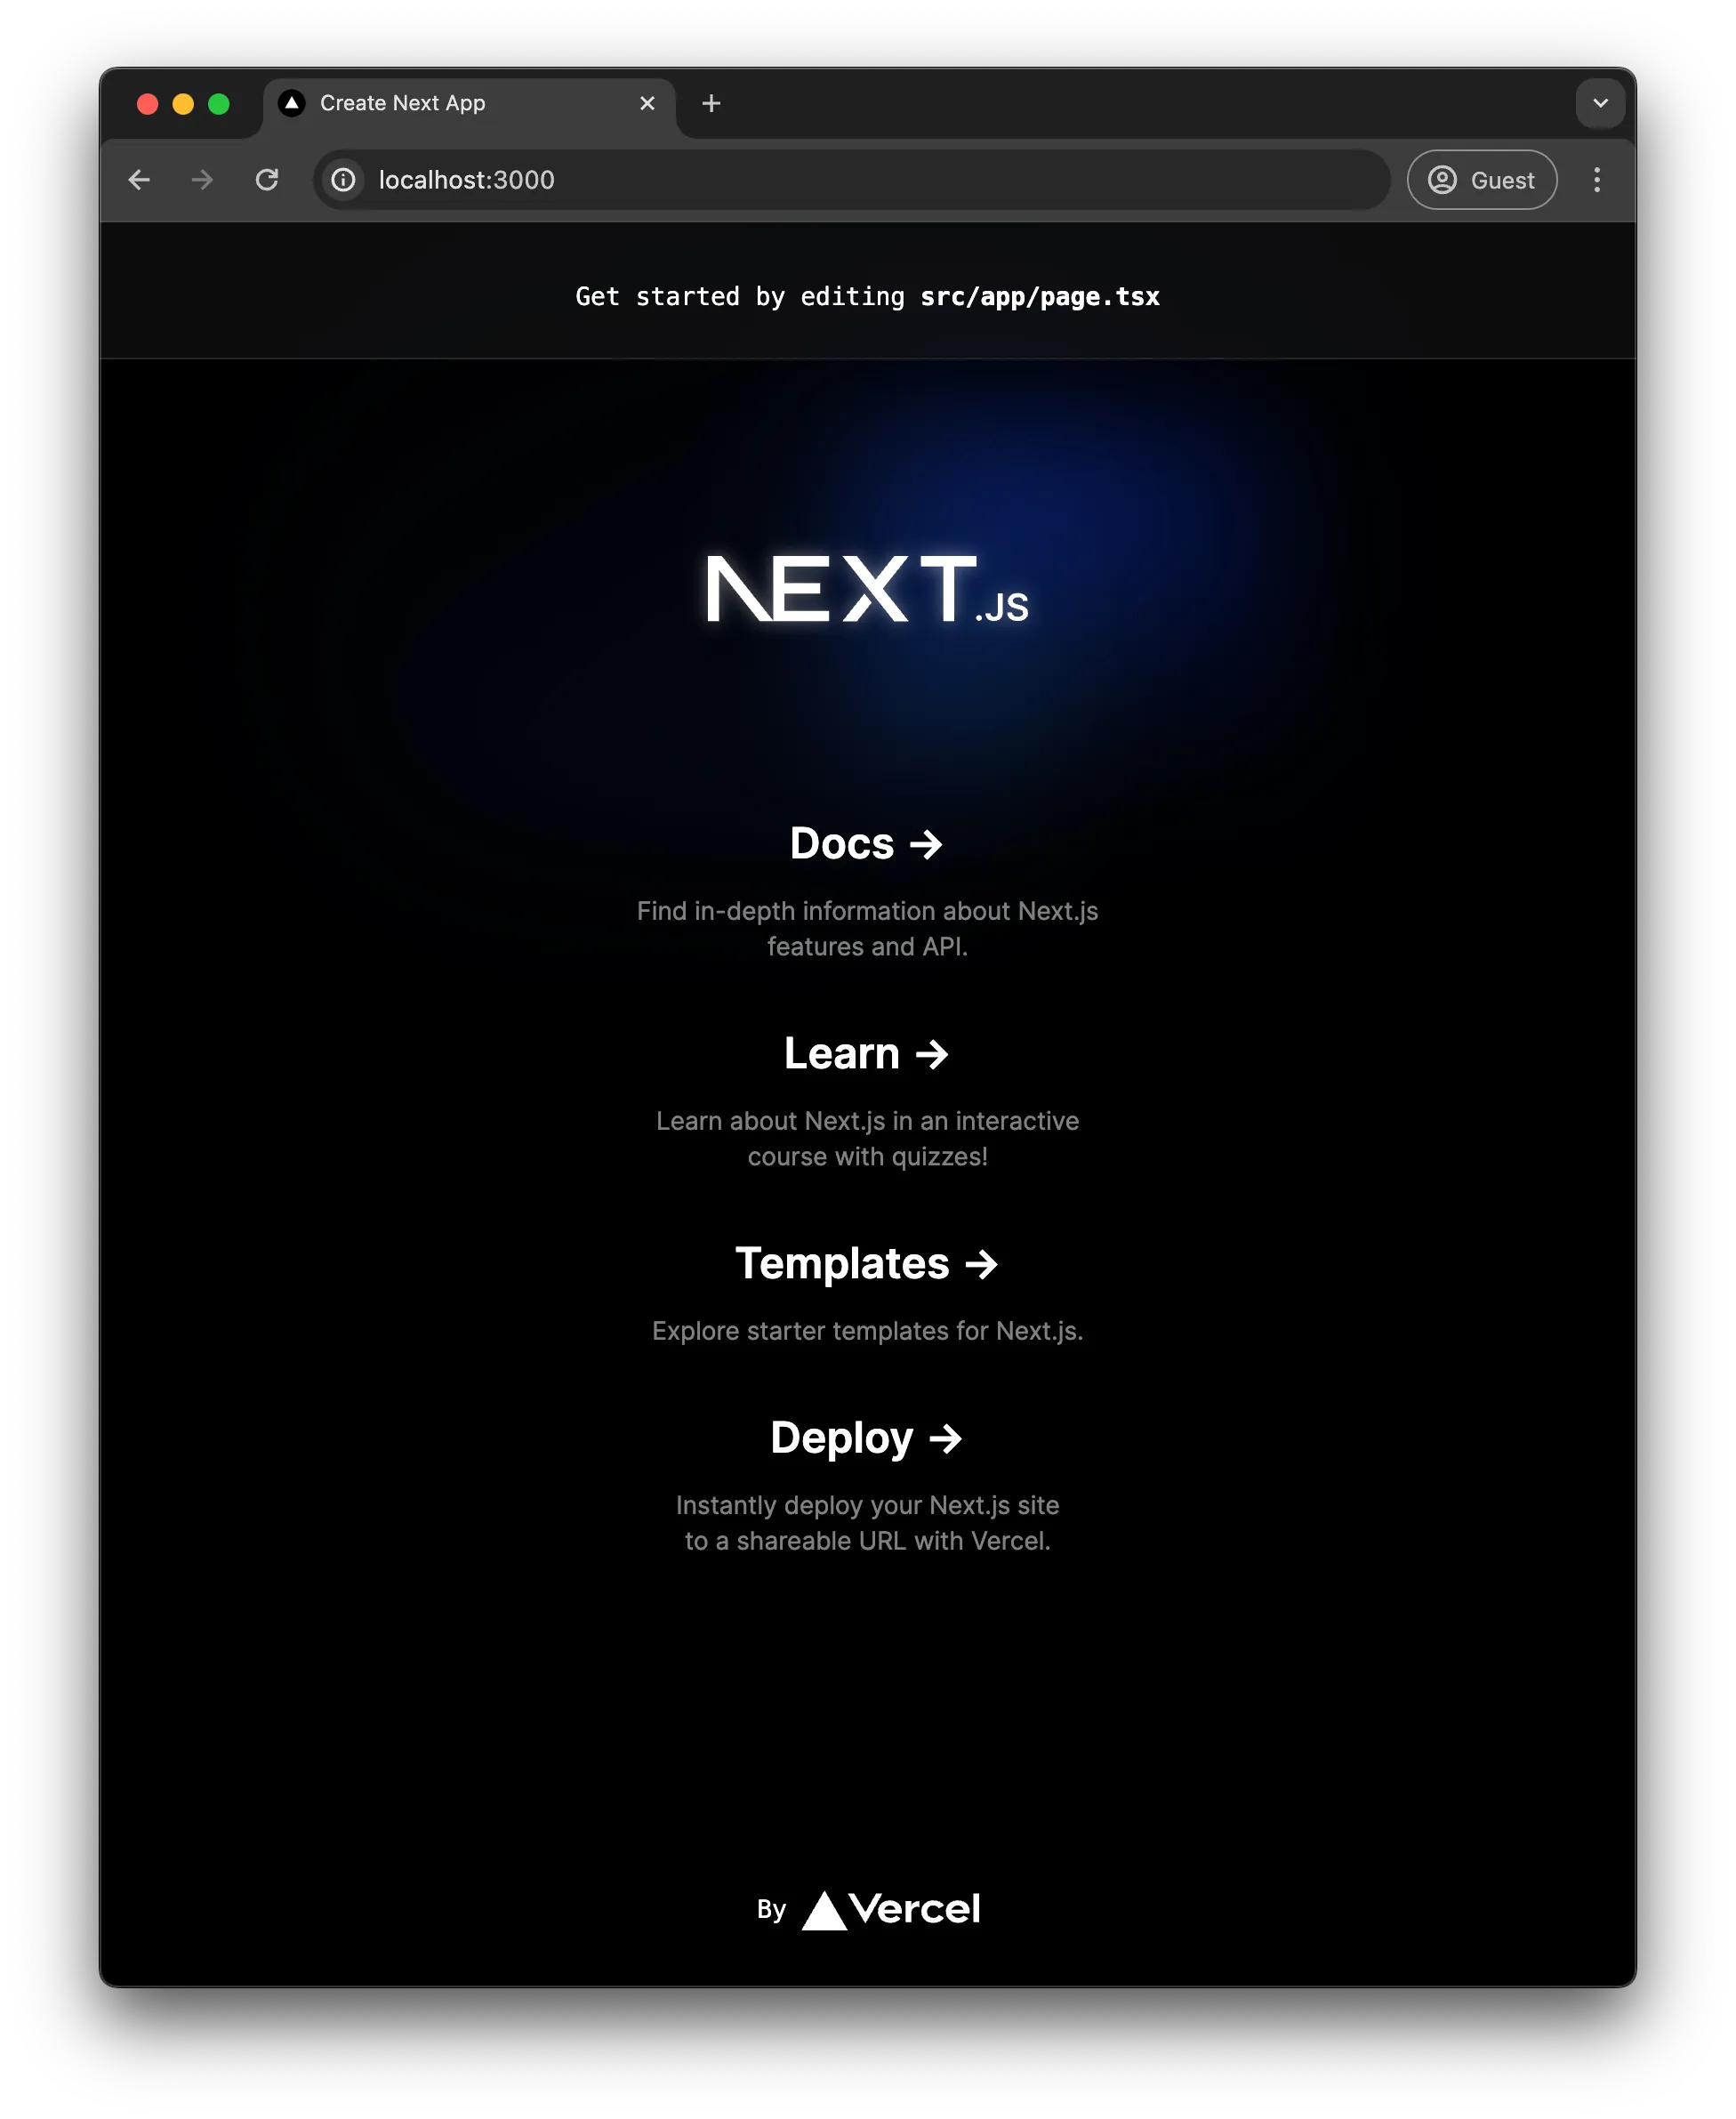
Section titled “Run the app”In your terminal run:
npm run devThen, you can review the base application in the browser at http://localhost:3000
RAG Utility Function for Similarity Search
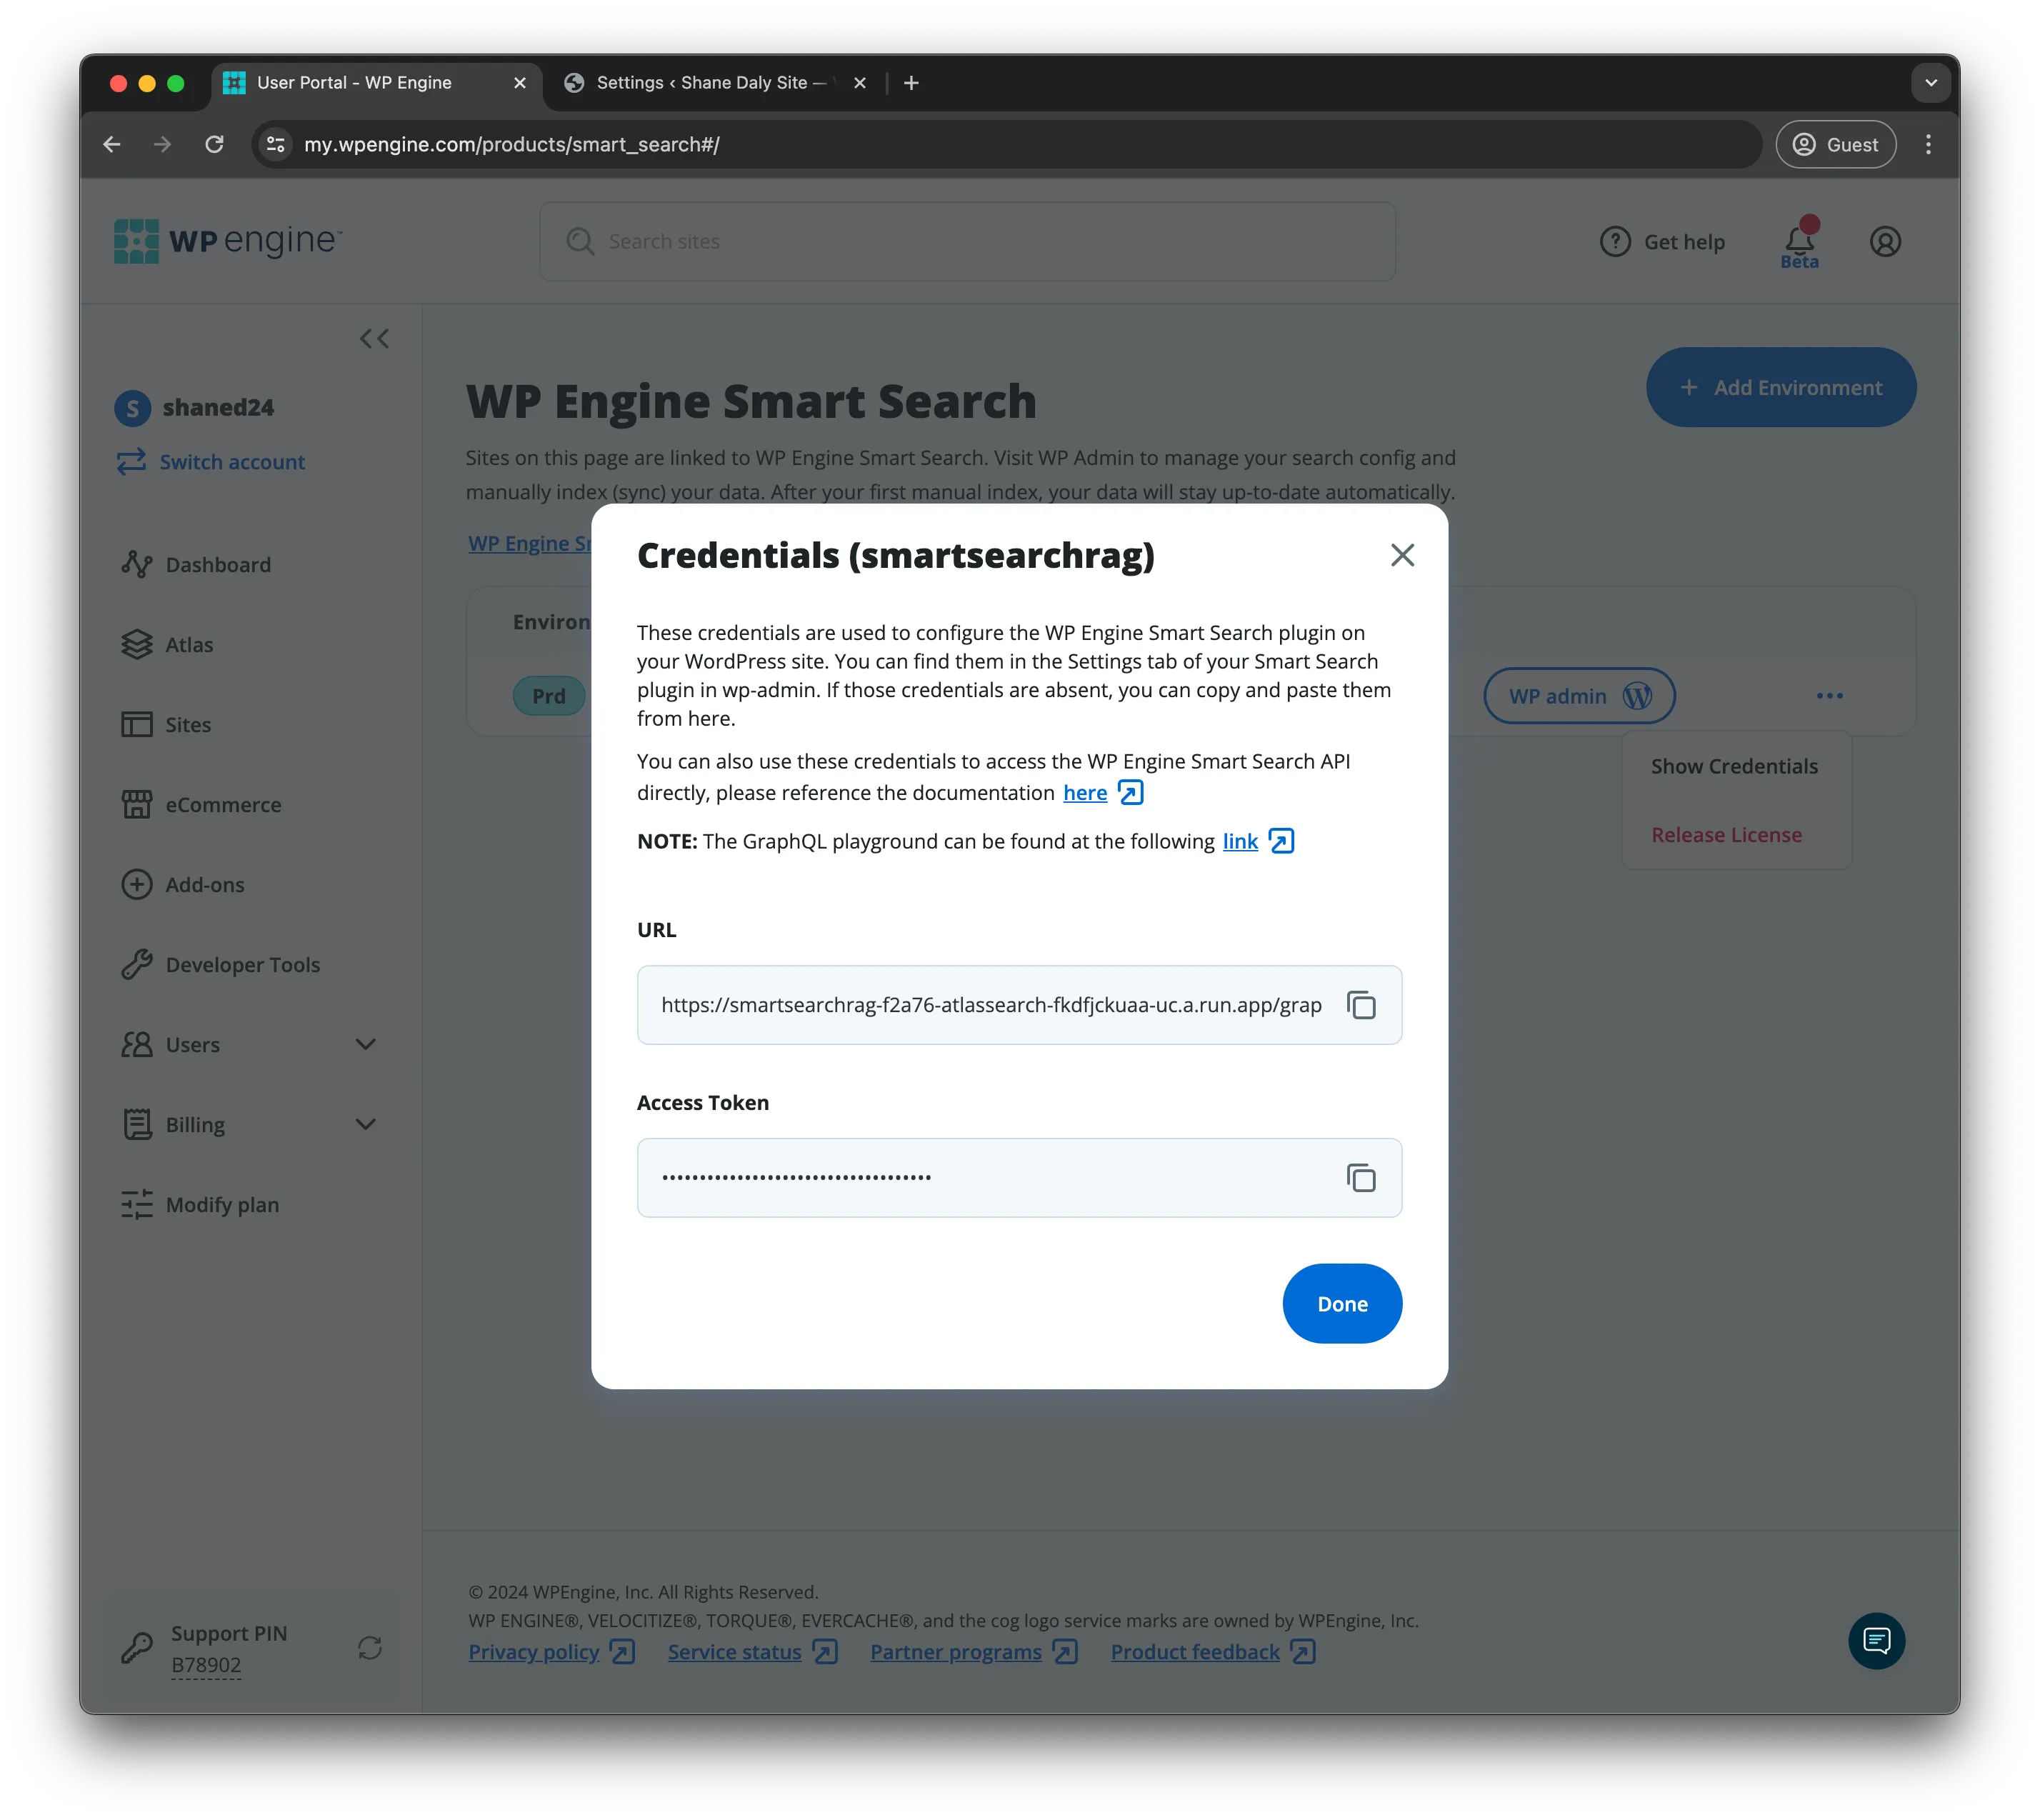
Section titled “RAG Utility Function for Similarity Search”Create a file named src/utils/context.ts in the utils directory. This file will contain the logic for making the request to the WP Engine Smart Search API using the Similarity query:
// These are the types that are used in the `getContext` functiontype Doc = {  id: string;  data: Record<string, any>;  score: number;};
type Similarity = {  total: number;  docs: Doc[];};
type Response = {  data: {    similarity: Similarity;  };};
// The function `getContext` is used to retrieve the context of a given messageexport const getContext = async (message: string): Promise<Response> => {  const url = process.env.SMART_SEARCH_URL ?? "";  const token = process.env.SMART_SEARCH_ACCESS_TOKEN ?? "";
  const query = `{    similarity(      input: {        nearest: {          text: "${message}",          field: "post_content"        }      }) {      total      docs {        id        data        score      }    }  }`;
  const response = await fetch(url, {    method: "POST",    headers: {      "Content-Type": "application/json",      Authorization: `Bearer ${token}`,    },    body: JSON.stringify({ query }),  });
  return await response.json();};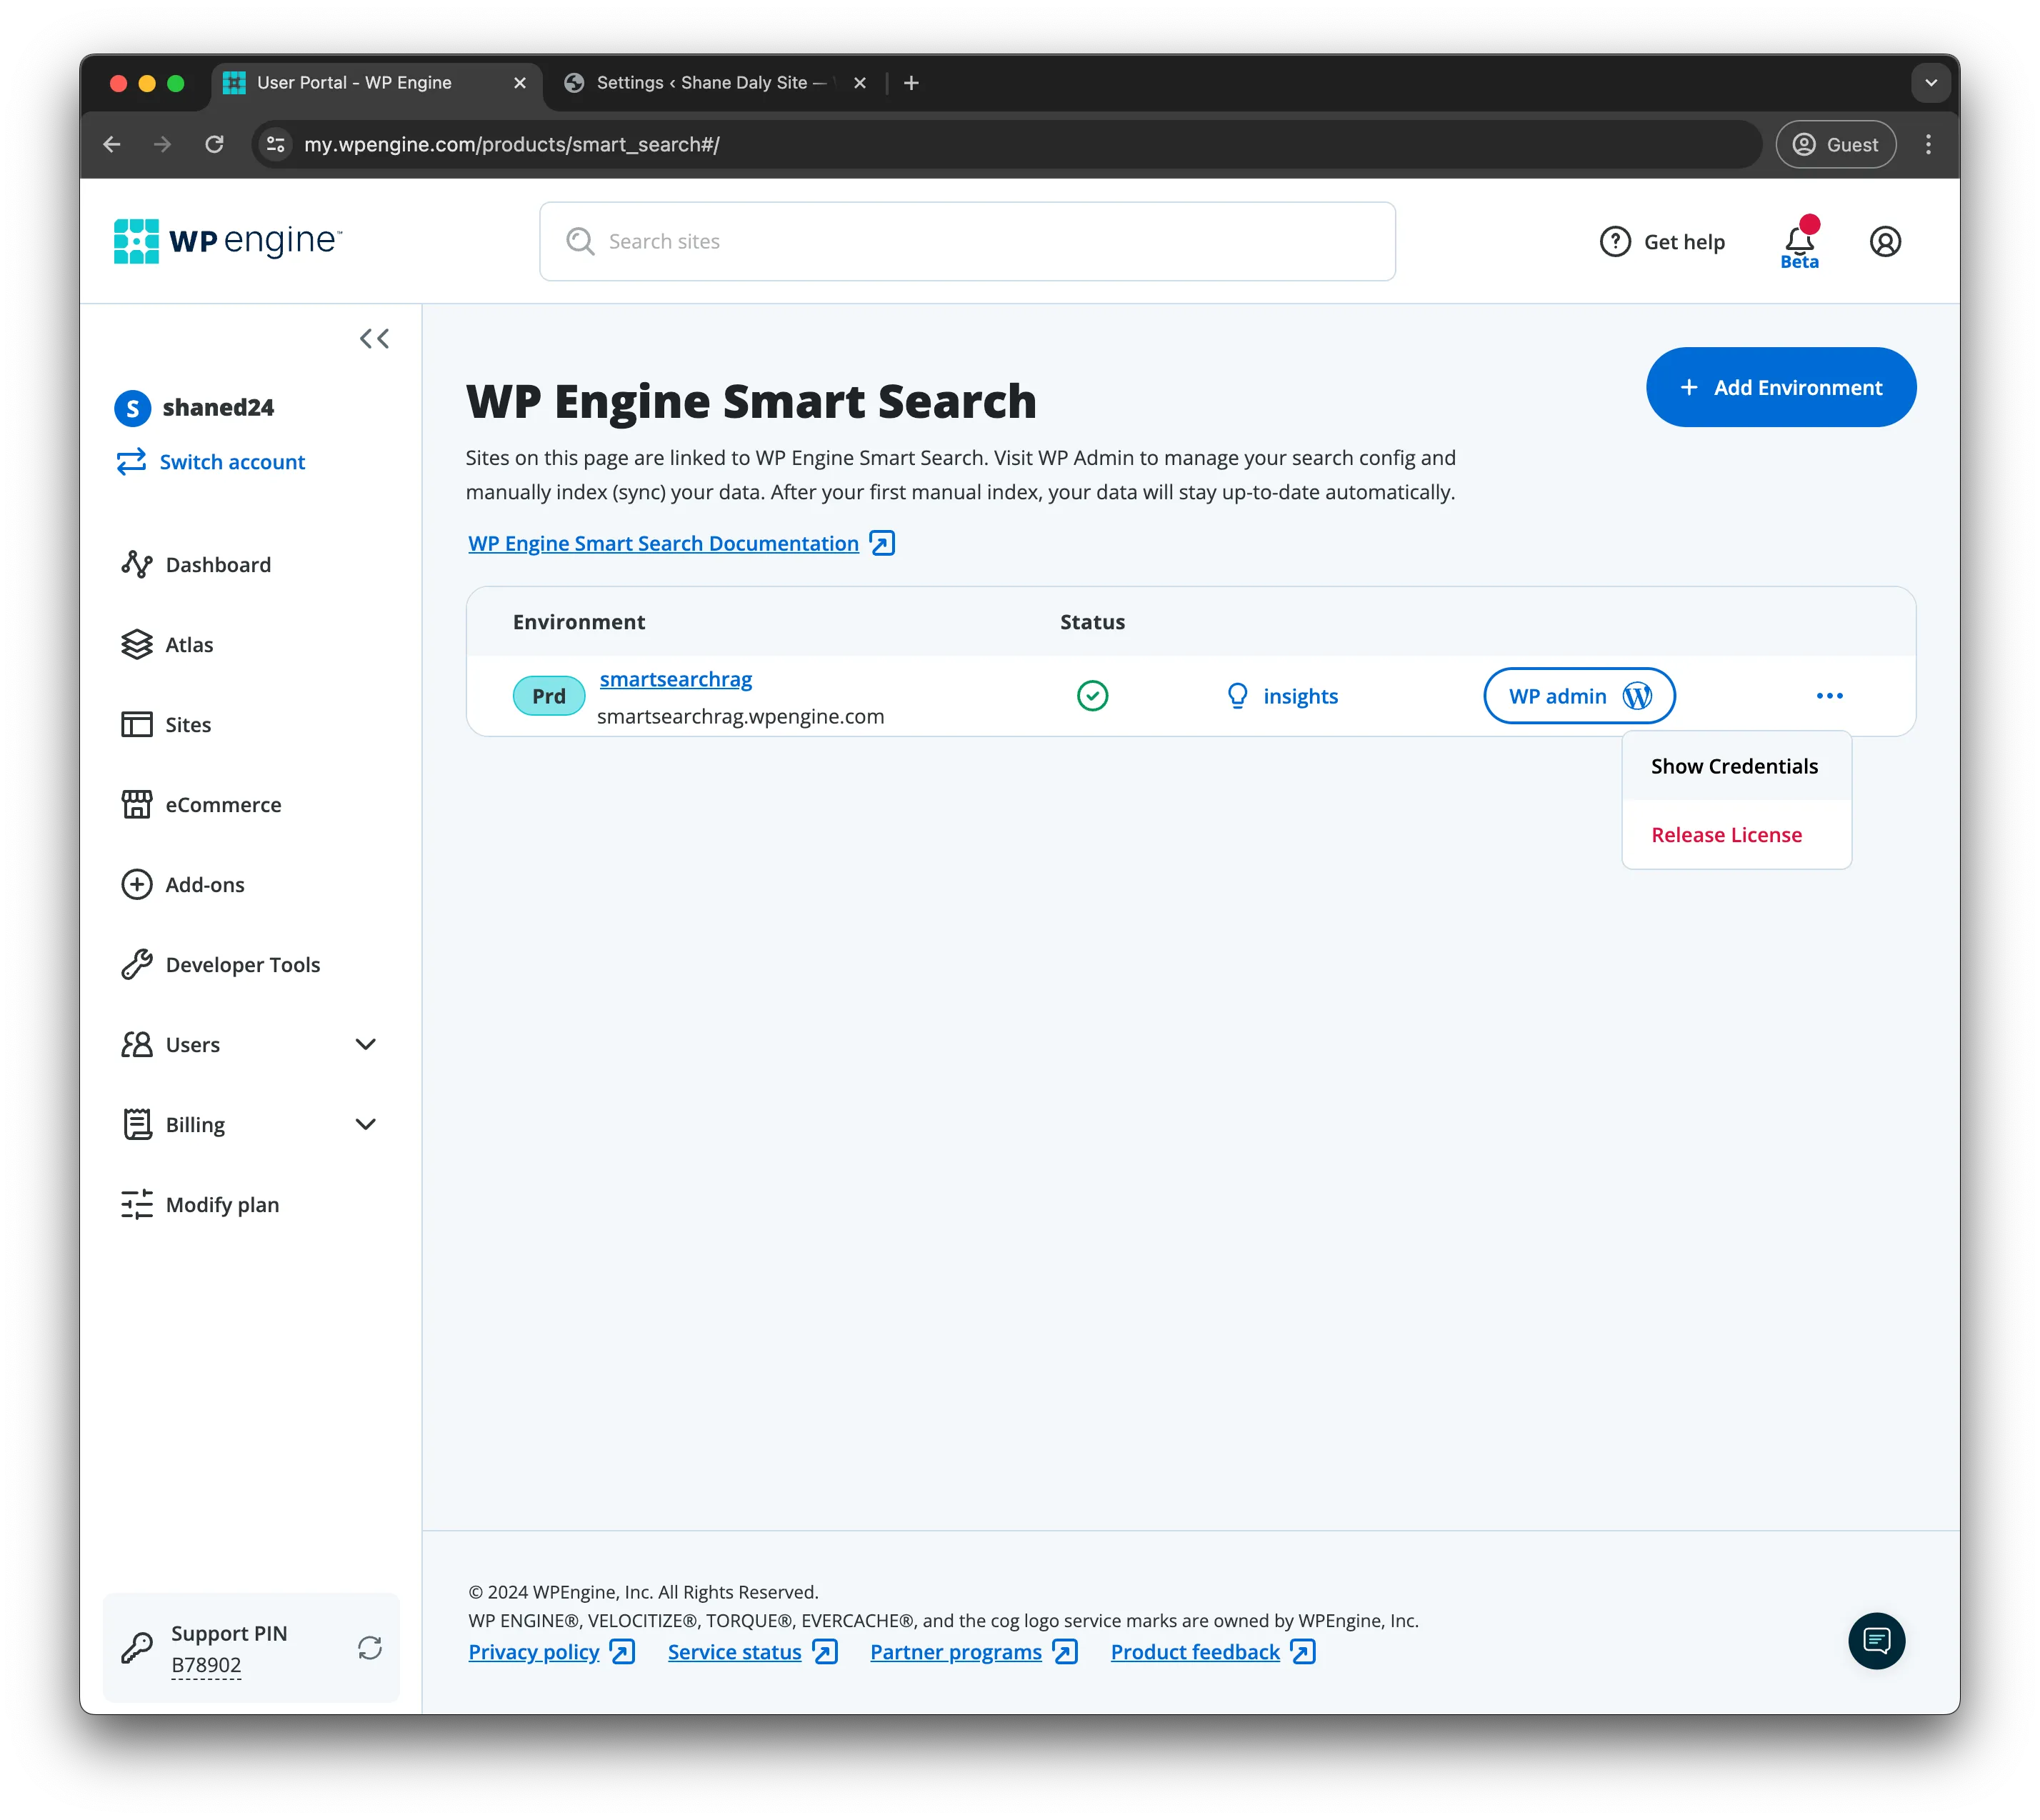
API Endpoint for Chat UI
Section titled “API Endpoint for Chat UI”src/api/chat/route.ts
Section titled “src/api/chat/route.ts”Create the chat endpoint for the chat UI. The purpose of this endpoint is to:
- Accept user messages from the chat input
- Fetch related documents from the WP Engine Smart Search API
- Construct a prompt that we will send to Open AI.
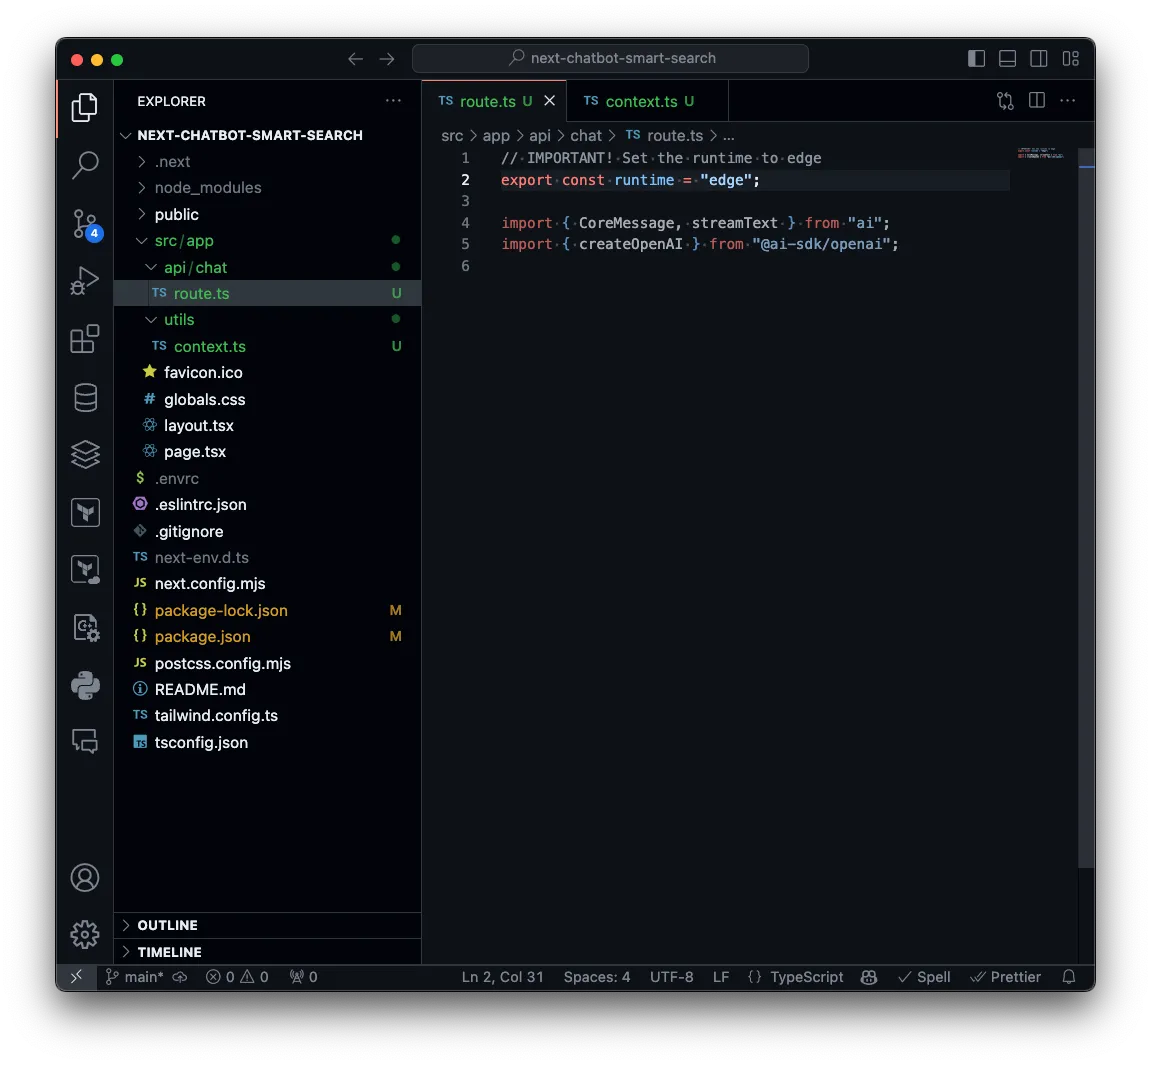
Create a new file at src/api/chat/route.ts
Next add the following npm modules:
npm install --save ai @ai-sdk/openaiConfigure the OpenAI client:
export const runtime = "edge";
import { CoreMessage, streamText } from "ai";import { createOpenAI } from "@ai-sdk/openai";
const openai = createOpenAI({  apiKey: process.env.OPENAI_API_KEY,});
The following is a fully implemented route.ts:
export const runtime = "edge";
import { CoreMessage, streamText } from "ai";import { createOpenAI } from "@ai-sdk/openai";import { getContext } from "@/app/utils/context";
/** * Initialize the OpenAI API */const openai = createOpenAI({  apiKey: process.env.OPENAI_API_KEY,});
export async function POST(req: Request) {  try {    const { messages } = await req.json();
    // Get the last message    const lastMessage = messages[messages.length - 1];
    // Get the last 10 messages not including the latest    const previousMessages = messages.slice(-11, -1);
    // Get the context from the last message    const context = await getContext(lastMessage.content);
    // Map the context into a friendly text stream    const messageContext = context.data.similarity.docs.map((doc: any) => {      return `        ID: ${doc.id}        Title: ${doc.data.post_title}        Content: ${doc.data.post_content}        SearchScore: ${doc.score}      `;    });
    const prompt: CoreMessage = {      role: "assistant",      content: `AI assistant is a brand new, powerful, human-like artificial intelligence.      The traits of AI include expert knowledge, helpfulness, cleverness, and articulateness.      AI is a well-behaved and well-mannered individual.      AI is always friendly, kind, and inspiring, and he is eager to provide vivid and thoughtful responses to the user.      AI has the sum of all knowledge in their brain, and is able to accurately answer nearly any question about any topic in conversation.      AI assistant is a big fan of WP Engine Smart Search.      AI assistant uses WP Engine Smart Search to provide the most accurate and relevant information to the user.      AI assistant data from WP Engine Smart Search is based on TV Shows.      START CONTEXT BLOCK      ${messageContext.join("----------------\n\n")}      END OF CONTEXT BLOCK
      START OF HISTORY BLOCK      ${JSON.stringify(previousMessages)}      END OF HISTORY BLOCK      AI assistant will take into account any CONTEXT BLOCK that is provided in a conversation.      AI assistant will take into account any HISTORY BLOCK that is provided in a conversation.      If the context does not provide the answer to question, the AI assistant will say, "I'm sorry, but I don't know the answer to that question".      AI assistant will not apologize for previous responses, but instead will indicated new information was gained.      AI assistant will not invent anything that is not drawn directly from the context.      AI assistant will answer coding questions.      `,    };
    const response = await streamText({      model: openai("gpt-4o"),      messages: [        prompt,        ...messages.filter((message: CoreMessage) => message.role === "user"),      ],    });    // Convert the response into a friendly text-stream    return response.toAIStreamResponse();  } catch (e) {    throw e;  }}
Create UI Components for Chat Interface
Section titled “Create UI Components for Chat Interface”src/app/components/Chat.tsx
Section titled “src/app/components/Chat.tsx”The chat component is responsible for rendering the message input as well as the Messages component which handles the rendering of user and assistant messages.
Create a file at src/app/components/Chat.tsx
"use client";
import React, { ChangeEvent } from "react";import Messages from "./Messages";import { Message } from "ai/react";
interface Chat {  input: string;  handleInputChange: (e: ChangeEvent<HTMLInputElement>) => void;  handleMessageSubmit: (e: React.FormEvent<HTMLFormElement>) => void;  messages: Message[];}
const Chat: React.FC<Chat> = ({  input,  handleInputChange,  handleMessageSubmit,  messages,}) => {  return (    <div id="chat" className="flex flex-col w-full mx-2">      <Messages messages={messages} />      <form        onSubmit={handleMessageSubmit}        className="ml-1 mt-5 mb-5 relative bg-gray-500 rounded-lg"      >        <input          type="text"          className="input-glow appearance-none border rounded w-full py-2 px-3 text-gray-700 leading-tight focus:outline-none focus:shadow-outline pl-3 pr-10 bg-gray-100 border-gray-100 transition-shadow duration-200"          value={input}          onChange={handleInputChange}        />
        <span className="absolute inset-y-0 right-0 flex items-center pr-3 pointer-events-none text-gray-400">          Press ⮐ to send        </span>      </form>    </div>  );};
export default Chat;
src/app/components/Messages.tsx
Section titled “src/app/components/Messages.tsx”The messages component will be responsible for rendering user submitted messages and the LLM outputs.

Install a markdown formatter to the Open AI responses:
npm install --save react-markdownCreate the Messages component src/app/components/Messages.tsx
"use client";import { Message } from "ai";import { useEffect, useRef } from "react";import ReactMarkdown from "react-markdown";
export default function Messages({ messages }: { messages: Message[] }) {  const messagesEndRef = useRef<HTMLDivElement | null>(null);  useEffect(() => {    messagesEndRef.current?.scrollIntoView({ behavior: "smooth" });  }, [messages]);  return (    <div      className="border-1 border-gray-100 overflow-y-scroll flex-grow flex-col justify-end p-1"      style={{ scrollbarWidth: "none" }}    >      {messages.map((msg, index) => (        <div          key={index}          className={`${            msg.role === "assistant" ? "bg-green-500" : "bg-blue-500"          } my-2 p-3 shadow-md hover:shadow-lg transition-shadow duration-200 flex slide-in-bottom bg-blue-500 border border-gray-900 message-glow`}        >          <div className="ml- rounded-tl-lg  p-2 border-r flex items-center">            {msg.role === "assistant" ? "🤖" : "🧅"}          </div>          <div className="ml-2 text-white">            <ReactMarkdown>{msg.content}</ReactMarkdown>          </div>        </div>      ))}      <div ref={messagesEndRef} />    </div>  );}
Update the page.tsx template
Section titled “Update the page.tsx template”Modify the main src/app/page.tsx to incorporate the Chat component
"use client";import Chat from "./components/Chat";import { useChat } from "ai/react";import { useEffect } from "react";
const Page: React.FC = () => { const { messages, input, handleInputChange, handleSubmit, setMessages } = useChat();
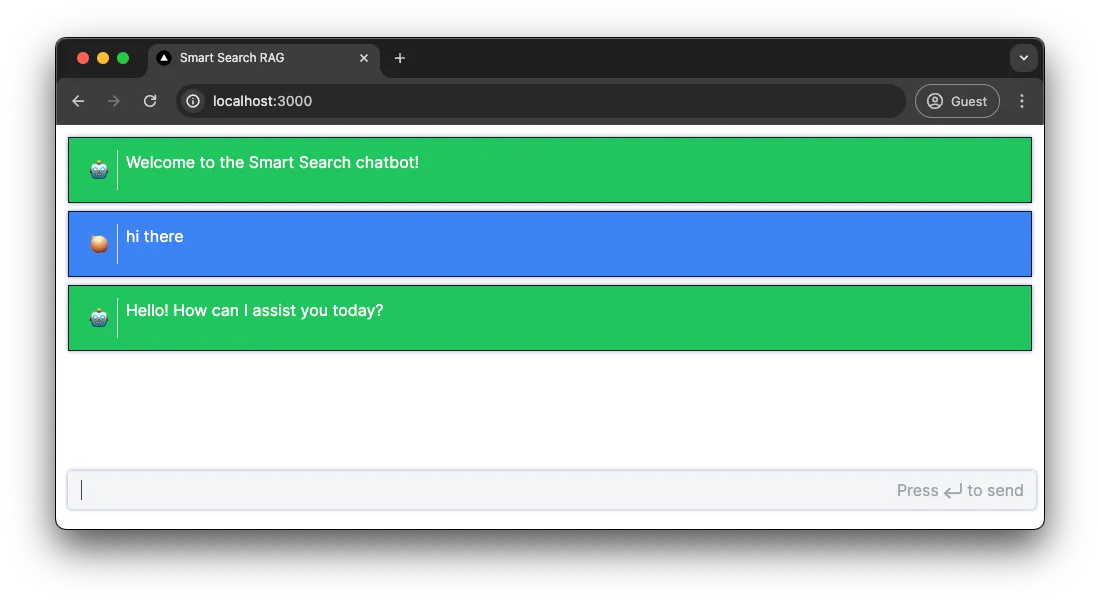
useEffect(() => { if (messages.length < 1) { setMessages([ { role: "assistant", content: "Welcome to the Smart Search chatbot!", id: "welcome", }, ]); } }, [messages, setMessages]);
return ( <div className="flex flex-col justify-between h-screen bg-white mx-auto max-w-full"> <div className="flex w-full flex-grow overflow-hidden relative"> <Chat input={input} handleInputChange={handleInputChange} handleMessageSubmit={handleSubmit} messages={messages} /> </div> </div> );};
export default Page;Update layout.tsx with metadata
Section titled “Update layout.tsx with metadata”Update metadata on src/app/layout.tsx
import type { Metadata } from "next";import { Inter } from "next/font/google";import "./globals.css";
const inter = Inter({ subsets: ["latin"] });
export const metadata: Metadata = {  title: "Smart Search RAG",  description: "This chatbot uses the Smart Search Similarity API",};
export default function RootLayout({  children,}: Readonly<{  children: React.ReactNode;}>) {  return (    <html lang="en">      <body className={inter.className}>{children}</body>    </html>  );}
Update the global.css for chat animations
Section titled “Update the global.css for chat animations”Finally update src/app/globals.css
@import "tailwindcss/base";@import "tailwindcss/components";@import "tailwindcss/utilities";
@keyframes slideInFromBottom {  0% {    transform: translateY(100%);    opacity: 0;  }
  100% {    transform: translateY(0);    opacity: 1;  }}
.slide-in-bottom {  animation: slideInFromBottom 0.3s ease-out;}
.input-glow {  box-shadow: 0 0 3px #b2bfd7, 0 0 5px #b2bfd7;}
.input-glow:hover {  box-shadow: 0 0 5px #87f4f6, 0 0 10px #8b9ebe;}
.message-glow {  box-shadow: 0 0 3px #b2bfd7, 0 0 5px #b2bfd7;}
.message-glow:hover {  box-shadow: 0 0 3px #75e7e9, 0 0 4px #8b9ebe;}
@keyframes glimmer {  0% {    background-position: -200px;  }
  100% {    background-position: calc(200px + 100%);  }}
@keyframes shimmer {  0% {    transform: translateX(-100%);  }
  100% {    transform: translateX(100%);  }}
.shimmer {  animation: glimmer 2s infinite linear;  background: rgb(82, 82, 91);  background: linear-gradient(to right,      darkgray 10%,      rgb(130, 129, 129) 50%,      rgba(124, 123, 123, 0.816) 90%);  background-size: 200px 100%;  background-repeat: no-repeat;  /* color: transparent; */}
@keyframes pulse {
  0%,  100% {    color: white;  }
  50% {    color: #f59e0b;    /* Tailwind's yellow-500 */  }}
.animate-pulse-once {  animation: pulse 5s cubic-bezier(0, 0, 0.2, 1) 1;}
Testing the chatbot
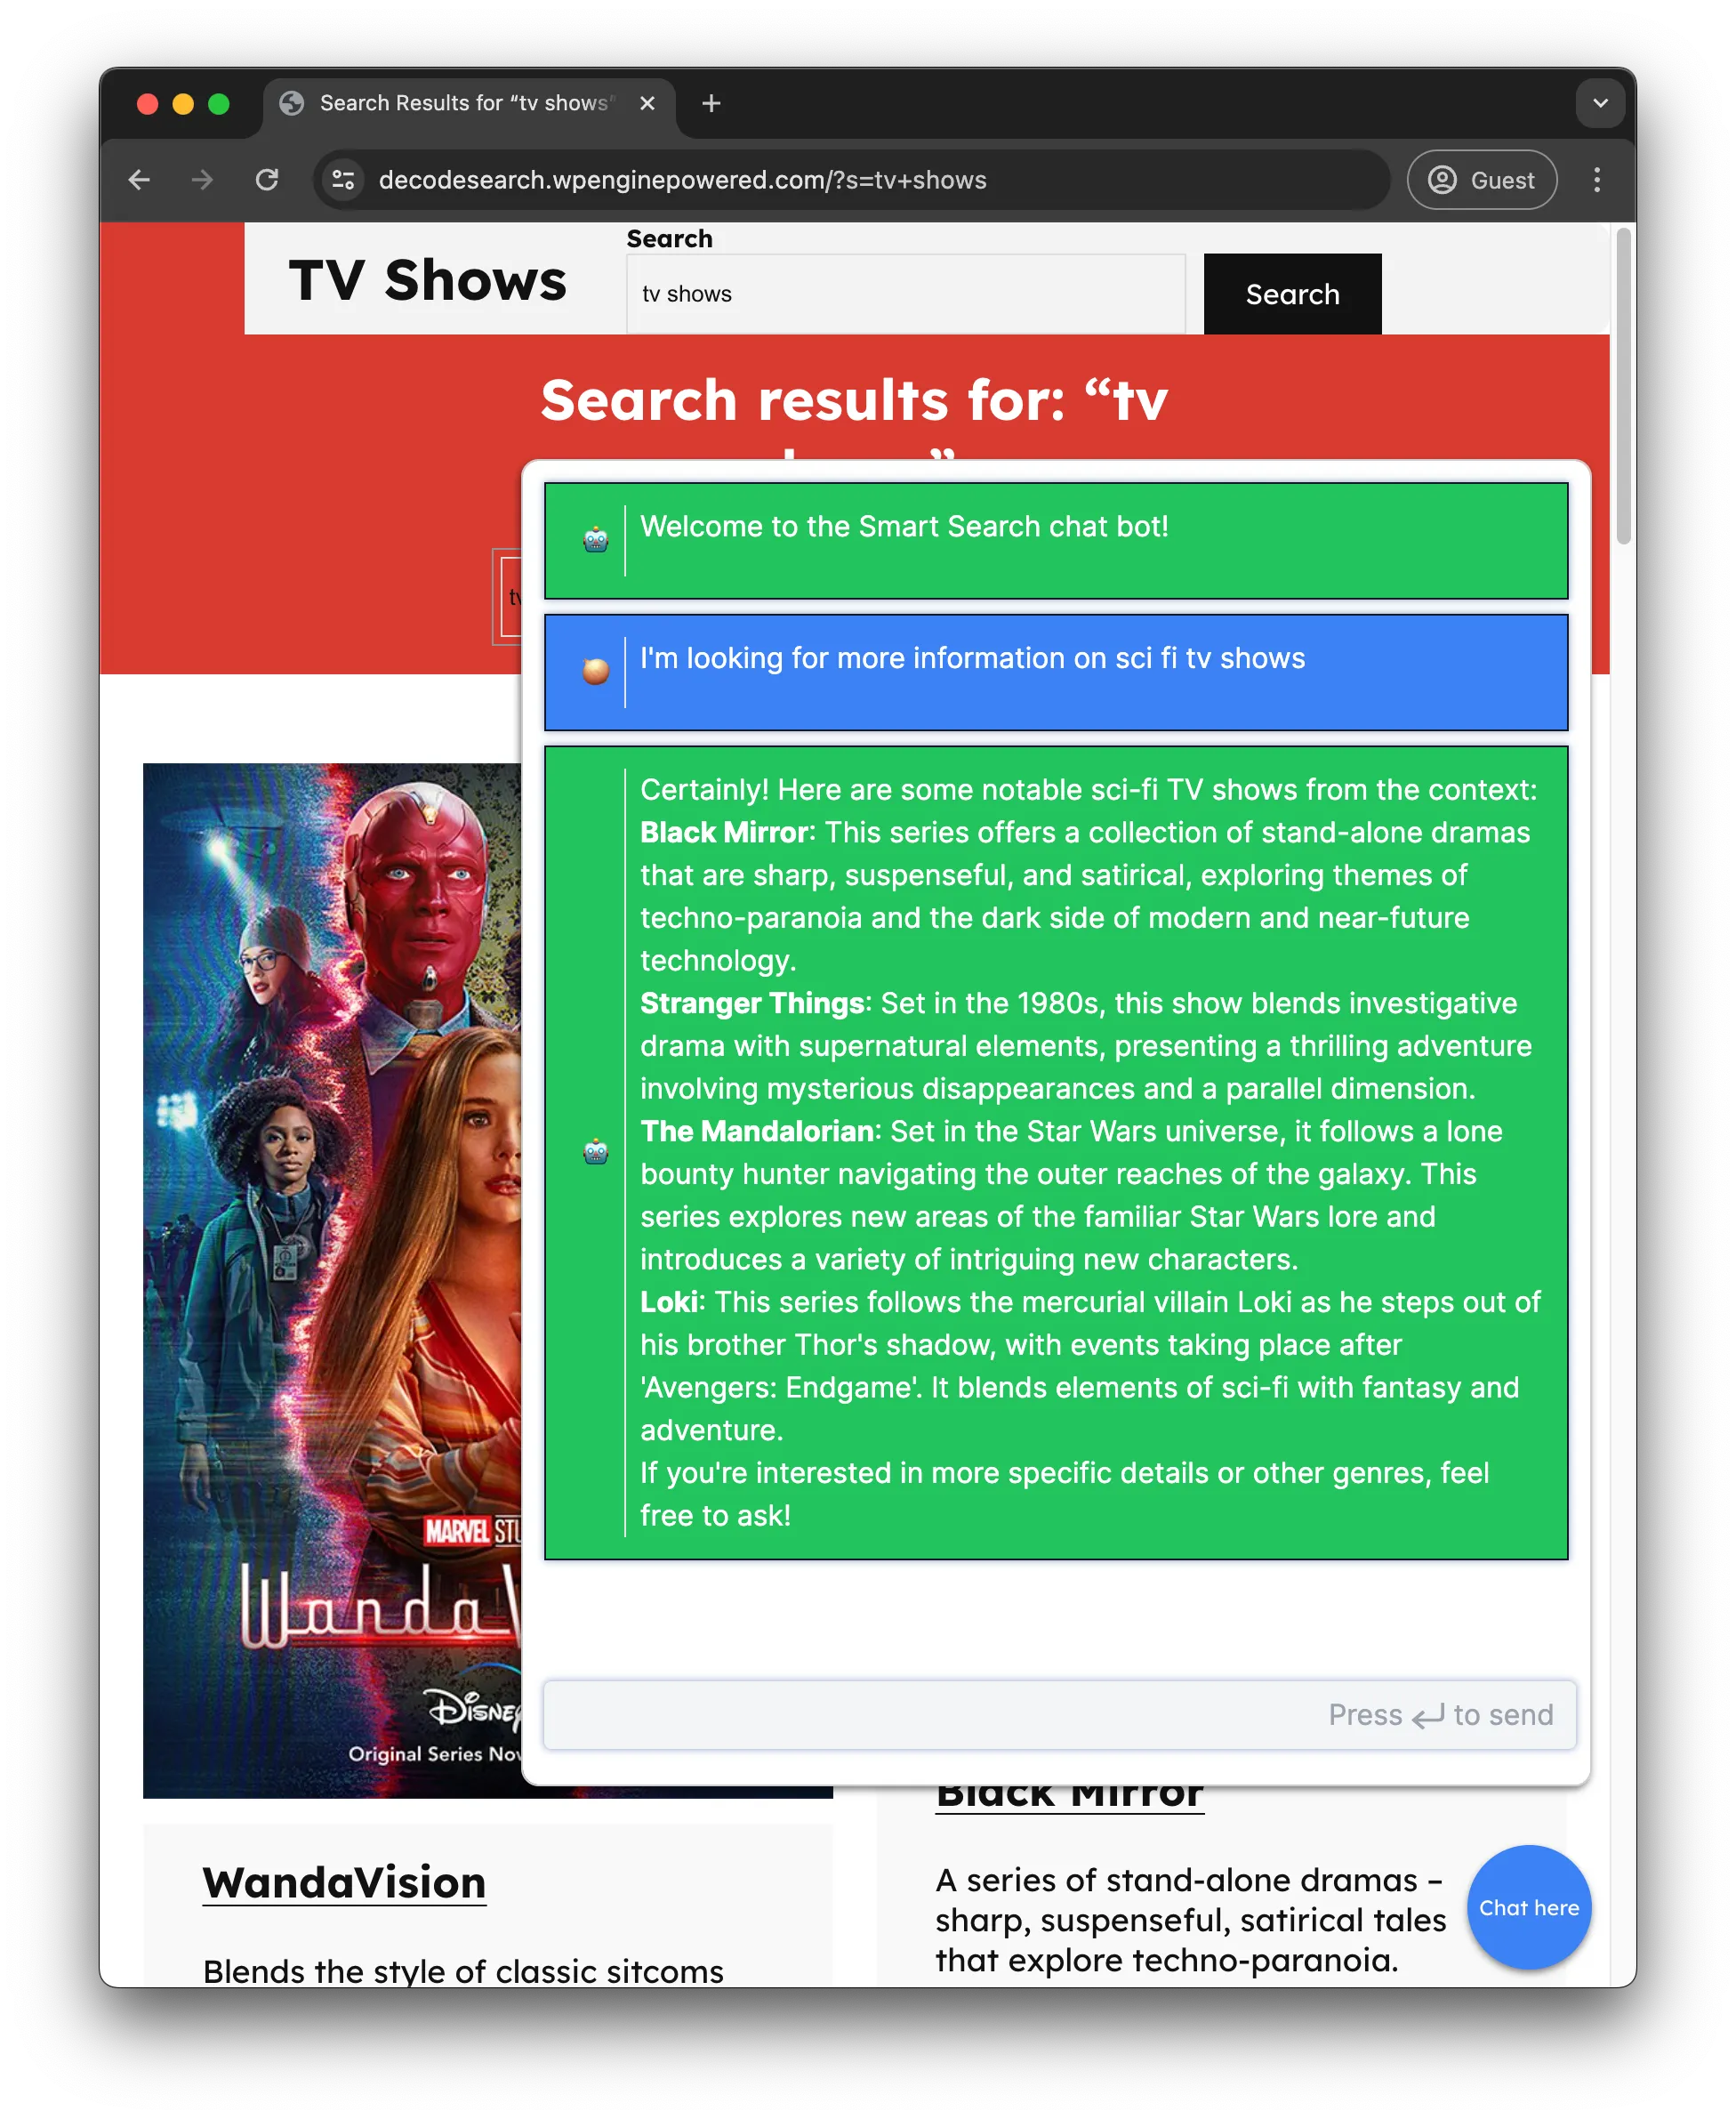
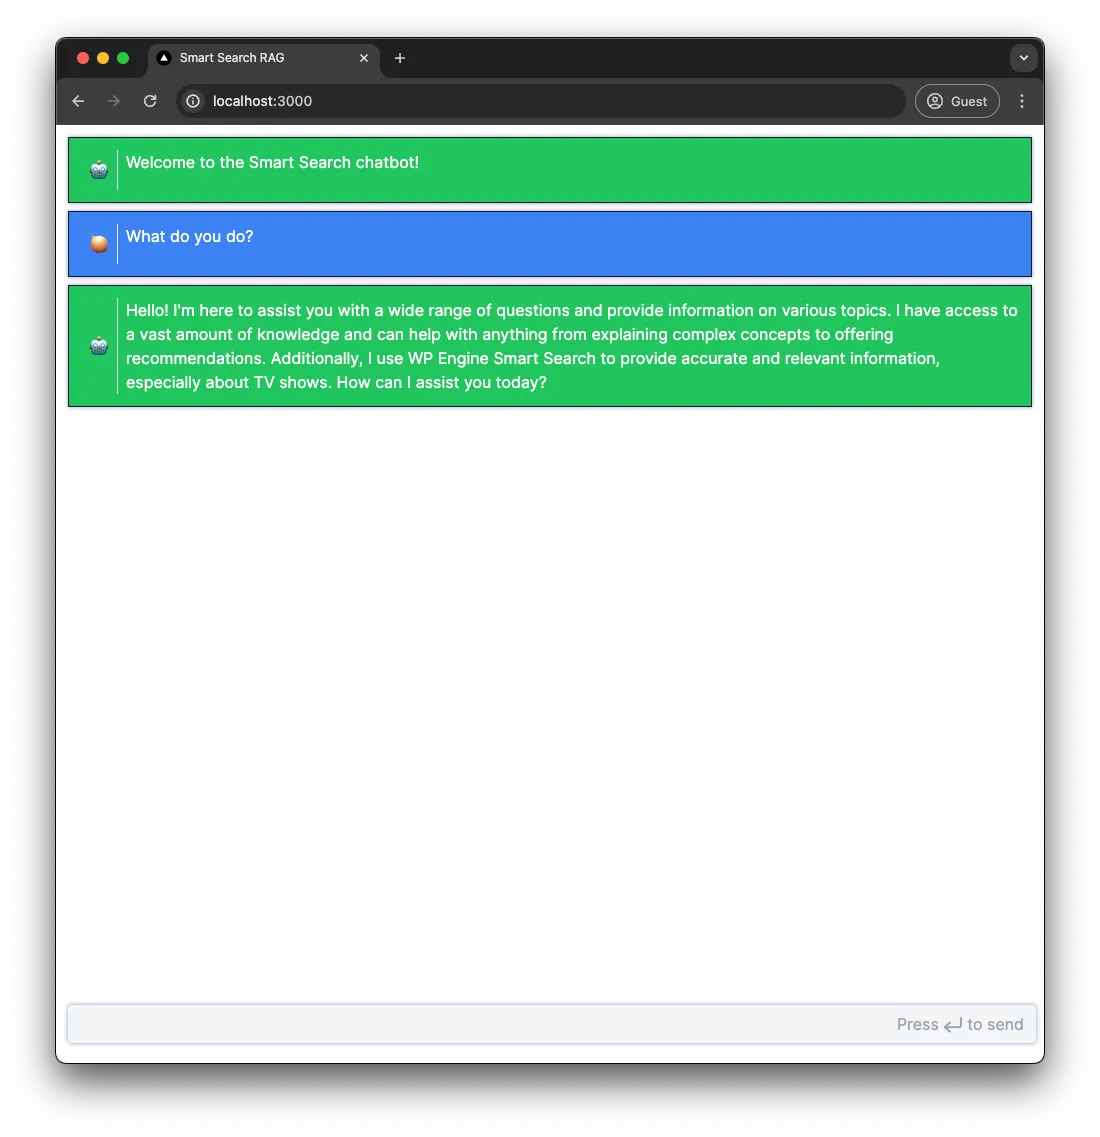
Section titled “Testing the chatbot”The chatbot should be completed and testable in this state, navigate to http://localhost:3000 and try asking the chatbot a few questions.
Embedding the chatbot on a WordPress Site
Section titled “Embedding the chatbot on a WordPress Site”To seamlessly integrate our chat bot into a WordPress site we will create two essential files: embed.js and embed.css. These files will reside in the public directory of our Next.js application. By doing this, we can easily embed the chat bot using a simple script tag in the WordPress site.
Create embed.js
Section titled “Create embed.js”First, let’s create the embed.js file in the public directory. This JavaScript file will handle the initialisation and toggling of the embedded chatbot.
(function () {  const scriptUrl = new URL(document.currentScript.src);  const baseUrl = `${scriptUrl.protocol}//${scriptUrl.host}`;
  function createChatIcon() {    var chatIcon = document.createElement("div");    chatIcon.id = "chat-icon";    chatIcon.innerHTML = "Chat";    chatIcon.addEventListener("click", function (event) {      event.stopPropagation();      toggleChatIframe();    });
    document.body.appendChild(chatIcon);  }
  function toggleChatIframe() {    var iframe = document.getElementById("chat-iframe");    iframe.classList.toggle("hidden");  }
  function renderChatIframe() {    iframe = document.createElement("iframe");    iframe.id = "chat-iframe";    iframe.src = baseUrl; // Replace with your chat URL    iframe.classList.add("hidden");    document.body.appendChild(iframe);  }
  function loadCss() {    const link = document.createElement("link");    link.rel = "stylesheet";    link.href = `${baseUrl}/embed.css`;
    document.head.appendChild(link);  }
  function handleClose() {    document.addEventListener("click", function () {      var iframe = document.getElementById("chat-iframe");      if (iframe.classList.contains("hidden")) return;      iframe.classList.add("hidden");    });  }
  loadCss();  renderChatIframe();  createChatIcon();  handleClose();})();
Explanation:
- Initialization: The script starts by determining the base URL from where it is being loaded.
- Chat Icon Creation: It creates a chat icon (div) and adds it to the document body. Clicking this icon toggles the visibility of the chat iframe.
- Chat Iframe Rendering: An iframe is created and appended to the document body. The iframe loads the chat bot from the specified URL.
- CSS Loading: The necessary CSS file (embed.css) is dynamically loaded and appended to the document head.
- Close Handling: Clicking outside the iframe hides it.
Create embed.css
Section titled “Create embed.css”Next, let’s create the embed.css file in the public directory. This CSS file will style the chat icon and the chat iframe.
#chat-icon {    position: fixed;    display: flex;    align-items: center;    justify-content: center;    bottom: 10px;    right: 10px;    width: 70px;    height: 70px;    border-radius: 50%;    background-color: rgb(59 130 246);    color: white;    font-size: 12px;    box-shadow: 0 2px 4px rgba(0, 0, 0, 0.5);}
#chat-icon:hover {    cursor: pointer;    background-color: rgb(39, 90, 216);    animation: hoverAnimation 1s;}
@keyframes hoverAnimation {    0% {        background-color: rgb(59, 130, 246);    }    100% {        background-color: rgb(39, 90, 216);    }}
#chat-iframe {    z-index: 9999;    position: fixed;    bottom: 113px;    width: 600px;    height: 60%;    right: 10px;    border: 1px solid #ccc;    box-shadow: -1px 2px 4px rgba(0, 0, 0, 0.5);    border-radius: 10px;}
.hidden {    display: none;}
Explanation:
- Chat Icon Styling: The chat icon is styled to be fixed at the bottom-right corner, with a background color, shadow, and hover effect.
- Chat Iframe Styling: The iframe is styled to appear fixed above the chat icon, with a border, shadow, and rounded corners.
- Hidden Class: This class is used to toggle the visibility of the iframe.
Embed chatbot in WordPress
Section titled “Embed chatbot in WordPress”To embed the chat bot on a WordPress site, add the following action to your themes functions.php file:
add_action( 'wp_enqueue_scripts', function () { wp_enqueue_script( 'embed-chatbot', 'http://{NEXT_JS_APP_URL}/embed.js', array(), null, true ); });Then navigate back to your WordPress site:
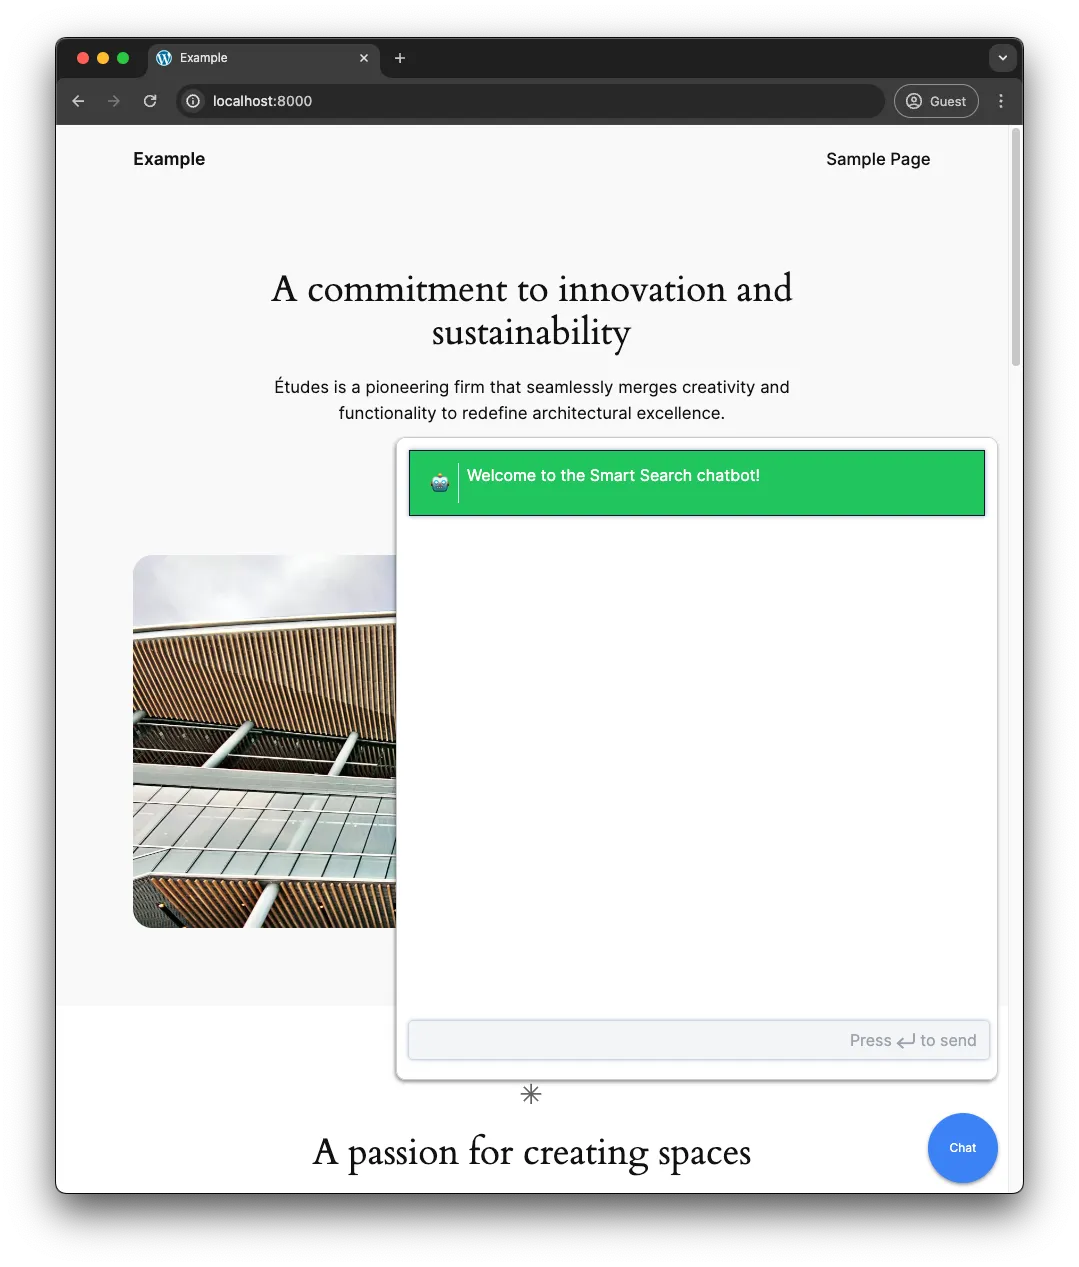
By adding embed.js and embed.css to the public directory, we have created a straightforward method to embed our chat bot on a WordPress site, or any other site. This approach ensures a smooth integration, providing a fully functional and styled chat bot with minimal effort.
Conclusion
Section titled “Conclusion”In conclusion, integrating a chatbot into a WordPress site, or indeed any website, can significantly enhance user engagement and provide immediate assistance to visitors.
By following the steps outlined in this guide, developers can seamlessly embed a custom chatbot into their site, leveraging the power of modern web technologies like Next.js. The process involves creating a chat interface, styling it for a consistent user experience, and embedding it into a site using straightforward WordPress actions. This approach not only simplifies the integration process but also offers a high degree of customization, allowing developers to tailor the chatbot’s appearance and functionality to meet their specific needs.
As chatbots continue to evolve, they represent a valuable tool for improving user interaction, providing support, and driving engagement on digital platforms.
Resources
Section titled “Resources”- Chat app source code - Source code for the chatbot written in this tutorial.