Webhooks
This guide describes how to configure webhooks to trigger actions on the Headless Platform.
Enable Webhooks Setting
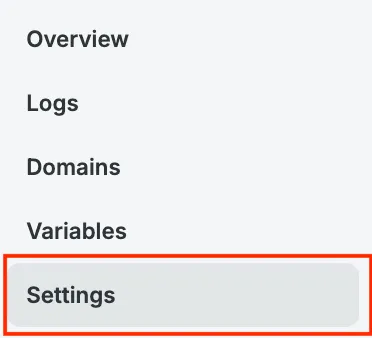
Section titled “Enable Webhooks Setting”To generate a webhook, first visit your Environment Details page & click the left-hand submenu Settings item:
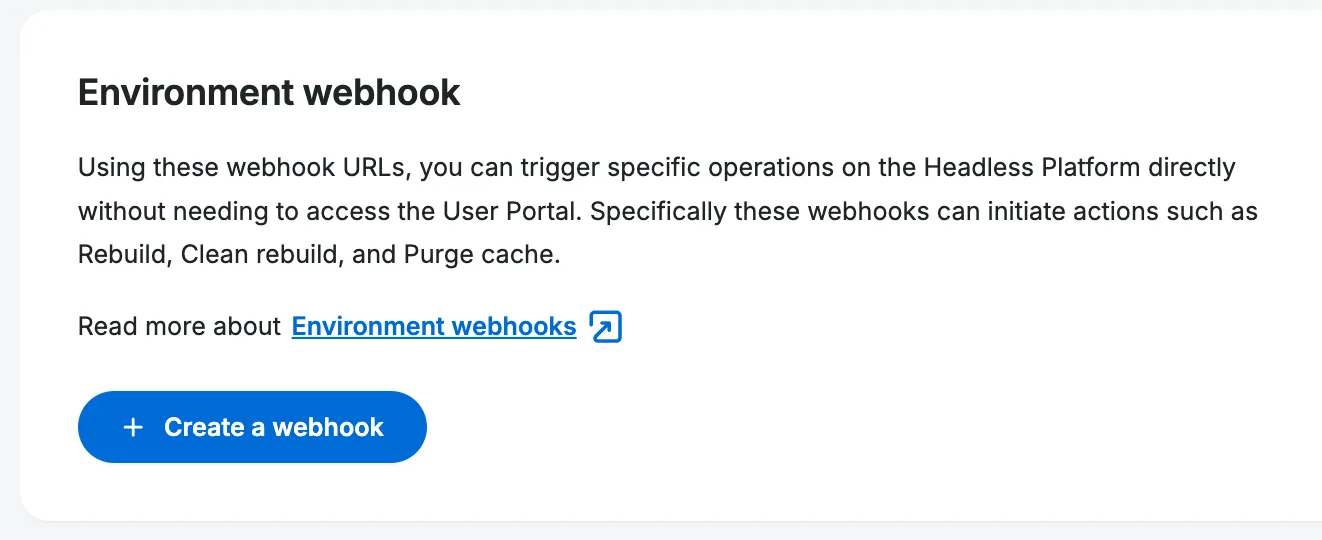
Click the + Create a webhook button:
Types of Webhooks
Section titled “Types of Webhooks”This creates one webhook with 3 options: Rebuild, Clean Rebuild and Purge Cache. The Clean Rebuild will clear all assets cached by your framework, but is otherwise identical to Rebuild. The Purge Cache will clear the CDN cache for your domain. Copy one of the webhook URLs to use in your custom workflows:
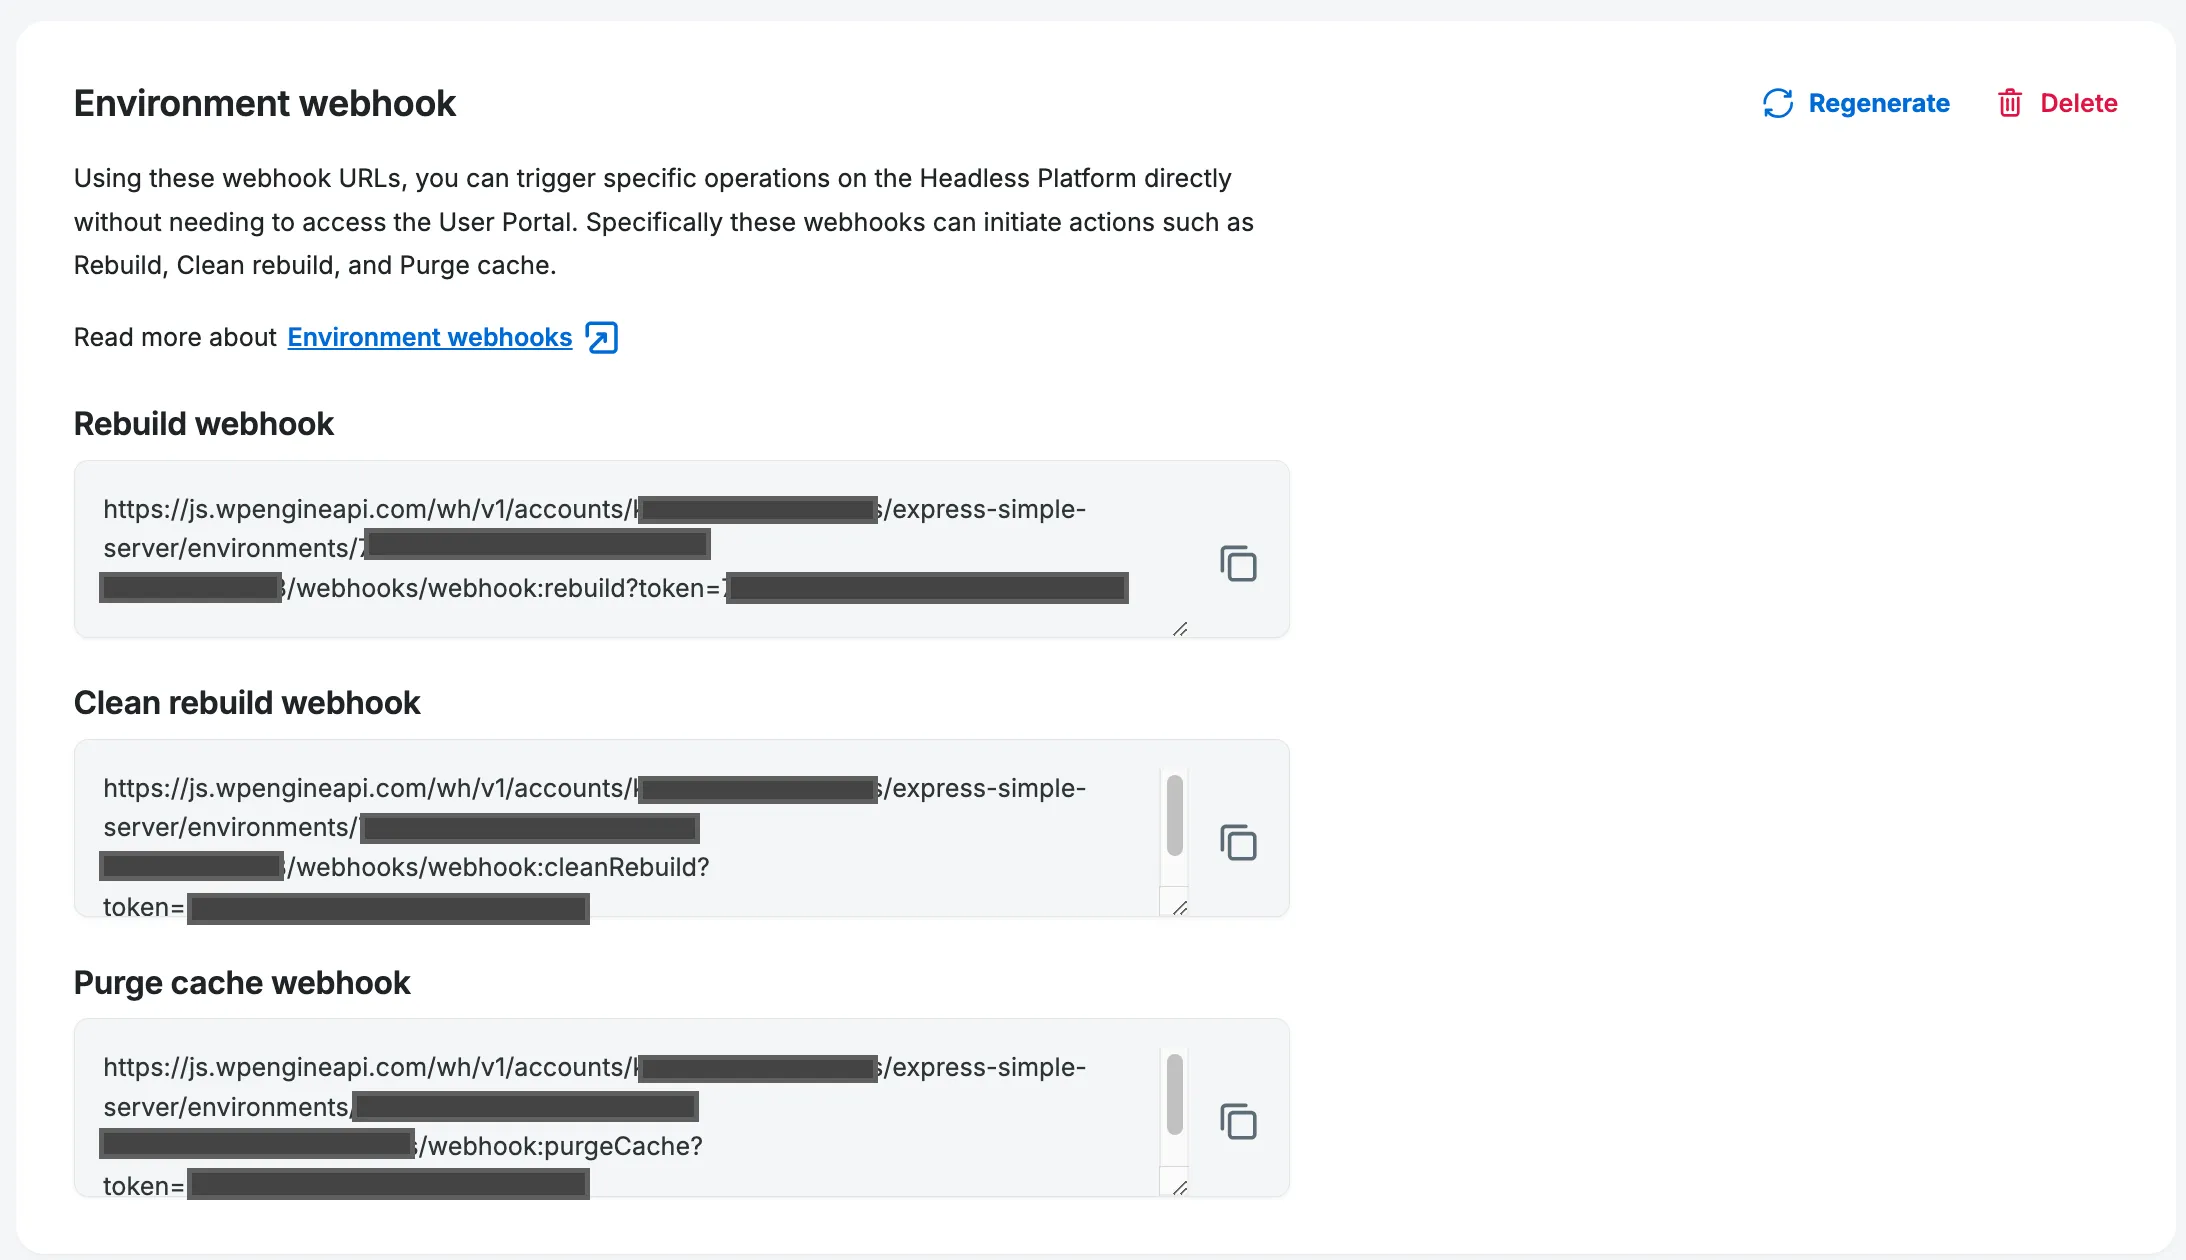
Once generated, you can use this URL to configure a WordPress plugin that can trigger your webhook based on certain WordPress actions, like adding a new post or page. Examples of such plugins are JAMstack deployments and WPGatsby. Alternatively, you can configure a POST request to be sent from the service you want to integrate with the Headless Platform or trigger such request yourself:
curl -X POST 'https://js.wpengineapi.com/wh/v1/accounts/{your-account}/apps/{your-app}/environments/{your-env-id}/webhooks/webhook:{action}?token={your-token}'Using Cron with Webhooks
Section titled “Using Cron with Webhooks”Some users prefer time-based rebuild patterns, which can be enabled via a scheduled cron job.
In your PHP application schedule a cron to run at scheduled intervals utilizing the WP Engine Alternate Cron which is currently enabled on your account.
You can add a curl to call a POST request of the Rebuild Webhook outlined above.
Example: curl -X POST https://js.wpengineapi.com/wh/v1/accounts/{your-account}/apps/{your-app}/environments/{your-env-id}/webhooks/webhook:{action}?token={your-token}
Regenerate Webhooks
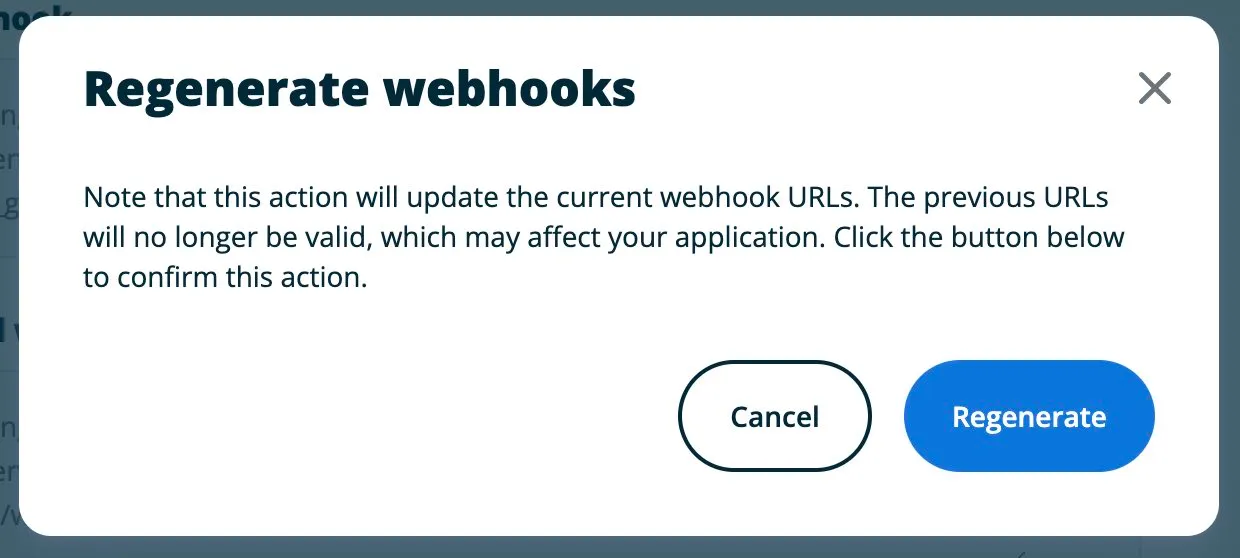
Section titled “Regenerate Webhooks”If for any reason you want to regenerate the webhook URLs so that old URL will no longer trigger rebuilds, click the Regenerate all button and confirm your action:
Delete Webhooks
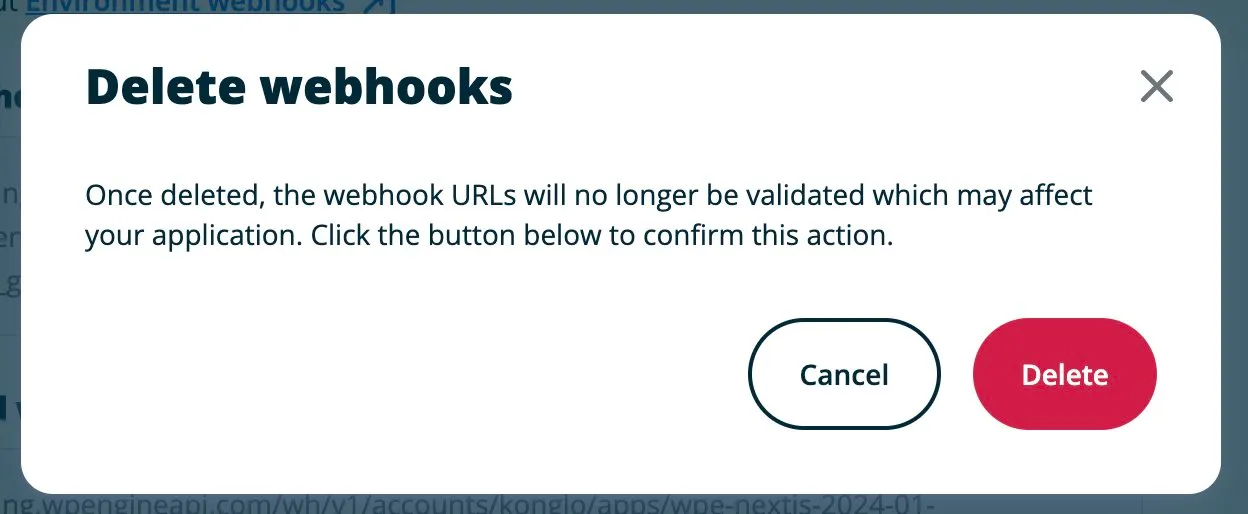
Section titled “Delete Webhooks”To delete your webhook, click the Delete all button. If you do so, the URLs you previously used will no longer work when attempting to trigger a rebuild.
