Deploy from a Blueprint
Once you’ve gone through the steps here, you’ll have a Headless Platform app, with one WordPress environment & one front-end environment (built from selected blueprint template specifications), that has been deployed to the web.
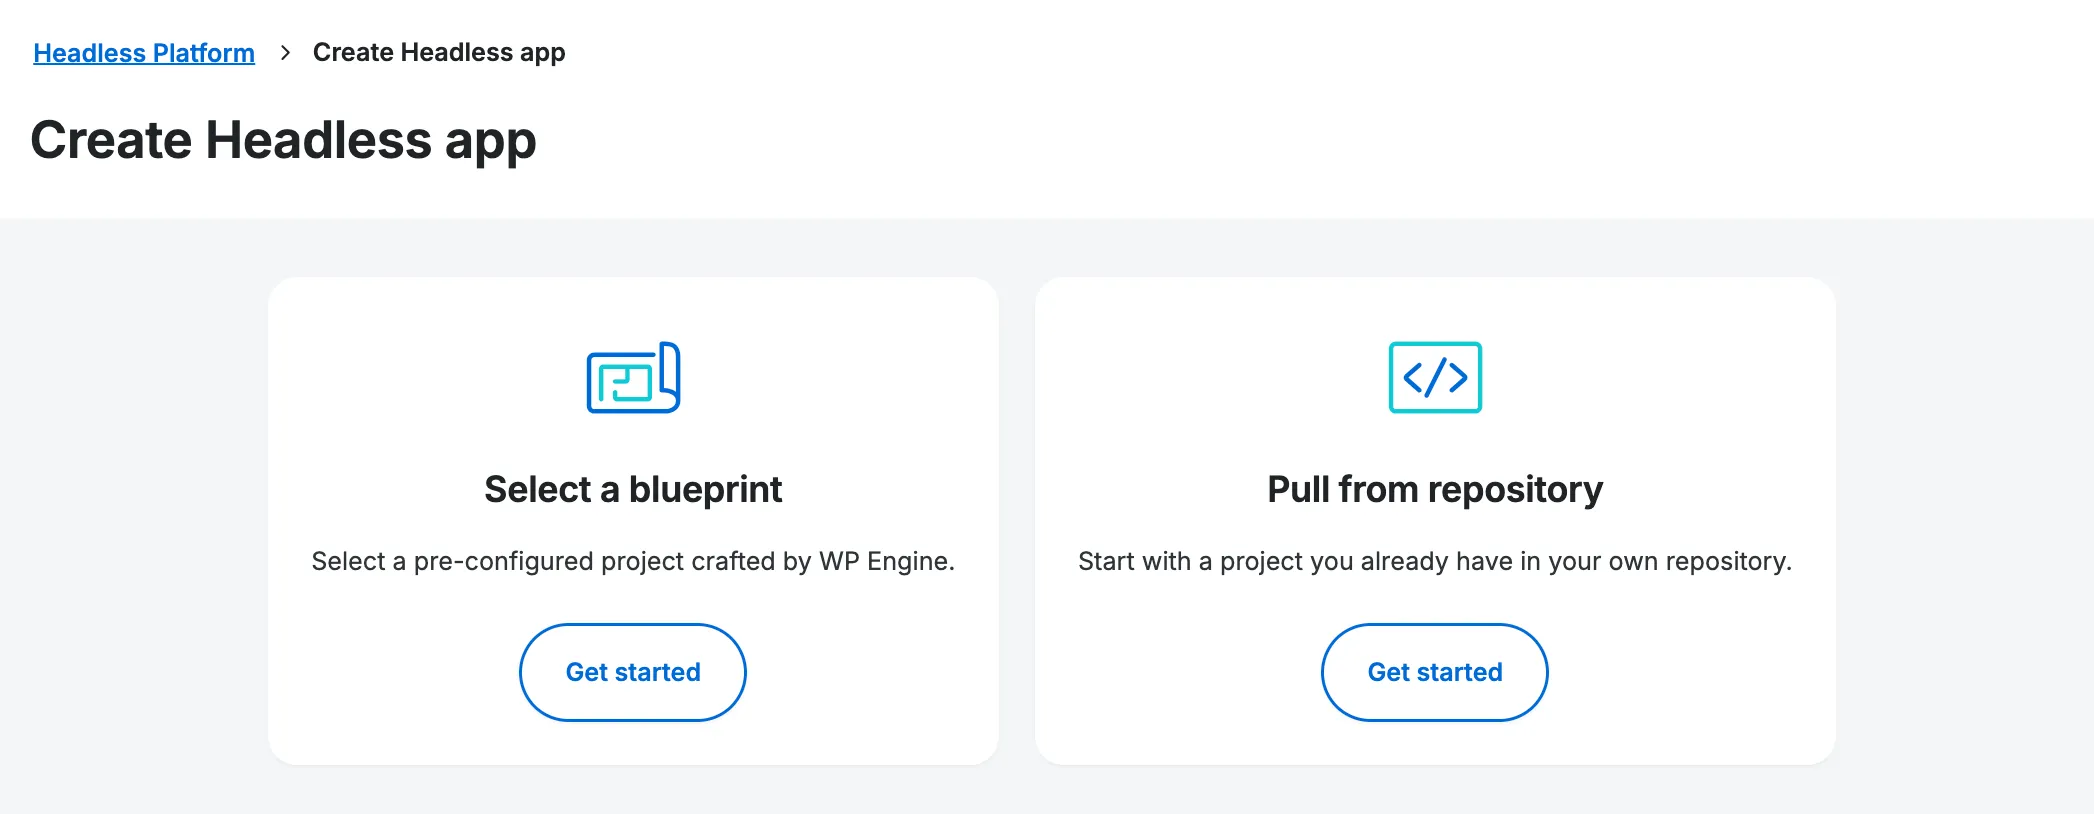
After selecting the Create App button, choose the Select a Blueprint option and click Get started.
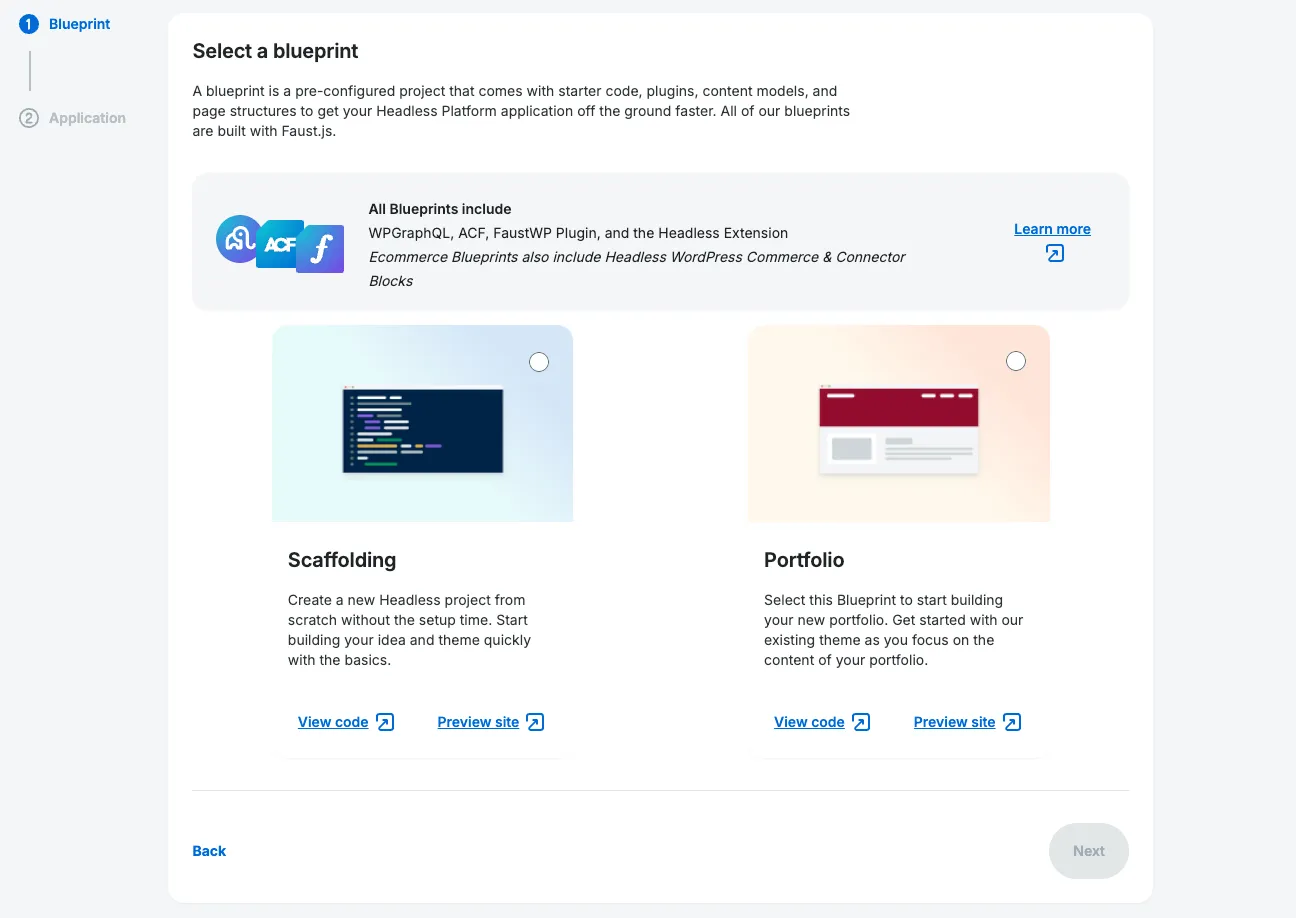
You may then select the Blueprint you would like to use and press Next.
Connect to a Supported Repository Provider
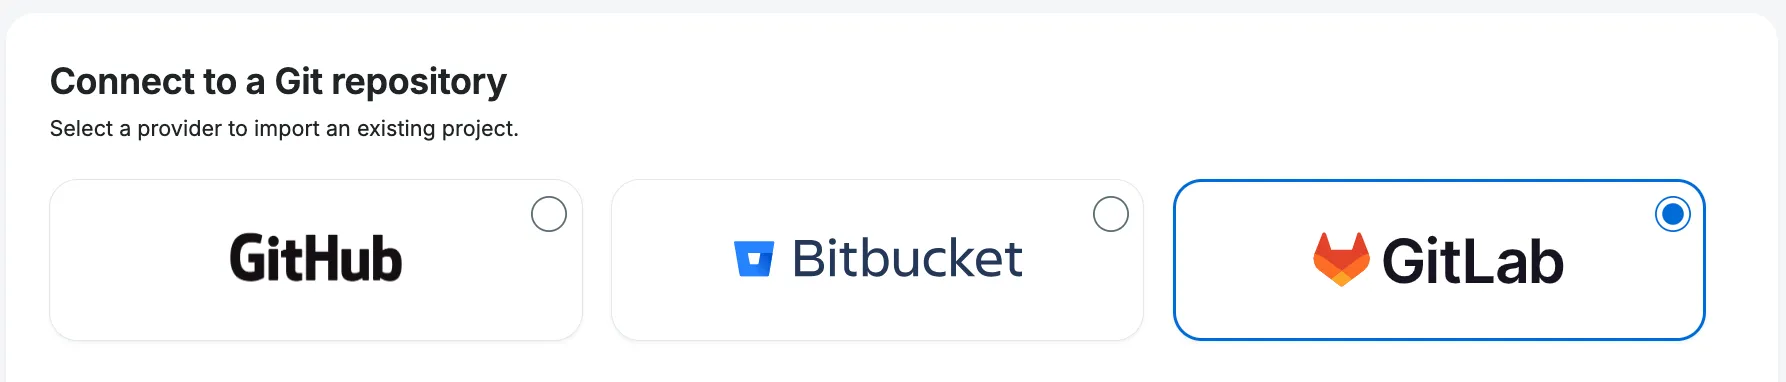
Section titled “Connect to a Supported Repository Provider”Our Headless Platform supports three repository hosting service providers - GitHub, Bitbucket and GitLab. Connect to your chosen repository provider so you can clone Blueprints.
-
In the
Connect to a Git repositorysection, you can select the card (or radio button) for your chosen provider only if that provider is already connected to your portal account. If any provider has not been connected previously, its card will appear greyed out with aConnect +button. To connect to a provider, click theConnect +button and proceed to Step 2. -
The connect page opens in another tab of your web browser. Give WP Engine permission to access your chosen provider’s repositories in order to proceed.
After the Headless Platform connects to your chosen provider’s account, the connection page will close, the Connect + button will disappear, and the card (or radio button) will become clickable.
Create a Repository
Section titled “Create a Repository”Now that your desired repository provider is connected & selected, it’s time to create a repository where your Blueprint code is going to be stored.
Select your repository provider’s account (or ‘namespace’, if BitBucket)
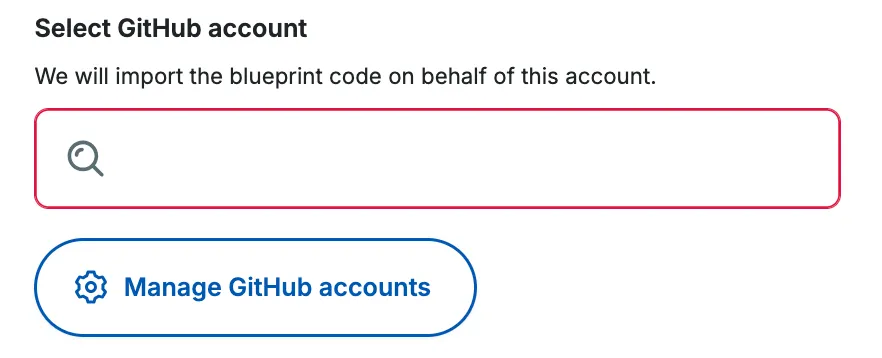
Section titled “Select your repository provider’s account (or ‘namespace’, if BitBucket)”Use the dropdown list or start typing to filter available repository account/ namespace.
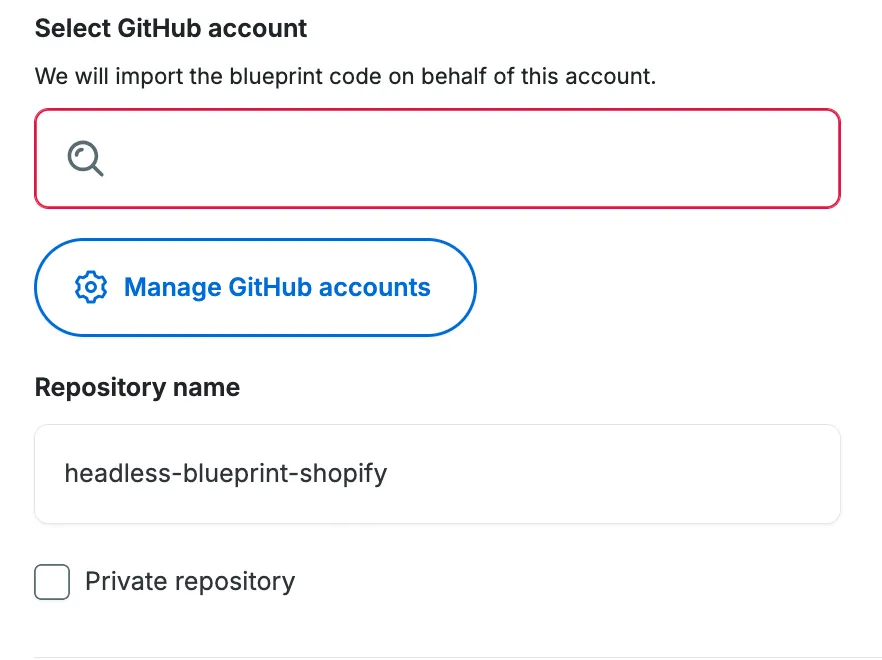
If you have selected GitHub as your GitProvider but don’t see the account for which you’d like to create a repository under on the list, click on “Manage GitHub accounts” or “Add GitHub account” (if no GitHub account(s) connected yet) button presented:
Name your repository
Section titled “Name your repository”Depending on which Blueprint you choose, the Headless Platform will suggest a repository name for you. The name of your repository should be unique within your chosen repository provider account/namespace. If it’s not, you’ll see an error after clicking the “Create” button on the bottom of the page.
Select the visibility of your repository
Section titled “Select the visibility of your repository”If you want to limit your repository’s visibility to only people that can access your chosen repository provider account/namespace, make sure to select the “Private repository” checkbox.
Select a region for your app
Section titled “Select a region for your app”The region you select will be used for all of your app’s environments (production/staging/etc.) and cannot be changed once your application has been deployed.
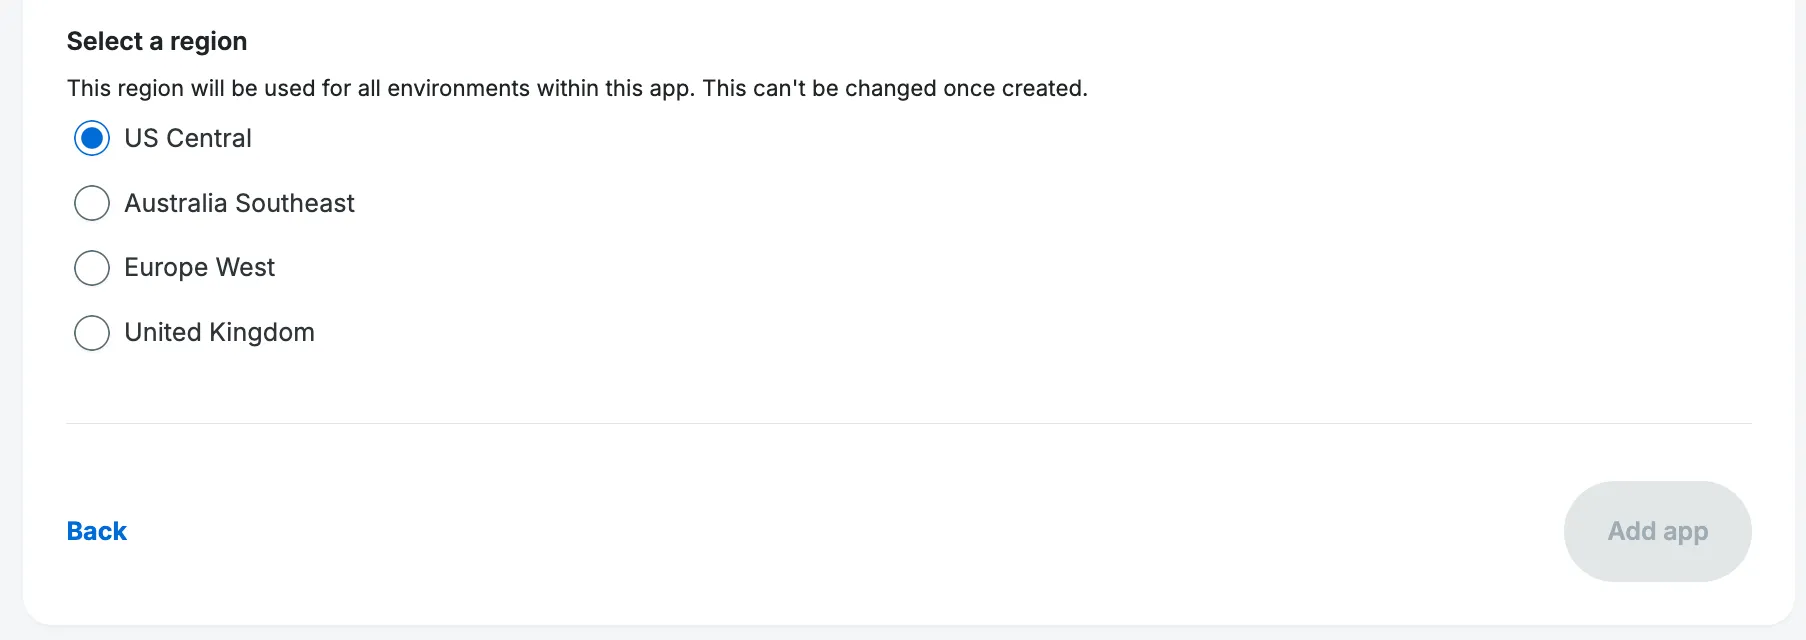
Click Create App
Section titled “Click Create App”That’s it! Track the initial build progress on the next screen that loads automatically.
Verify Your Site Links
Section titled “Verify Your Site Links”A link to visit your live frontend using a temporary domain will appear under Atlas URL when the deploy completes.
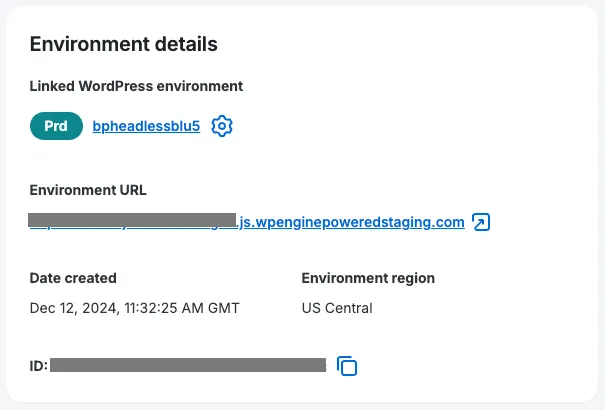
To log in to the WordPress site linked to your app:
-
Click the link below the
Linked WordPress environmenttitle on your app environment page. -
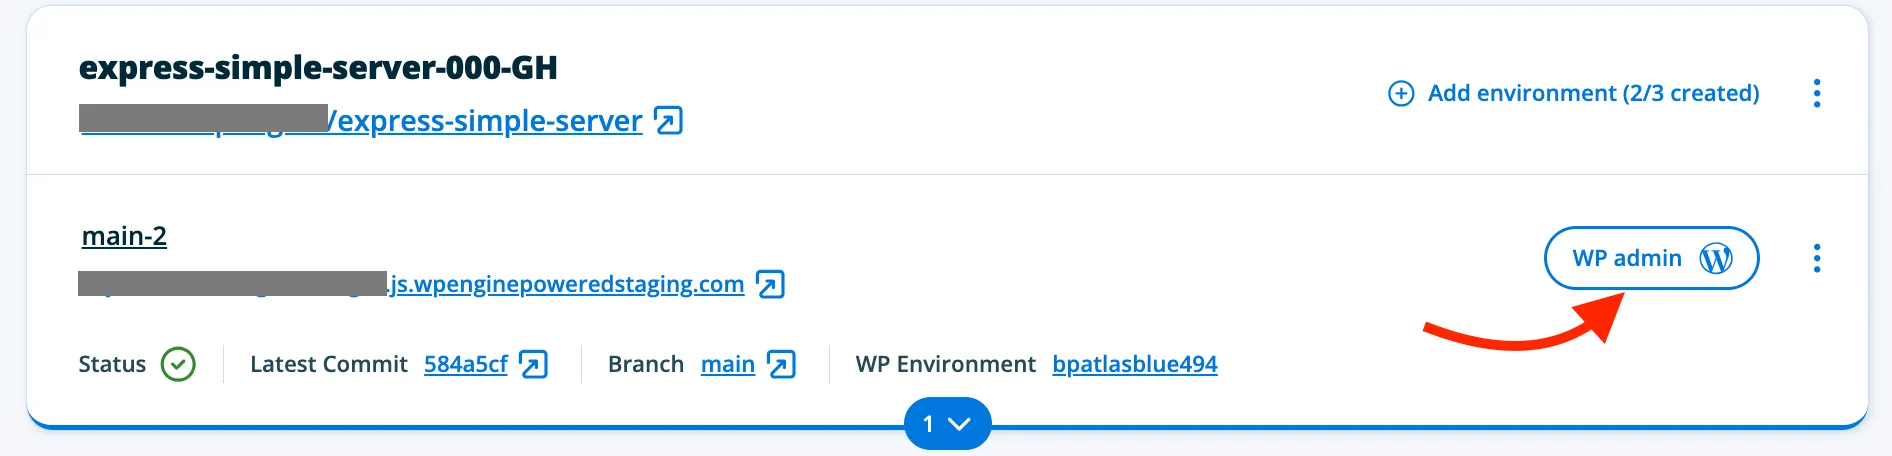
Click the WP Admin link at the top of the WordPress environment page.

OR:
-
Navigate to the Apps list and select the Environment associated with the WordPress environment you want to access.
-
Click the
WP Adminbutton