Deploy from an Existing Repository
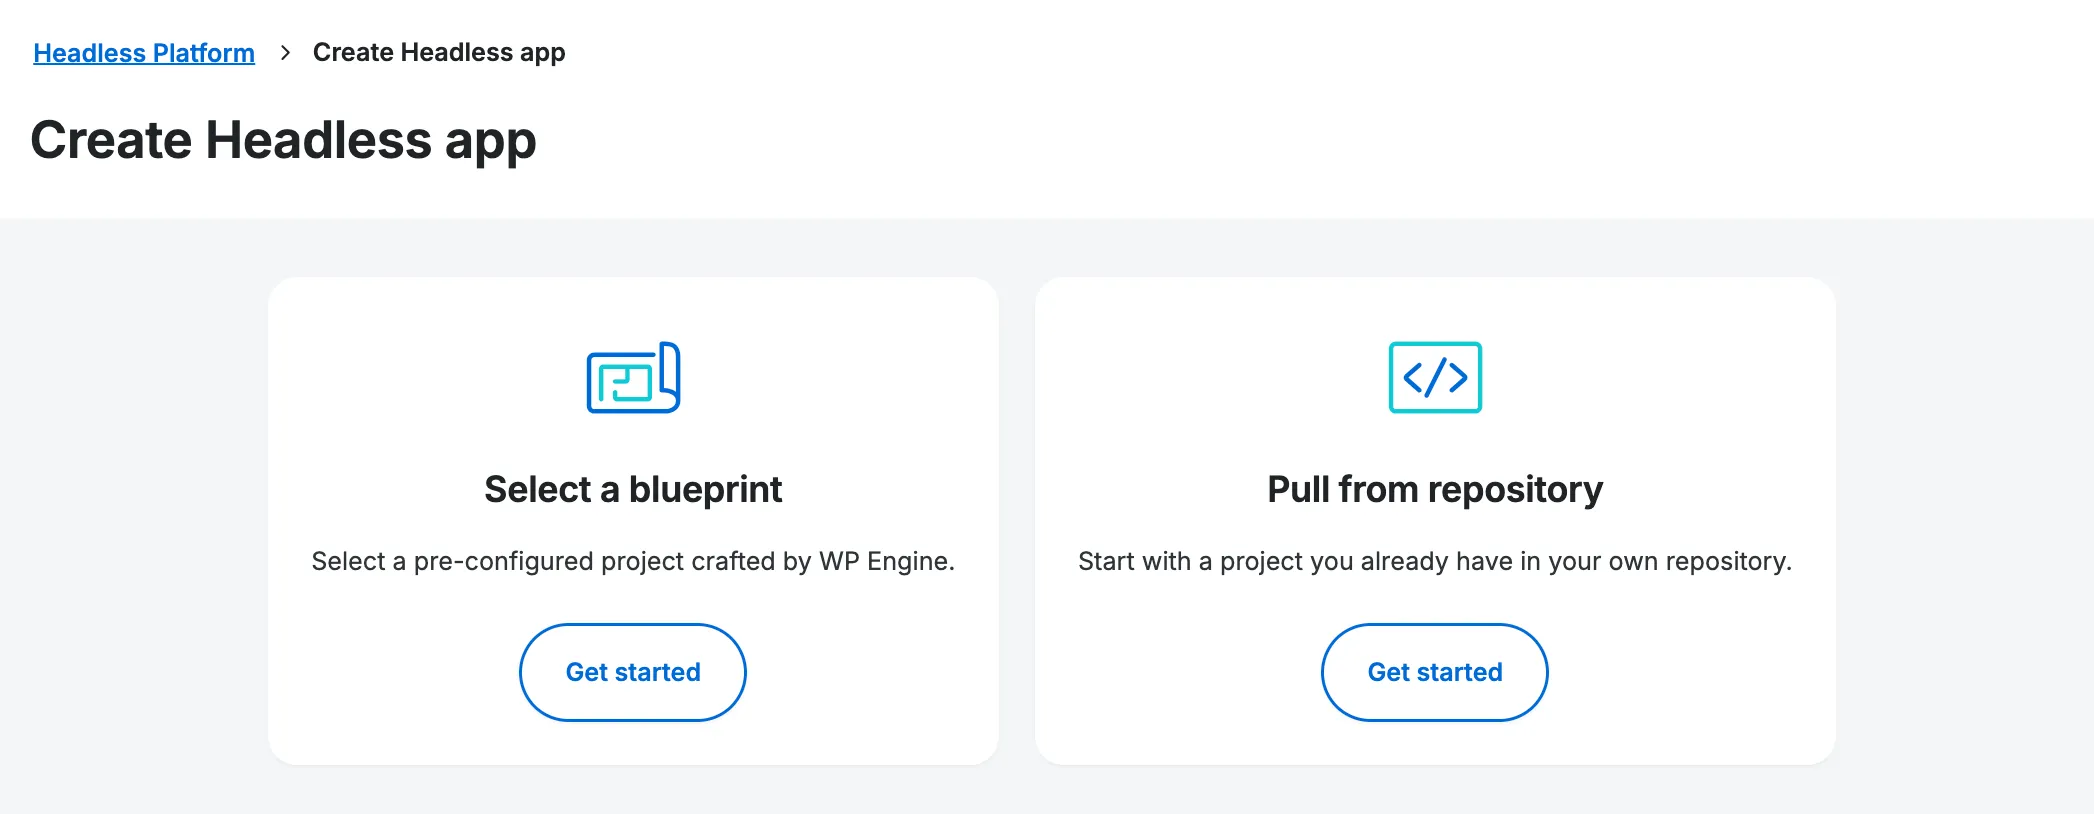
After selecting the Create App button, then select the Pull from repository option and click Get started.
 .
.
Selecting this option brings you to Step 1 of 3, where you will:
- Select your repository details.
- Set up your new Headless application.
- Configure your new environment.
 .
.
Now that you have chosen to deploy from an existing repository, you can select the repository and deploy it to our Headless Platform. Pushing code changes to the branch of your choice in your repository will then deploy updates to our Headless Platform automatically.
Prepare Your App for Deployment
Section titled “Prepare Your App for Deployment”The Headless Platform supports Node.js applications using many popular frameworks with minimal configuration. You can view our framework guides to see what may be required of your particular framework:
Some newer frameworks may not have a framework guide yet, but can still run on our Headless Platform using whatever Node.js-based adapters are provided by the framework or as SSG using a Node.js package to serve static assets like http-server or express.
Custom build and start commands
Section titled “Custom build and start commands”By default, the Headless Platform will run npm run build and npm run start to build and start your application. If you want to run different commands to build or start your application, you can reference the docs on custom build commands or custom start commands to review the various ways this can be implemented.
Using the correct port
Section titled “Using the correct port”The platform expects your application to listen for traffic on one of the following ports: 8080(default) or 3000. You may receive an error during deployment if your application is using a different port value. In some frameworks, you may be able to use an environment variable named PORT to specify which port you application will listen on.
Connect to a Supported Repository Provider
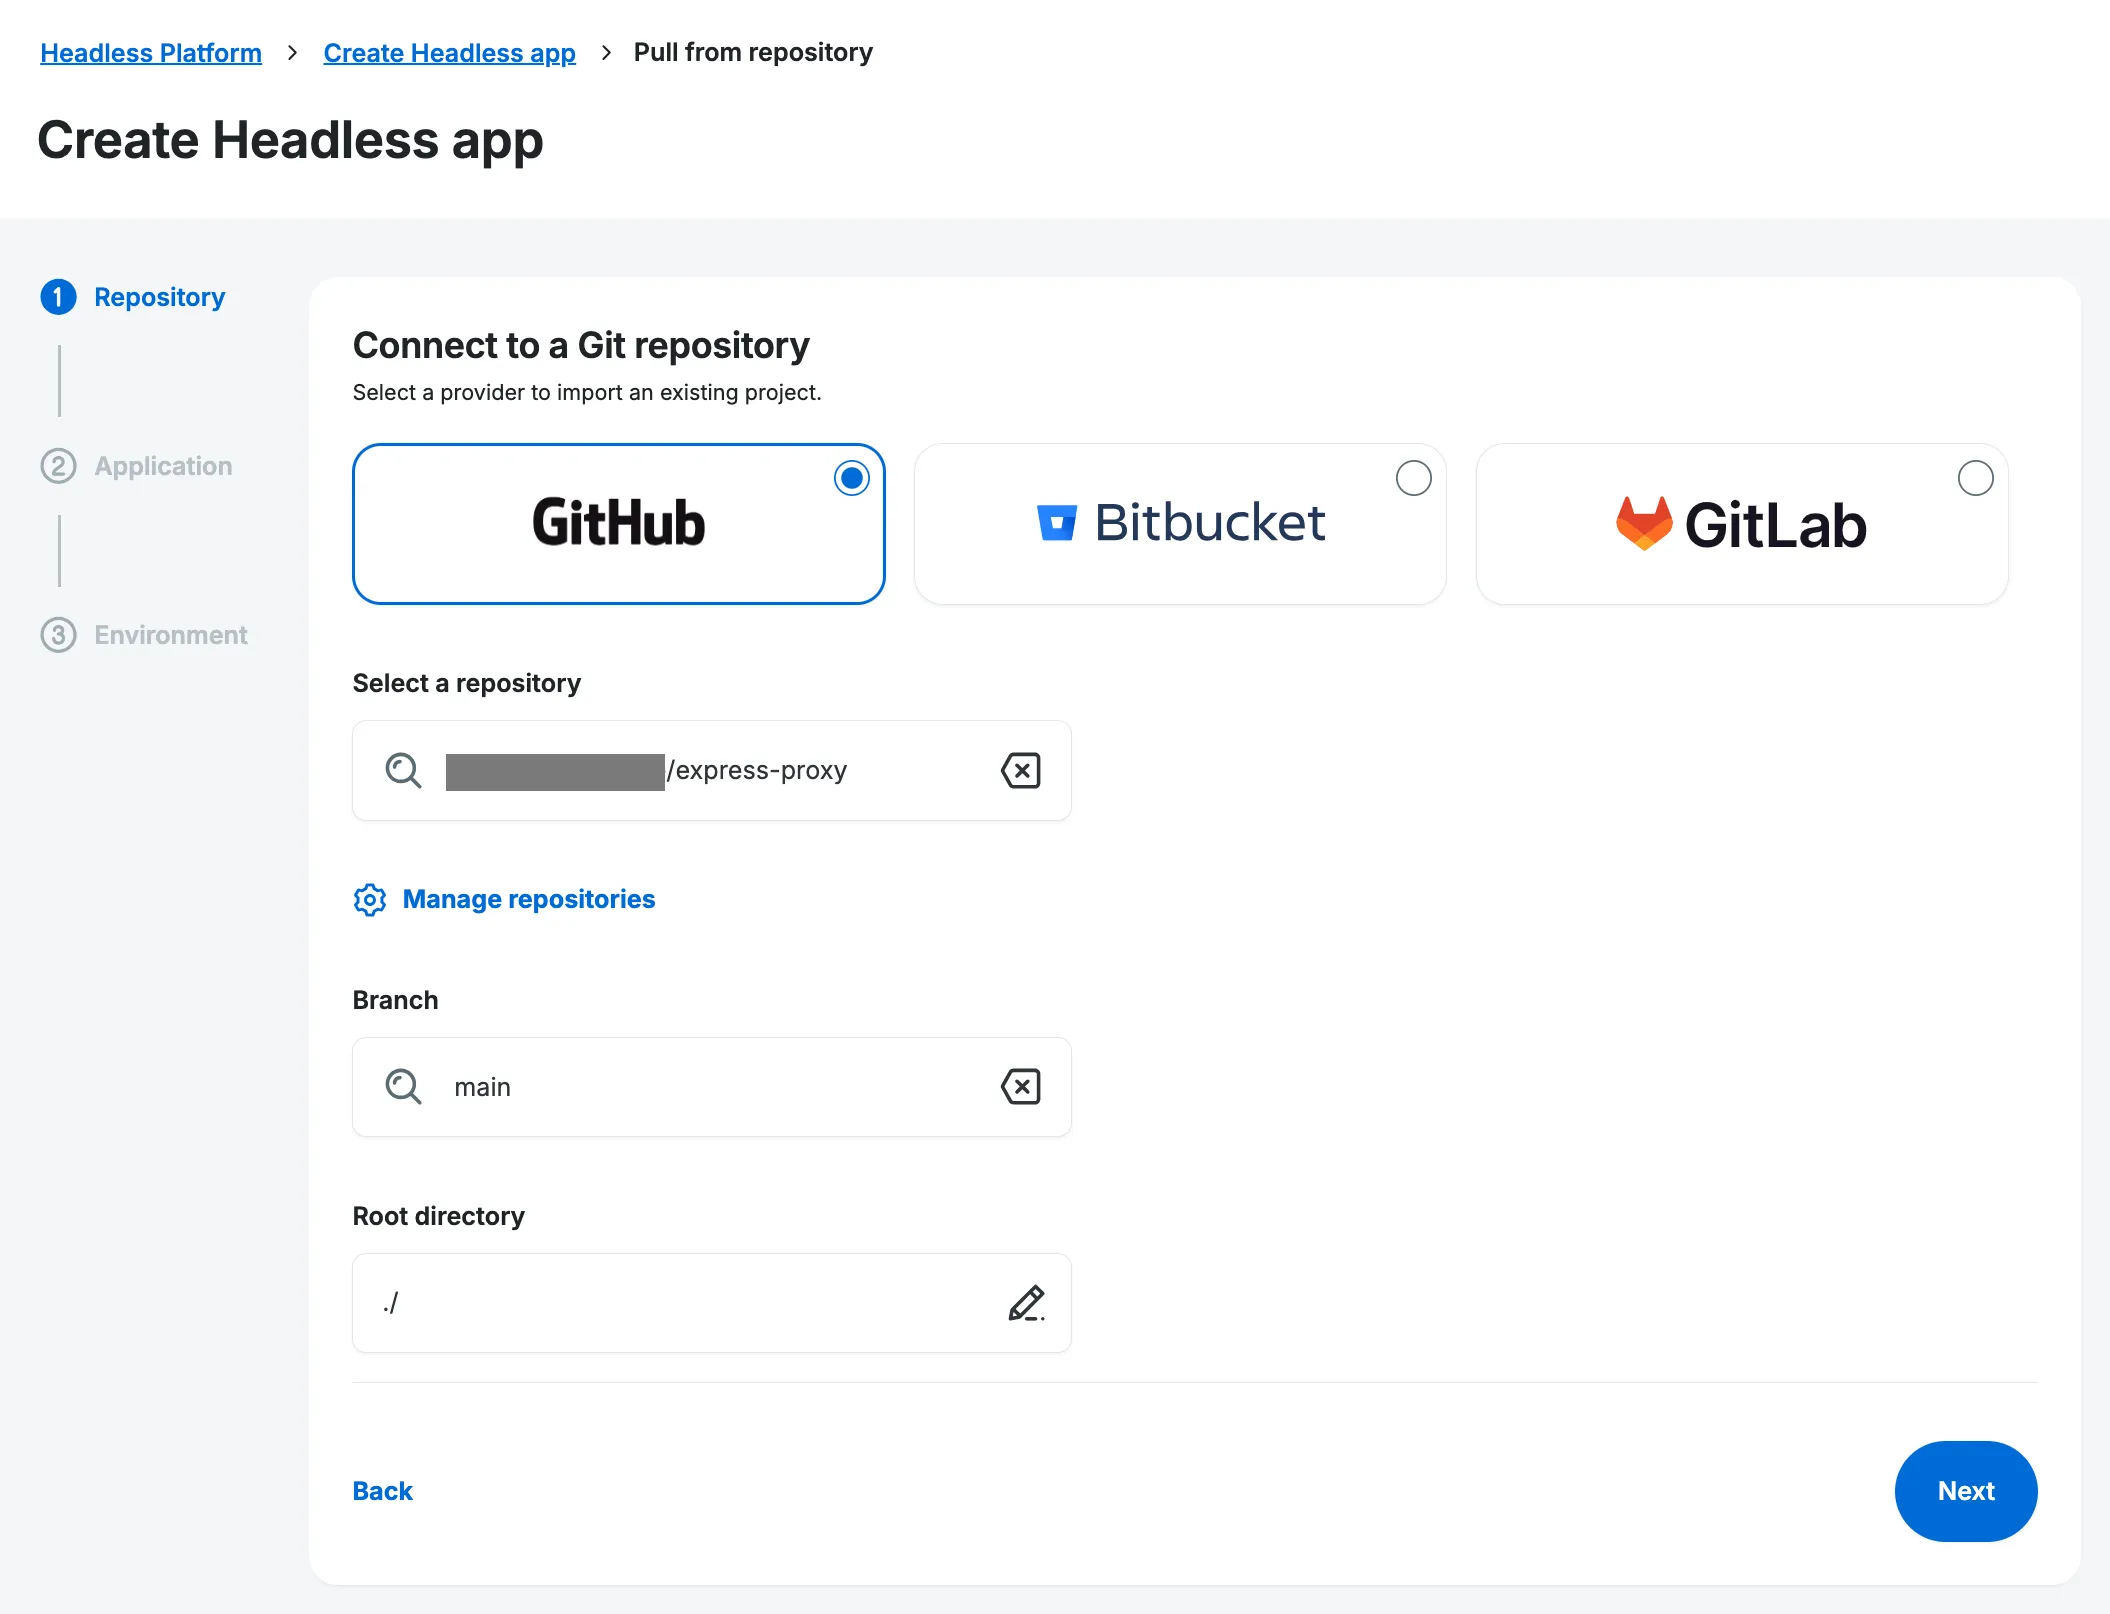
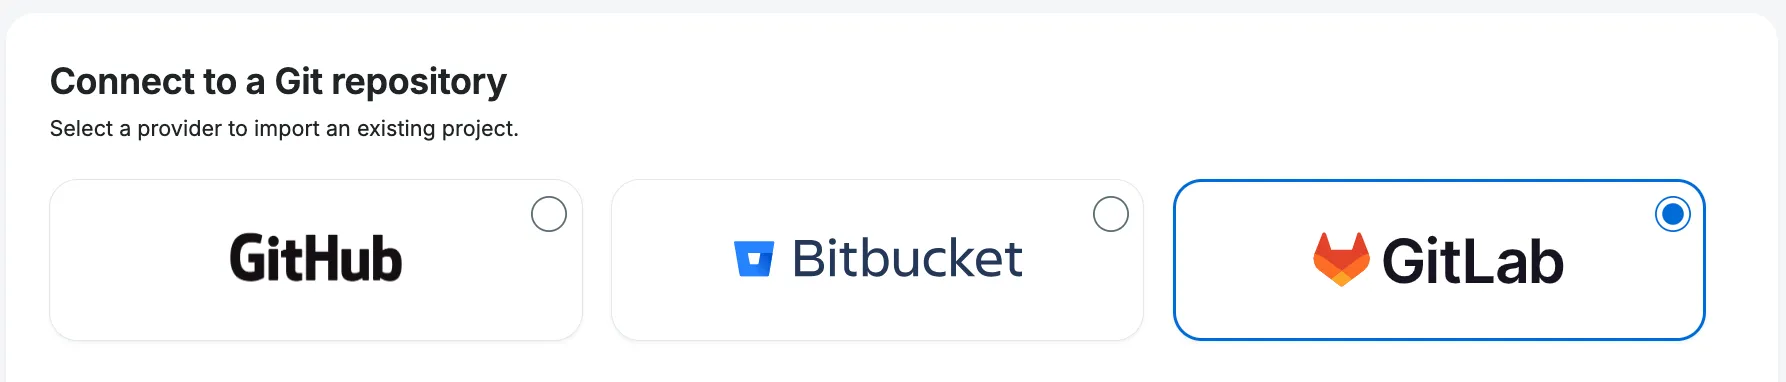
Section titled “Connect to a Supported Repository Provider”Our Headless Platform supports three repository hosting service providers - GitHub, Bitbucket and GitLab. Connect to your chosen provider to enable cloning Blueprints.
-
In the
Connect to a Git repositorysection, you can select the card (or radio button) for your chosen provider only if that provider is connected to your portal account. If any provider has not yet been connected previously, its card will appear greyed out with aConnect +button. To connect to a provider, click theConnect +button and proceed to Step 2. -
The connection page will open in a new browser tab. To proceed, grant WP Engine permission to access repositories from your chosen provider.
Once the Headless Platform connects to your desired provider's account, the connection page will close and the Connect + button will disappear & the card/ radio-button will now be clickable.
Select the Repository, Branch & Subdirectory
Section titled “Select the Repository, Branch & Subdirectory”Now that your desired repository provider is connected & selected, it's time to choose your repository.
-
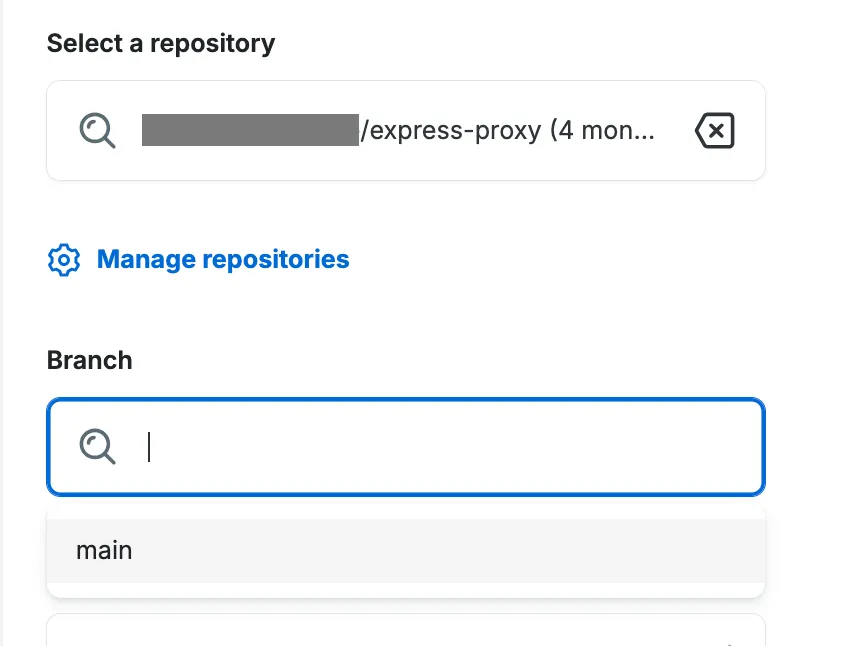
From the list of repositories, select the one with your application's code.
If you selected GitHub as your provider but don’t see the repository you want to use, click "Manage repositories" or "Add repository" (if no GitHub repositories are visible yet). This allows the portal to access the account where your repository is located. Note: this feature is currently only available for GitHub:

-
From the list of your repository's branches, select the branch you want to base your environment on. Whenever changes are pushed to this branch, your app will be automatically re-deployed.
Examples:
- If you want to create a production environment, you could use your repo's
mainbranch - If you want to create a staging environment, you could use your repository's
stagingbranch
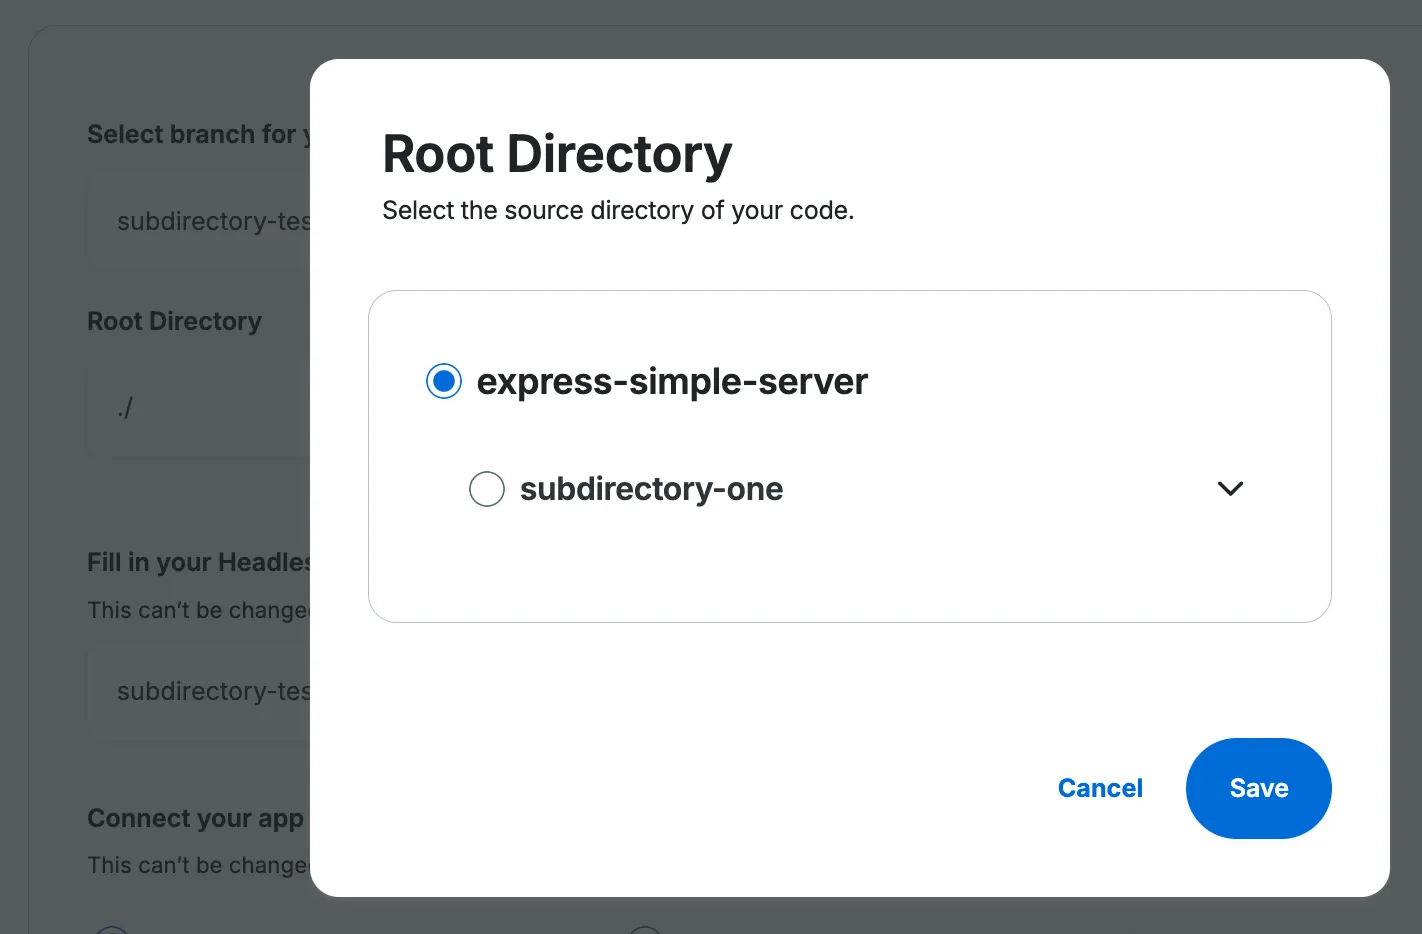
- If your project is stored in a folder within your repository, specify the path to your root folder by clicking on the
Editicon in theRoot Directoryfield.
- Select
Nextto proceed to the WP Engine Settings page.
Name Application & set region
Section titled “Name Application & set region”On the WP Engine Settings screen:
-
Fill out a name for your application. We recommend choosing a name similar to your repository's name. The application name cannot be changed once it has been deployed.
-
Select a region for your application. The region you select will be used for all of your app's environments (production/staging/etc.) and cannot be changed once your application has been deployed.
-
Click
Next.

Name First Environment & Configure
Section titled “Name First Environment & Configure”Now you have reached the third and final step, where you will setup the App's first environment.

1. Name Your Environment
Section titled “1. Name Your Environment”Enter a name for your environment. The name should represent how you intend to use the environment. For example, enter something like prod if it's a production environment, staging if it's a staging environment, etc.
2. Connect WordPress Environment
Section titled “2. Connect WordPress Environment”Every headless environment is associated with a WordPress environment. Choose either:
I already have my WordPress environment: Use a WordPress site from your WP Engine account. Select the search bar and search for the name of your WordPress site.I want to create a new WordPress environment: WP Engine makes a new WordPress site and links it to your application. In the box, enter a name for your new WordPress site.

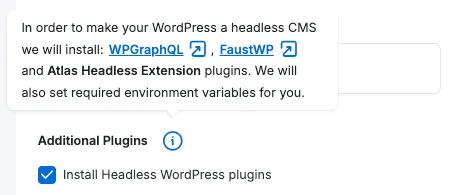
3. Install Headless Plugins
Section titled “3. Install Headless Plugins”In order for your WordPress environment to become "headless", our Headless Platform can install the WPGraphQL, Faust.js and WP Engine Atlas Headless Extension plugins.
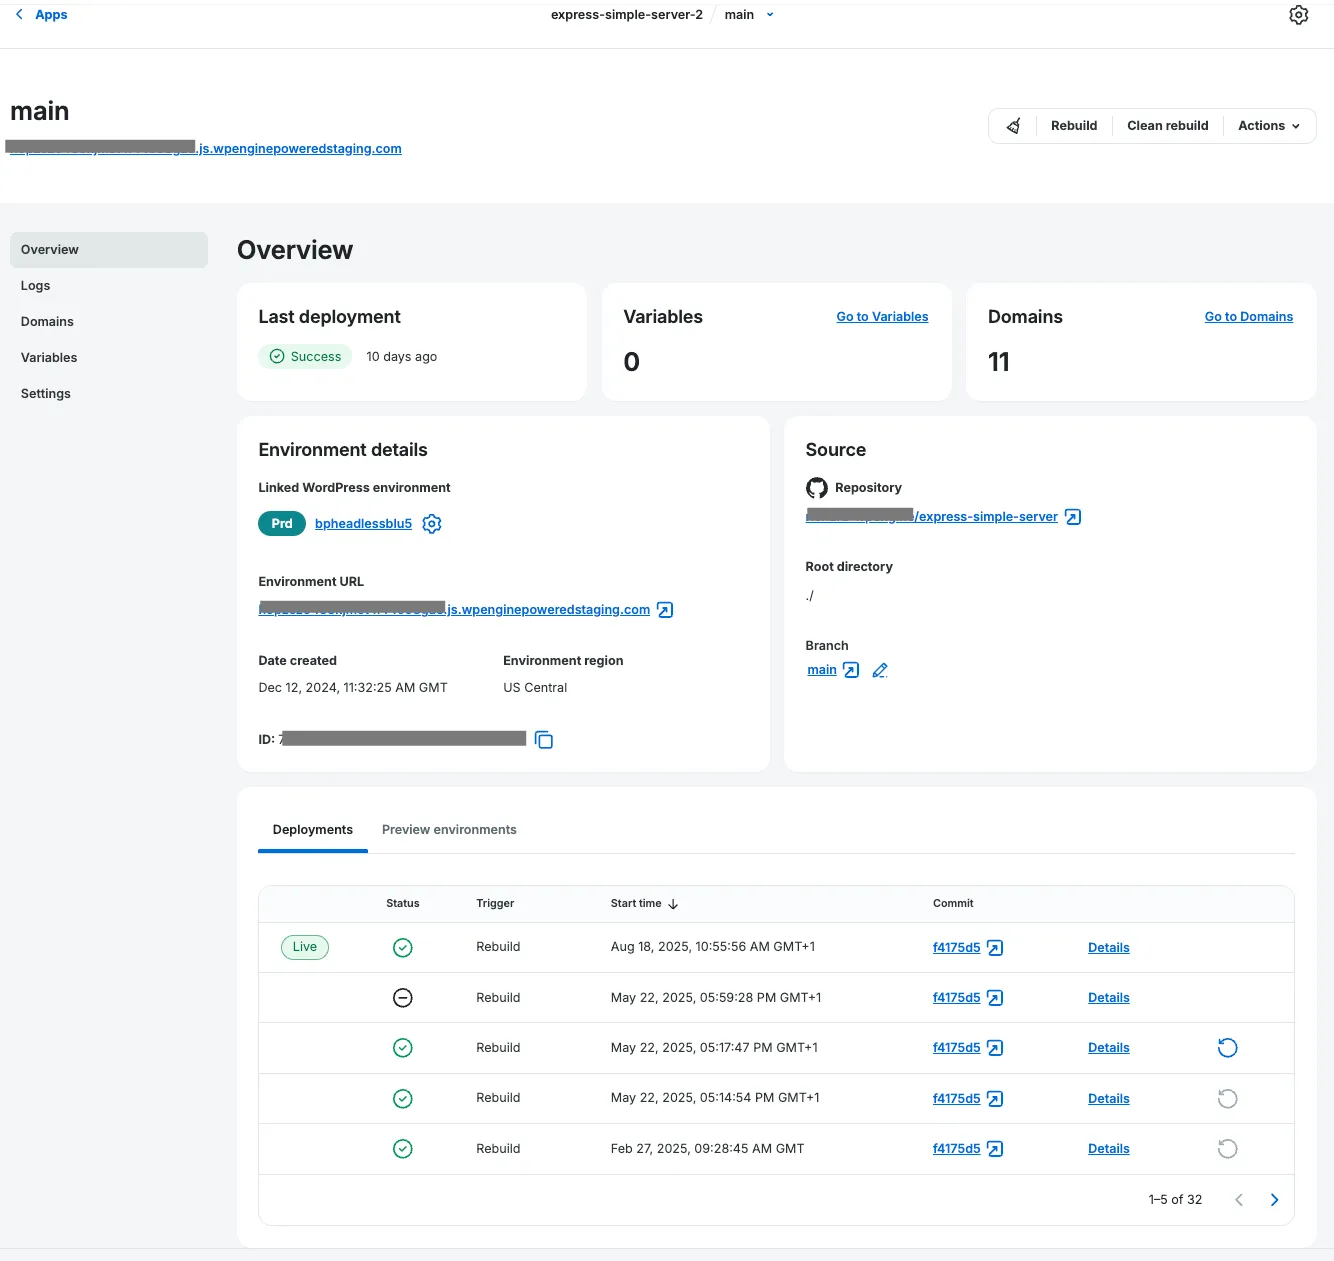
Select Add App.
Section titled “Select Add App.”The app's Environment Details page appears upon completion of the app create steps. When the Headless Platform completes the build step of your headless app's default environment, a checkmark & status message of success appears in the Last deployment card.
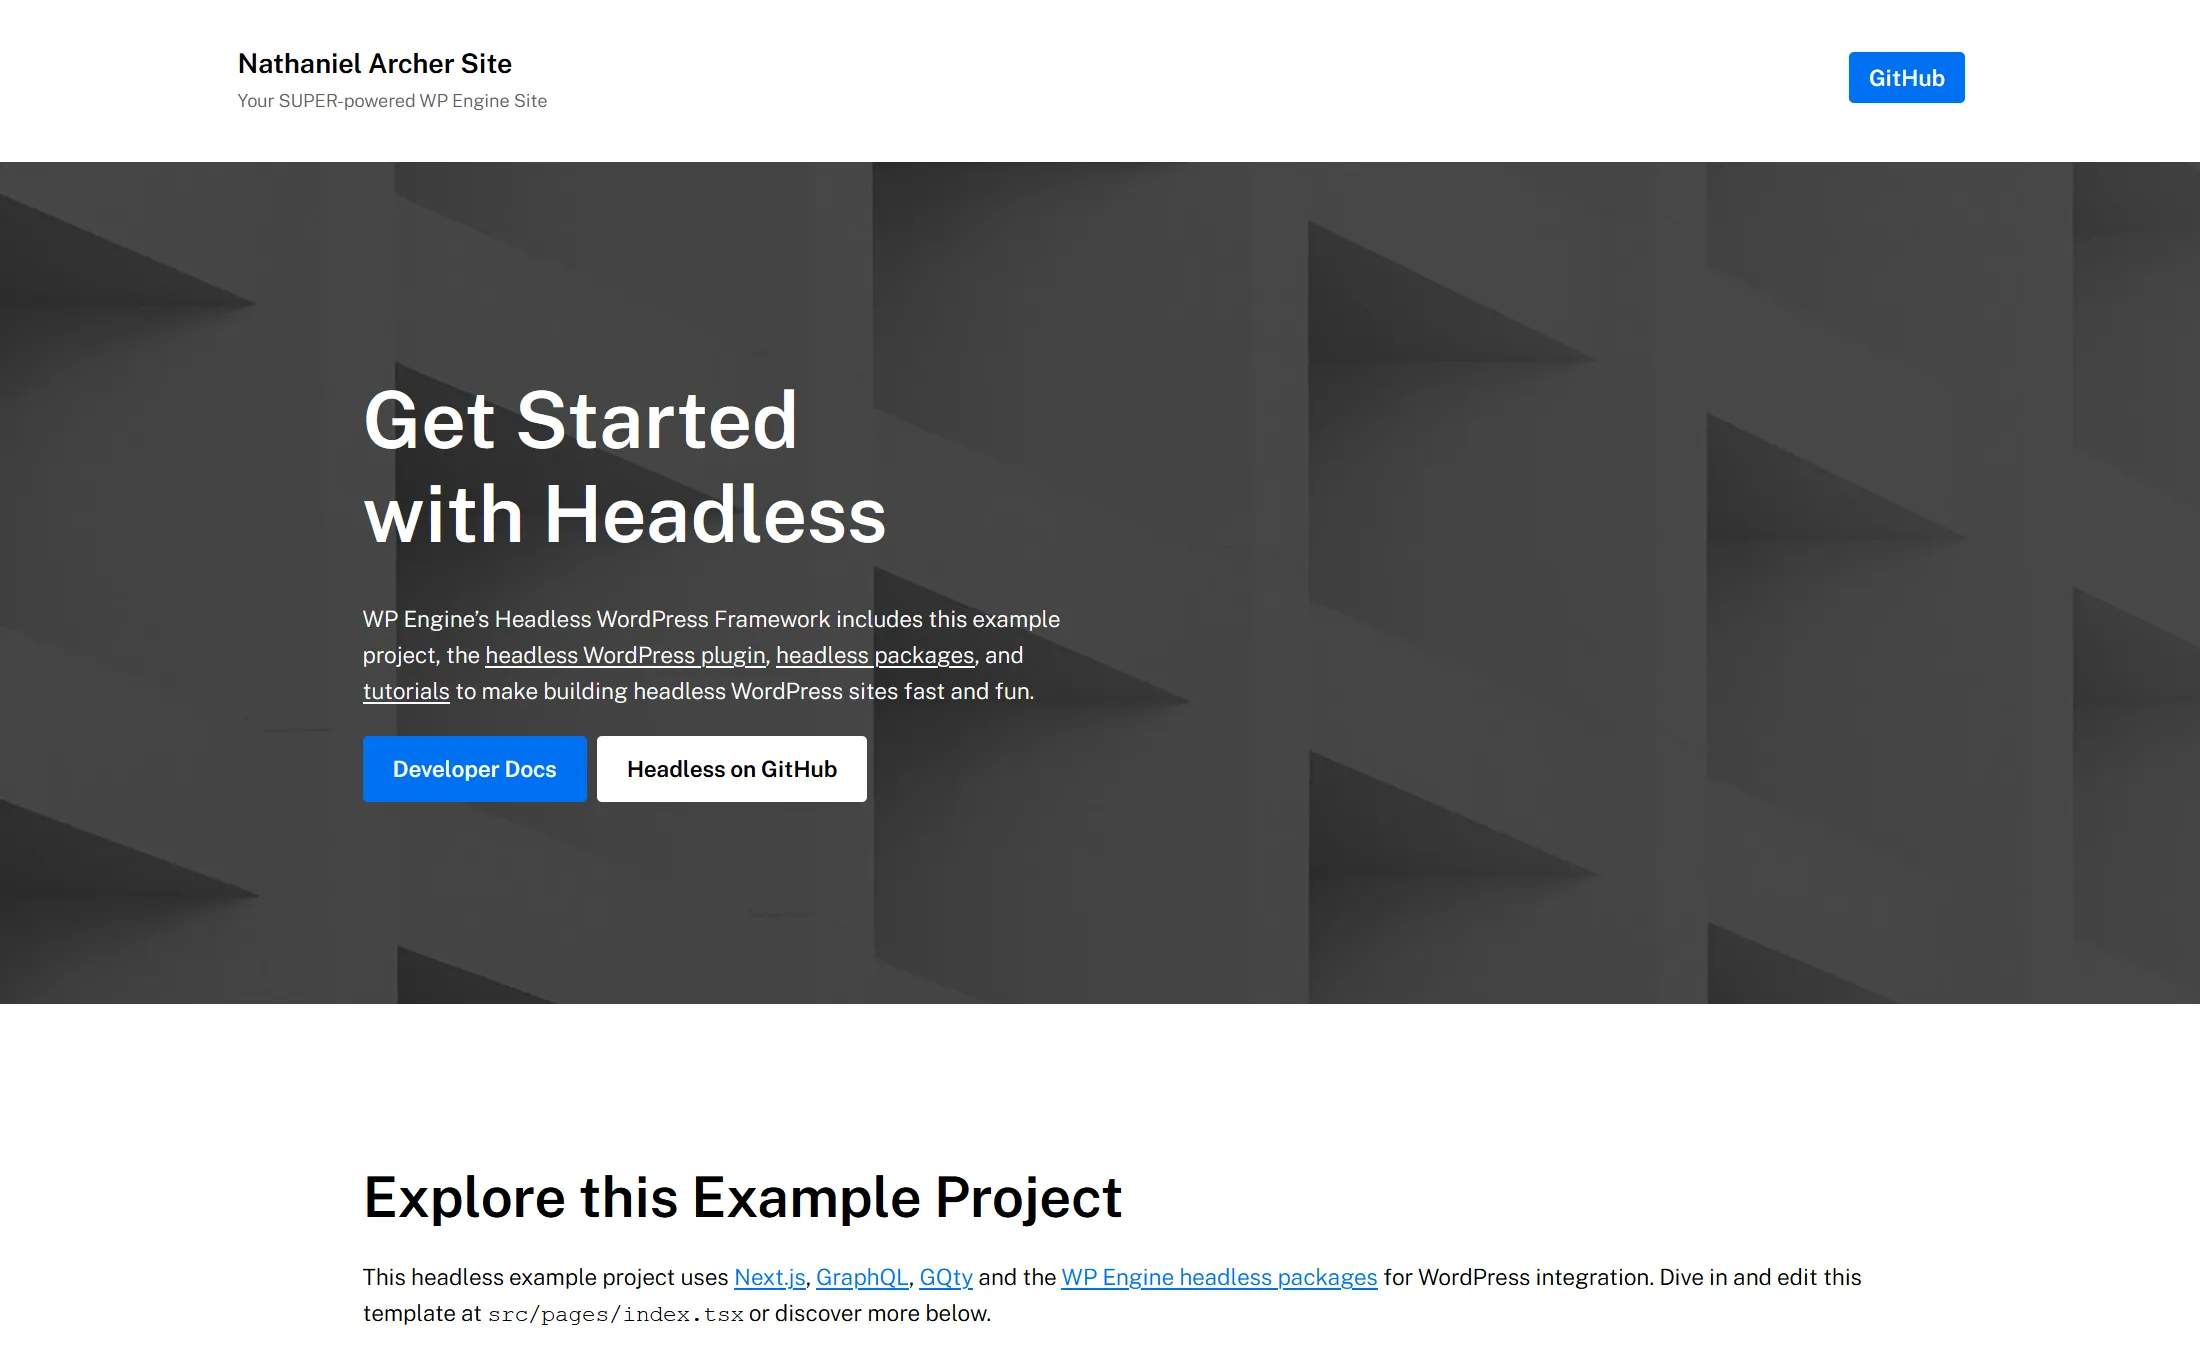
View Your App
Section titled “View Your App”To visit your headless WordPress app once the first deploy finishes, click the link under the Atlas URL heading. Your app opens in a new browser tab. Enjoy!
Set Environment Variables (Optional)
Section titled “Set Environment Variables (Optional)”To add environment variables for your app, click Go to Variables.
Enter the Key and Value pairs for each environment variable.
For example, you may need to add a NEXT_PUBLIC_WORDPRESS_URL key with a URL as its value to specify which WordPress site should be used as the data source for the app. You may also need to specify additional environment variables to store sensitive data such as API keys and secrets.
Please refer to your JavaScript framework's documentation if you're unsure what environment variables are required for your app.