Add an Environment to an existing App
Once you’ve gone through the steps here, you’ll have a new front-end environment, on your existing Headless Platform app, that has been deployed to the web.
Prerequisites
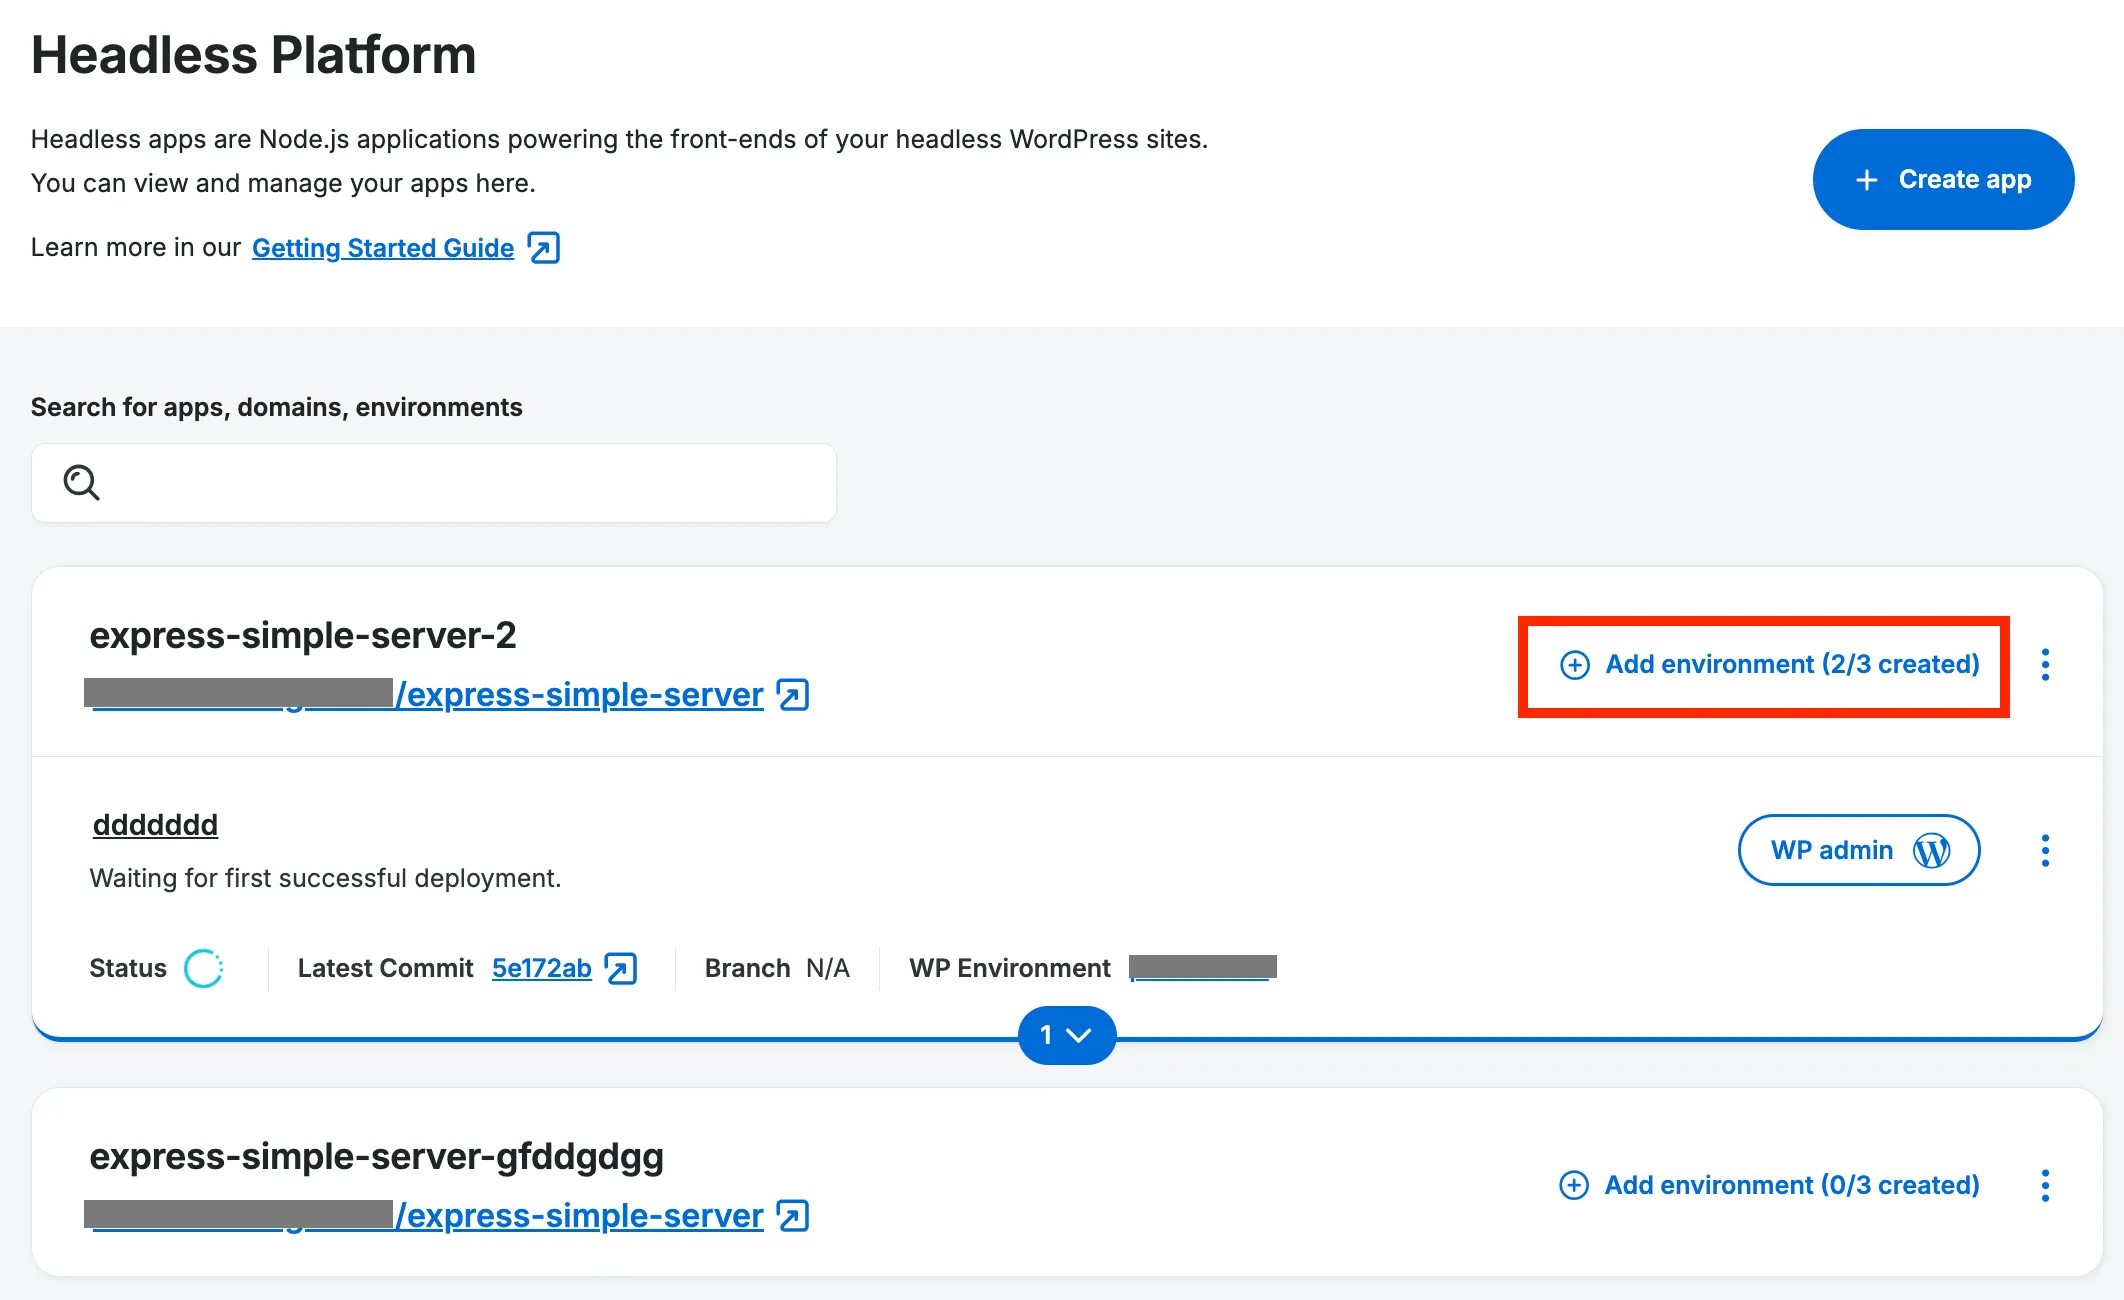
Section titled “Prerequisites”After you've created an app a default environment will be displayed. Most accounts support up to three environments per app, so you're free to add two more beyond the default.
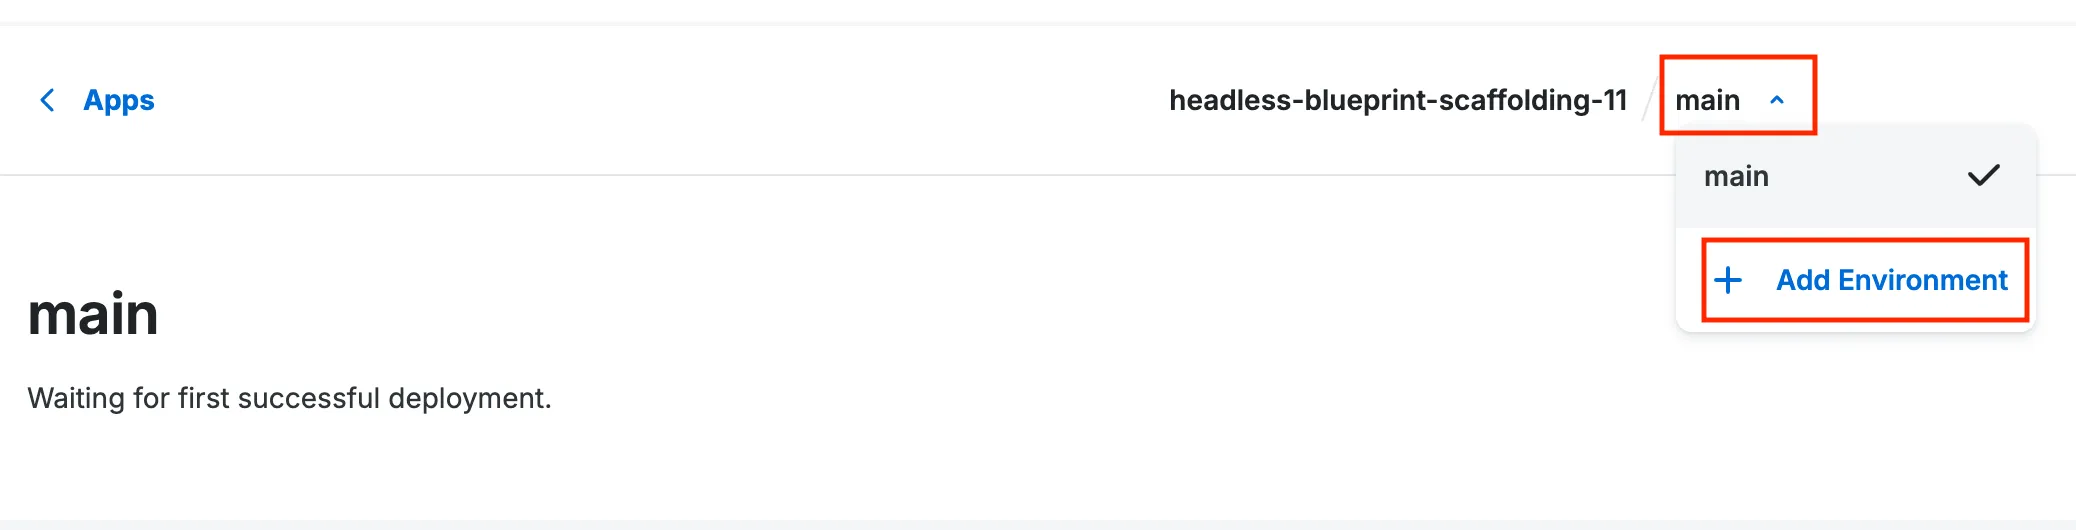
This is done either via the Add environment button from the Headless Apps Page, as shown in image 1 below, or by visiting an Environment Page and clicking the Environment Name and the dropdown's Add Environment option, as shown in image 2 below.
Completing the Add Environment Form
Section titled “Completing the Add Environment Form”This form deviates slightly from the Create App step for adding an environment, but the results are the same: a deployed environment, linked to a WordPress headless backend, and relying on a Repository Provider (GitHub, Bitbucket, GitLab - unless zip-uploaded).
Once you have clicked Add environment you will be taken to the following Add Environment form.

Name Your Environment
Section titled “Name Your Environment”Enter a name for your environment. The name should represent how you intend to use the environment. For example, enter something like prod if it's a production environment, staging if it's a staging environment, etc.
Ensure Repository Provider is Connected
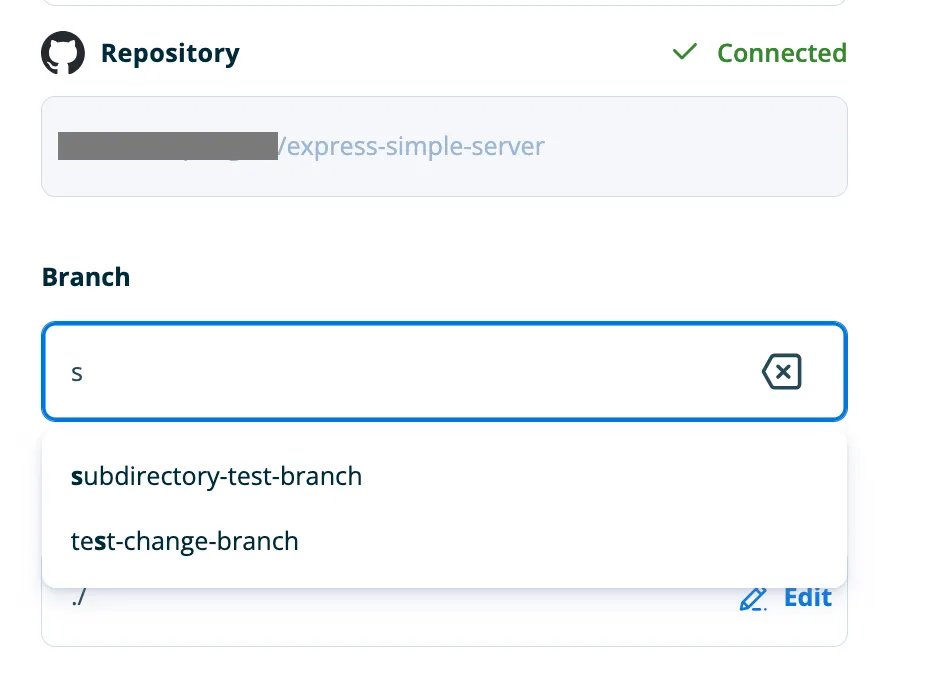
Section titled “Ensure Repository Provider is Connected”The previous app creation stage will have set what Repository Provider & Repository is to be associated with an app. Each environment, however, may use different branches from the connected Repository.
Occasionally, the connection between Portal and the Repository Provider will expire & you will see that the Connected green icon will disappear, in favor of a Reconnect button. Click this and follow the steps if you need to reconnect.

Select a Branch
Section titled “Select a Branch”From the list of your repository's branches, select the branch you want to base your environment on. Whenever changes are pushed to this branch, your app will be automatically re-deployed.
Examples:
- If you want to create a production environment, you could use your repo's
mainbranch - If you want to create a staging environment, you could use your repository's
stagingbranch
Verify Your Project Directory
Section titled “Verify Your Project Directory”If your project is stored in a folder within your repository, specify the path to your root folder by clicking on the Edit button in the Root Directory field.

Connect WordPress Environment
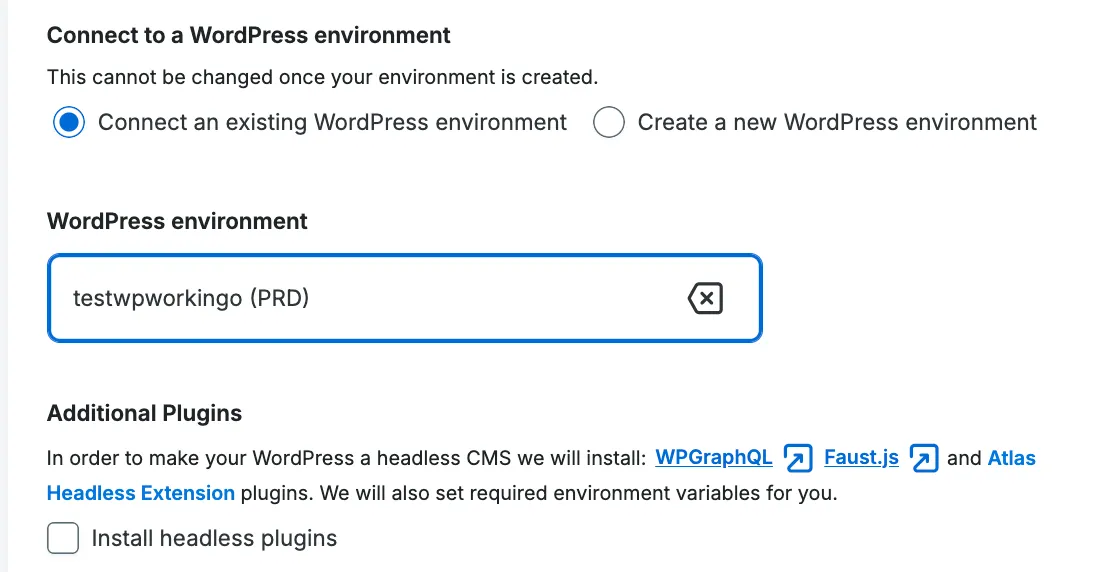
Section titled “Connect WordPress Environment”Every headless environment is associated with a WordPress environment. Choose either:
I already have a WordPress environment: Use a WordPress site from your WP Engine account. Select the search bar and search for the name of your WordPress site.I want to create a new WordPress install: WP Engine makes a new WordPress site and links it to your application. In the box, enter a name for your new WordPress site.
Install Headless Plugins
Section titled “Install Headless Plugins”In order for your WordPress environment to become "headless", our Headless Platform can install the WPGraphQL, Faust.js and WP Engine Headless Extension plugins, as also shown above.
Set Environment Variables (Optional)
Section titled “Set Environment Variables (Optional)”To add environment variables for your environment, click Add environment variables (Optional).
Enter the Key and Value pairs for each environment variable.

For example, you may need to add a NEXT_PUBLIC_WORDPRESS_URL key with a URL as its value to specify which WordPress site should be used as the data source for the app. You may also need to specify additional environment variables to store sensitive data such as API keys and secrets.
Please refer to your JavaScript framework's documentation if you're unsure what environment variables are required for your app.
Select Create.
Section titled “Select Create.”Assuming all the required fields are populated and valid you will now be able to click Create to create your new environment.
The app's Environment Details page appears upon completion of the environment create form. When the Headless Platform completes building your headless environment, a checkmark & status message of success appears in the Last deployment card.